RightBlogger is an AI-powered Chrome extension designed to assist bloggers in creating content more efficiently. It offers a range of AI blogging tools to inspire, generate, and refine content directly from the browser. The extension provides features such as grammar correction, text shortening and lengthening, paraphrasing, and SEO optimization tools.
RightBlogger - AI for Bloggers
AI-Powered Content Creation Tools for Bloggers
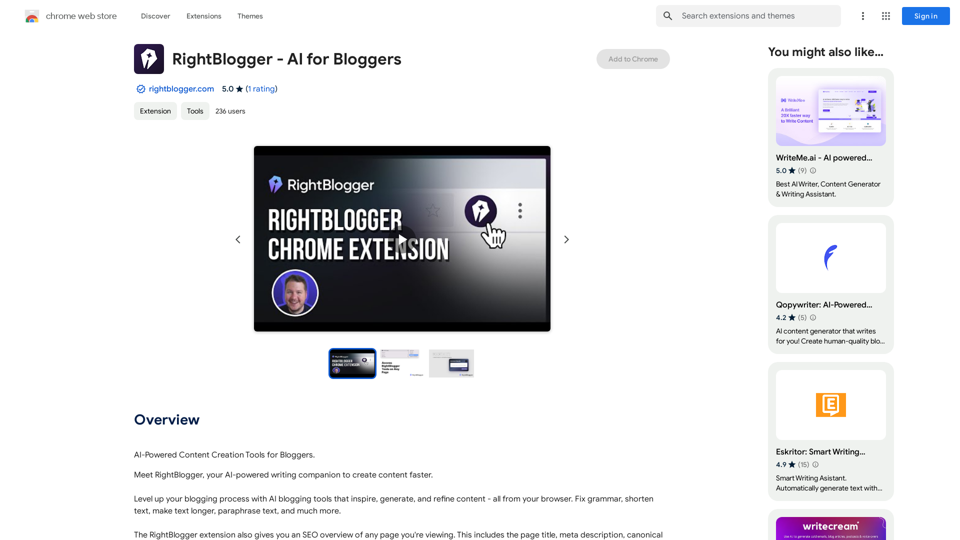
Introduction
Feature
AI-Powered Content Creation
RightBlogger's AI writing assistant helps users create high-quality content quickly and efficiently. It caters to both beginner and experienced bloggers, offering tools to produce engaging content with ease.
SEO Overview
The extension provides a comprehensive SEO overview of any webpage, including:
- Page title
- Meta description
- Canonical URL
- Open graph image
- Listing page headings
This feature aids in optimizing content for search engines and improving online visibility.
Browser Integration
RightBlogger seamlessly integrates with Chrome as an extension, allowing users to access its AI blogging tools directly from their browser while viewing any webpage.
Text Manipulation Tools
The extension offers various text manipulation features:
- Grammar correction
- Text shortening
- Text lengthening
- Paraphrasing
Subscription Model
RightBlogger operates on a freemium model:
- Free version with limited features
- Paid subscription for additional benefits and extended access
FAQ
What is RightBlogger?
RightBlogger is an AI-powered Chrome extension that serves as a writing companion for bloggers, helping them create content faster and more efficiently.
What are the main features of RightBlogger?
The main features of RightBlogger include:
- AI-powered content creation
- SEO overview tools
- Text manipulation (grammar correction, shortening, lengthening, paraphrasing)
- Browser integration
How do I use RightBlogger?
To use RightBlogger:
- Install the Chrome extension
- Access the AI blogging tools directly from your browser
- Use the tools to create, refine, and optimize your content
Is RightBlogger free?
RightBlogger offers a free version with limited features. To access additional features and extended usage, users need to subscribe to the paid plan.
Related Websites
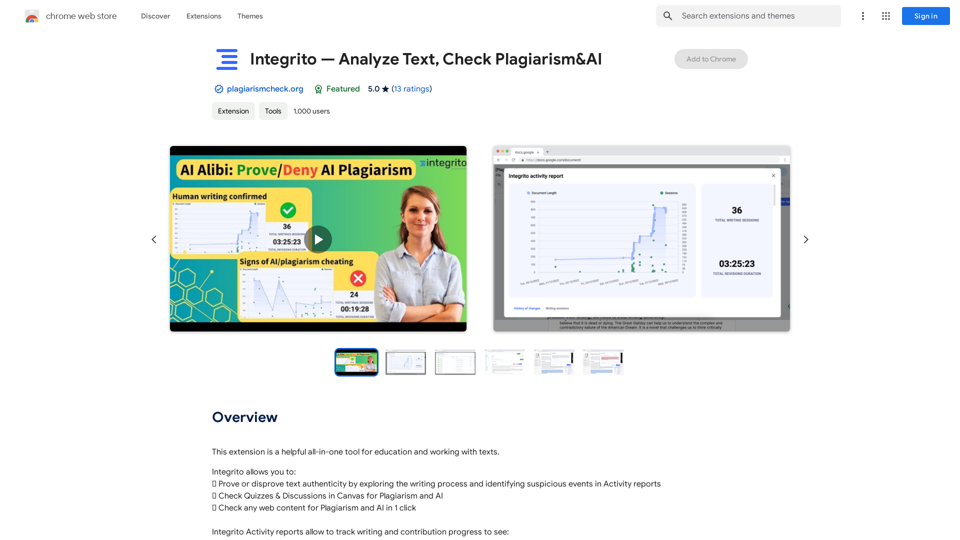
Astra Vision is an AI-powered web extension that includes a set of powerful AI tools: Astra Guard and AI Snapper.
193.90 M
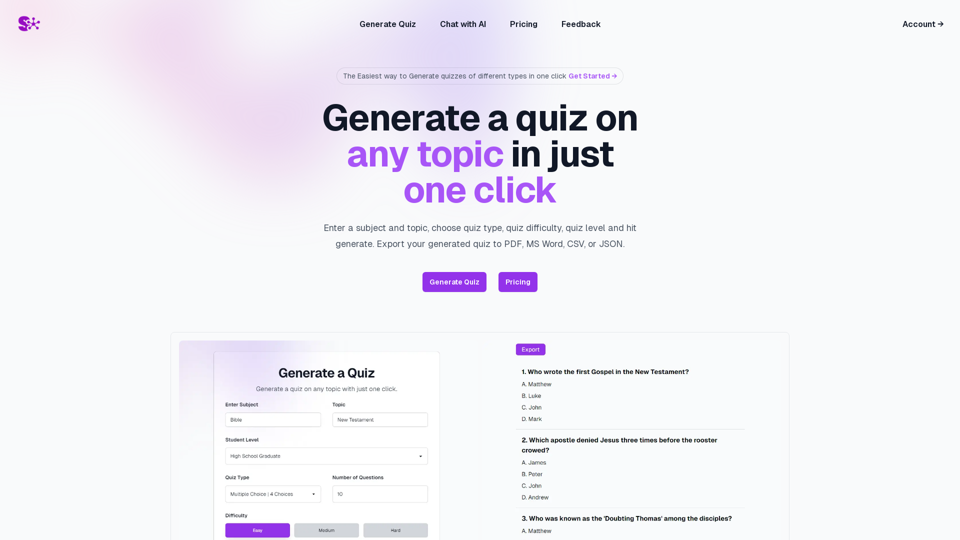
Quiz Generation Made Easy! ============================= With just one click, you can generate a quiz on any topic you want! Whether you're a teacher, student, or just a curious learner, this feature is perfect for you. How it Works --------------- 1. Choose Your Topic: Select the topic you want to generate a quiz on. It can be anything from history to science, literature to music, or even pop culture! 2. Click the Button: Simply click the "Generate Quiz" button, and our AI-powered algorithm will do the rest. 3. Get Your Quiz: In an instant, you'll receive a comprehensive quiz with multiple-choice questions, true/false questions, and short-answer questions. Features ------------ * Customizable: You can adjust the difficulty level, question type, and even add your own questions to make the quiz more personalized. * Instant Feedback: Get instant feedback on your answers, so you can track your progress and identify areas for improvement. * Shareable: Share your quiz with friends, classmates, or even on social media to spark a fun competition! Try it Out! -------------- Click the "Generate Quiz" button below to get started! [Generate Quiz Button] Happy quizzing!
0
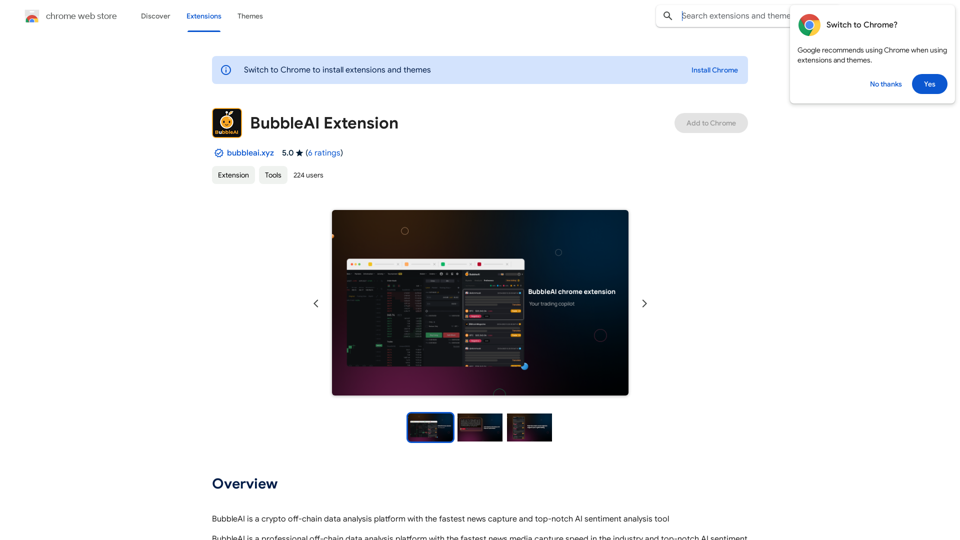
BubbleAI is a cryptocurrency off-chain data analysis platform with the fastest news capture and a top-notch AI sentiment analysis tool.
193.90 M
![CrackerJack Resume
Objective: To obtain a challenging and rewarding position in a fast-paced environment where I can utilize my skills and experience to contribute to the success of a dynamic team.
Summary of Qualifications:
* Highly motivated and results-oriented individual with a proven track record of success in [mention your field].
* Excellent communication, interpersonal, and problem-solving skills.
* Strong analytical and critical thinking abilities.
* Proficient in [list your relevant skills].
* Adaptable and eager to learn new technologies and processes.
Experience:
* [Job Title], [Company Name], [City, State] - [Dates of Employment]
* [List your responsibilities and achievements using action verbs]
* [Job Title], [Company Name], [City, State] - [Dates of Employment]
* [List your responsibilities and achievements using action verbs]
Education:
* [Degree Name], [Major], [University Name], [City, State] - [Year of Graduation]
* [List any relevant coursework, honors, or awards]
Skills:
* [List your hard and soft skills]
Projects:
* [List any relevant projects you have worked on, including a brief description and your role]
Awards and Recognition:
* [List any awards or recognition you have received]
Volunteer Experience:
* [List any volunteer experience you have]
References:
* Available upon request.](https://static.right-ai.com/tools/2024/7/4/chromewebstore-google-com-detail-crackerjack-resume-fgbdkdeofkmfocghddgppkdelglifokg-thumbnail-1720061173.png "CrackerJack Resume
Objective: To obtain a challenging and rewarding position in a fast-paced environment where I can utilize my skills and experience to contribute to the success of a dynamic team.
Summary of Qualifications:
* Highly motivated and results-oriented individual with a proven track record of success in [mention your field].
* Excellent communication, interpersonal, and problem-solving skills.
* Strong analytical and critical thinking abilities.
* Proficient in [list your relevant skills].
* Adaptable and eager to learn new technologies and processes.
Experience:
* [Job Title], [Company Name], [City, State] - [Dates of Employment]
* [List your responsibilities and achievements using action verbs]
* [Job Title], [Company Name], [City, State] - [Dates of Employment]
* [List your responsibilities and achievements using action verbs]
Education:
* [Degree Name], [Major], [University Name], [City, State] - [Year of Graduation]
* [List any relevant coursework, honors, or awards]
Skills:
* [List your hard and soft skills]
Projects:
* [List any relevant projects you have worked on, including a brief description and your role]
Awards and Recognition:
* [List any awards or recognition you have received]
Volunteer Experience:
* [List any volunteer experience you have]
References:
* Available upon request.")
CrackerJack Resume Objective: To obtain a challenging and rewarding position in a fast-paced environment where I can utilize my skills and experience to contribute to the success of a dynamic team. Summary of Qualifications: * Highly motivated and results-oriented individual with a proven track record of success in [mention your field]. * Excellent communication, interpersonal, and problem-solving skills. * Strong analytical and critical thinking abilities. * Proficient in [list your relevant skills]. * Adaptable and eager to learn new technologies and processes. Experience: * [Job Title], [Company Name], [City, State] - [Dates of Employment] * [List your responsibilities and achievements using action verbs] * [Job Title], [Company Name], [City, State] - [Dates of Employment] * [List your responsibilities and achievements using action verbs] Education: * [Degree Name], [Major], [University Name], [City, State] - [Year of Graduation] * [List any relevant coursework, honors, or awards] Skills: * [List your hard and soft skills] Projects: * [List any relevant projects you have worked on, including a brief description and your role] Awards and Recognition: * [List any awards or recognition you have received] Volunteer Experience: * [List any volunteer experience you have] References: * Available upon request.
CrackerJack Resume Objective: To obtain a challenging and rewarding position in a fast-paced environment where I can utilize my skills and experience to contribute to the success of a dynamic team. Summary of Qualifications: * Highly motivated and results-oriented individual with a proven track record of success in [mention your field]. * Excellent communication, interpersonal, and problem-solving skills. * Strong analytical and critical thinking abilities. * Proficient in [list your relevant skills]. * Adaptable and eager to learn new technologies and processes. Experience: * [Job Title], [Company Name], [City, State] - [Dates of Employment] * [List your responsibilities and achievements using action verbs] * [Job Title], [Company Name], [City, State] - [Dates of Employment] * [List your responsibilities and achievements using action verbs] Education: * [Degree Name], [Major], [University Name], [City, State] - [Year of Graduation] * [List any relevant coursework, honors, or awards] Skills: * [List your hard and soft skills] Projects: * [List any relevant projects you have worked on, including a brief description and your role] Awards and Recognition: * [List any awards or recognition you have received] Volunteer Experience: * [List any volunteer experience you have] References: * Available upon request.Are you frustrated by the lack of response to your job applications? The secret may lie within your resume. Stop getting rejected…
193.90 M
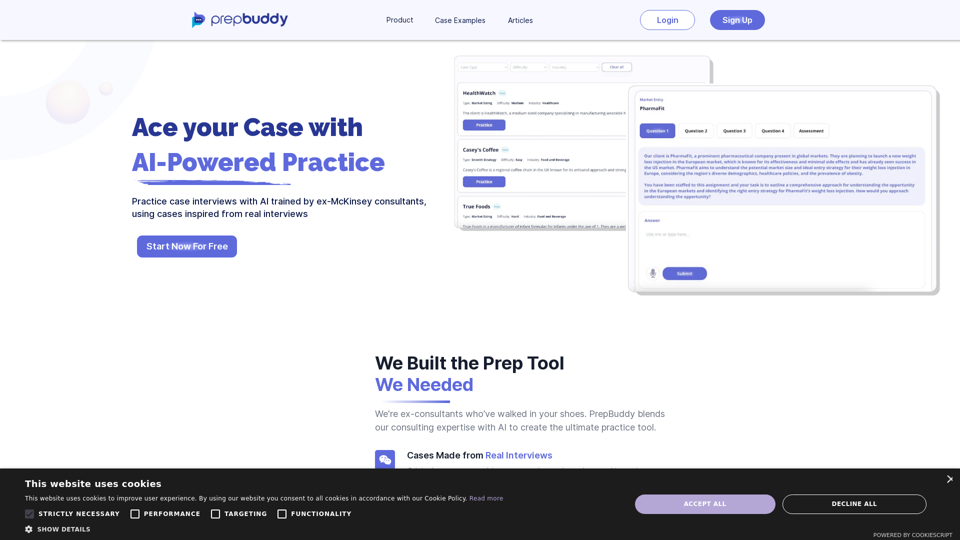
PrepBuddy offers AI-powered practice for consulting case interviews. Learn with materials from former McKinsey consultants and get instant feedback. Start your free trial today!
2.63 K
)
* Create a new notebook
* Install the `transformers` library by running `!pip install transformers`
* Import the `transformers` library and load the ChatGPT model using `from transformers import AutoModelForCausalLM, AutoTokenizer; model = AutoModelForCausalLM.from_pretrained('chatgpt'); tokenizer = AutoTokenizer.from_pretrained('chatgpt')`
* Use the model to generate text using `input_text = "Your input here"; inputs = tokenizer.encode_plus(input_text, return_tensors='pt', max_length=1024, padding='max_length', truncation=True); output = model(inputs['input_ids'], attention_mask=inputs['attention_mask']); print(tokenizer.decode(output.logits[0], skip_special_tokens=True))`
Method 2: Google Apps Script
* Open Google Apps Script ([script.google.com](http://script.google.com))
* Create a new project
* Install the `transformers` library by running `npm install transformers`
* Import the `transformers` library and load the ChatGPT model using `const { AutoModelForCausalLM, AutoTokenizer } = require('transformers'); const model = new AutoModelForCausalLM('chatgpt'); const tokenizer = new AutoTokenizer('chatgpt');`
* Use the model to generate text using `const inputText = "Your input here"; const inputs = tokenizer.encodePlus(inputText, { return_tensors: 'pt', max_length: 1024, padding: 'max_length', truncation: true }); const output = model(inputs.inputIds, inputs.attentionMask); console.log(tokenizer.decode(output.logits[0], { skipSpecialTokens: true }));`
Note: These methods require some technical knowledge and may have limitations compared to the original ChatGPT model.](https://static.right-ai.com/tools/2024/7/3/chromewebstore-google-com-detail-chatgpt-for-google-for-fr-pabeminldebomngnkgffiejipjjaaogi-thumbnail-1720037311.png "Get ChatGPT for Free with Google
You can now access ChatGPT, a powerful language model, for free with Google. Here's how:
Method 1: Google Colab
* Open Google Colab ([colab.research.google.com](http://colab.research.google.com))
* Create a new notebook
* Install the `transformers` library by running `!pip install transformers`
* Import the `transformers` library and load the ChatGPT model using `from transformers import AutoModelForCausalLM, AutoTokenizer; model = AutoModelForCausalLM.from_pretrained('chatgpt'); tokenizer = AutoTokenizer.from_pretrained('chatgpt')`
* Use the model to generate text using `input_text = \"Your input here\"; inputs = tokenizer.encode_plus(input_text, return_tensors='pt', max_length=1024, padding='max_length', truncation=True); output = model(inputs['input_ids'], attention_mask=inputs['attention_mask']); print(tokenizer.decode(output.logits[0], skip_special_tokens=True))`
Method 2: Google Apps Script
* Open Google Apps Script ([script.google.com](http://script.google.com))
* Create a new project
* Install the `transformers` library by running `npm install transformers`
* Import the `transformers` library and load the ChatGPT model using `const { AutoModelForCausalLM, AutoTokenizer } = require('transformers'); const model = new AutoModelForCausalLM('chatgpt'); const tokenizer = new AutoTokenizer('chatgpt');`
* Use the model to generate text using `const inputText = \"Your input here\"; const inputs = tokenizer.encodePlus(inputText, { return_tensors: 'pt', max_length: 1024, padding: 'max_length', truncation: true }); const output = model(inputs.inputIds, inputs.attentionMask); console.log(tokenizer.decode(output.logits[0], { skipSpecialTokens: true }));`
Note: These methods require some technical knowledge and may have limitations compared to the original ChatGPT model.")
Get ChatGPT for Free with Google You can now access ChatGPT, a powerful language model, for free with Google. Here's how: Method 1: Google Colab * Open Google Colab ([colab.research.google.com](http://colab.research.google.com)) * Create a new notebook * Install the `transformers` library by running `!pip install transformers` * Import the `transformers` library and load the ChatGPT model using `from transformers import AutoModelForCausalLM, AutoTokenizer; model = AutoModelForCausalLM.from_pretrained('chatgpt'); tokenizer = AutoTokenizer.from_pretrained('chatgpt')` * Use the model to generate text using `input_text = "Your input here"; inputs = tokenizer.encode_plus(input_text, return_tensors='pt', max_length=1024, padding='max_length', truncation=True); output = model(inputs['input_ids'], attention_mask=inputs['attention_mask']); print(tokenizer.decode(output.logits[0], skip_special_tokens=True))` Method 2: Google Apps Script * Open Google Apps Script ([script.google.com](http://script.google.com)) * Create a new project * Install the `transformers` library by running `npm install transformers` * Import the `transformers` library and load the ChatGPT model using `const { AutoModelForCausalLM, AutoTokenizer } = require('transformers'); const model = new AutoModelForCausalLM('chatgpt'); const tokenizer = new AutoTokenizer('chatgpt');` * Use the model to generate text using `const inputText = "Your input here"; const inputs = tokenizer.encodePlus(inputText, { return_tensors: 'pt', max_length: 1024, padding: 'max_length', truncation: true }); const output = model(inputs.inputIds, inputs.attentionMask); console.log(tokenizer.decode(output.logits[0], { skipSpecialTokens: true }));` Note: These methods require some technical knowledge and may have limitations compared to the original ChatGPT model.
Get ChatGPT for Free with Google You can now access ChatGPT, a powerful language model, for free with Google. Here's how: Method 1: Google Colab * Open Google Colab ([colab.research.google.com](http://colab.research.google.com)) * Create a new notebook * Install the `transformers` library by running `!pip install transformers` * Import the `transformers` library and load the ChatGPT model using `from transformers import AutoModelForCausalLM, AutoTokenizer; model = AutoModelForCausalLM.from_pretrained('chatgpt'); tokenizer = AutoTokenizer.from_pretrained('chatgpt')` * Use the model to generate text using `input_text = "Your input here"; inputs = tokenizer.encode_plus(input_text, return_tensors='pt', max_length=1024, padding='max_length', truncation=True); output = model(inputs['input_ids'], attention_mask=inputs['attention_mask']); print(tokenizer.decode(output.logits[0], skip_special_tokens=True))` Method 2: Google Apps Script * Open Google Apps Script ([script.google.com](http://script.google.com)) * Create a new project * Install the `transformers` library by running `npm install transformers` * Import the `transformers` library and load the ChatGPT model using `const { AutoModelForCausalLM, AutoTokenizer } = require('transformers'); const model = new AutoModelForCausalLM('chatgpt'); const tokenizer = new AutoTokenizer('chatgpt');` * Use the model to generate text using `const inputText = "Your input here"; const inputs = tokenizer.encodePlus(inputText, { return_tensors: 'pt', max_length: 1024, padding: 'max_length', truncation: true }); const output = model(inputs.inputIds, inputs.attentionMask); console.log(tokenizer.decode(output.logits[0], { skipSpecialTokens: true }));` Note: These methods require some technical knowledge and may have limitations compared to the original ChatGPT model.How to Add ChatGPT to All Google Searches ===================================================== Step 1: Create a Custom Search Engine -------------------------------------- * Go to the [Google Custom Search Engine](https://cse.google.com/) website and sign in with your Google account. * Click on the "New Search Engine" button. * Fill in the required information, such as the name and description of your search engine. * Click on the "Create" button. Step 2: Add ChatGPT to the Search Engine ----------------------------------------- * In the "Setup" tab, click on the "Add" button next to "Sites to search". * Enter the following URL: `https://chat.openai.com/` * Click on the "Add" button. Step 3: Configure the Search Engine -------------------------------------- * In the "Setup" tab, click on the "Edit" button next to "Search engine keywords". * Add the following keywords: `ChatGPT` * Click on the "Save" button. Step 4: Get the Search Engine Code ------------------------------------- * In the "Setup" tab, click on the "Get code" button. * Copy the HTML code provided. Step 5: Add the Search Engine to Your Browser ------------------------------------------------ * Open your browser and go to the "Settings" or "Options" page. * Look for the "Search engine" or "Default search engine" option. * Click on the "Add" or "Manage search engines" button. * Paste the HTML code you copied earlier. * Click on the "Add" or "Save" button. You're Done! =============== Now, whenever you search on Google, ChatGPT will be included in the search results. You can also use the custom search engine URL provided by Google to search directly.
193.90 M