AI Product Shot is an innovative tool that revolutionizes product photography by leveraging artificial intelligence. It enables brands to create professional, high-quality product images without the need for a physical studio setup. This platform allows users to experiment with various environments, poses, and lighting conditions, transforming basic product shots into captivating visual assets that can boost conversions and sales.
AI Product Shot - Create Beautiful Product Images with AI
AI Product Shot - Create stunning and professional AI-generated product images that boost your sales. Achieve expert-level product photos using AI technology. Begin your journey for free.
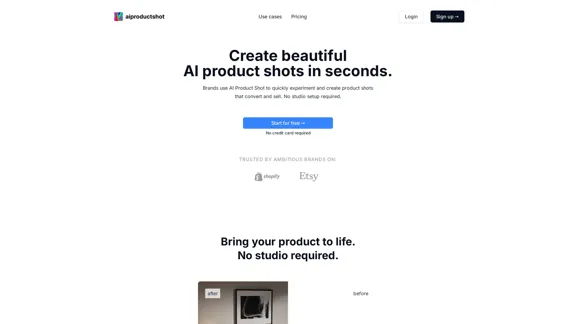
Introduction
Feature
Custom AI Product Model
Create your personalized AI model by uploading at least two existing photos of your product. This custom model becomes the foundation for generating unlimited creative product shots.
Photorealistic Image Generation
Generate studio-quality, photorealistic product images using your custom AI model. Experiment with various environments, poses, and lighting conditions to create diverse and appealing visuals.
Inspire Engine
Utilize the Inspire Engine to draw inspiration from other brands' photoshoots. Quickly replicate lighting, composition, and artistic direction to enhance your product imagery.
Versatile Image Creation
Go beyond simple background replacement. Control scenery, lighting, staging, and composition while keeping your product in photorealistic focus.
Unique Image Generation
Each generated image is unique, thanks to the vast number of variables involved in the AI image creation model.
Photoreal XL v2 Update
Benefit from the latest update, Photoreal XL v2, for even more crisp and professional product advertisements.
No Credit Card Required
Start creating AI product shots risk-free with a free trial that doesn't require credit card information.
FAQ
Is AI Product Shot just a background replacer?
No, AI Product Shot goes beyond simple background replacement. It allows you to experiment and create photorealistic concepts of your products, similar to a professional photoshoot. You can control scenery, lighting, staging, and composition while maintaining a photorealistic focus on your product.
Are the product images generated unique?
Yes, all images generated by AI Product Shot are unique. This uniqueness is due to the vast number of variables involved in the AI image creation model.
Can I use a photoshoot from another brand for inspiration?
Yes, you can use inspiration from other brands through our Inspire Engine. This feature allows you to quickly replicate lighting, composition, and artistic direction from other photoshoots.
How does the process work?
- Start by uploading at least two existing photos of your product to train your custom AI Product model.
- Use your custom AI Product model to generate product shots with unlimited creativity.
- Experiment with environments, posing, and lighting to create diverse and appealing visuals.
Latest Traffic Insights
Monthly Visits
1.69 K
Bounce Rate
47.06%
Pages Per Visit
1.90
Time on Site(s)
38.50
Global Rank
9105802
Country Rank
United States 2738851
Recent Visits
Traffic Sources
- Social Media:38.55%
- Paid Referrals:0.85%
- Email:0.05%
- Referrals:5.70%
- Search Engines:14.85%
- Direct:39.89%
Related Websites

AI & AR Business Solutions for Skin, Beauty & Fashion
AI & AR Business Solutions for Skin, Beauty & FashionReimagine AI with YouCam: Elevate Your Brand by Cropping Complete Beauty Tech & Fashion Tech Solutions. Digitally transform your business with AI & AR ecommerce experiences.
7.10 M
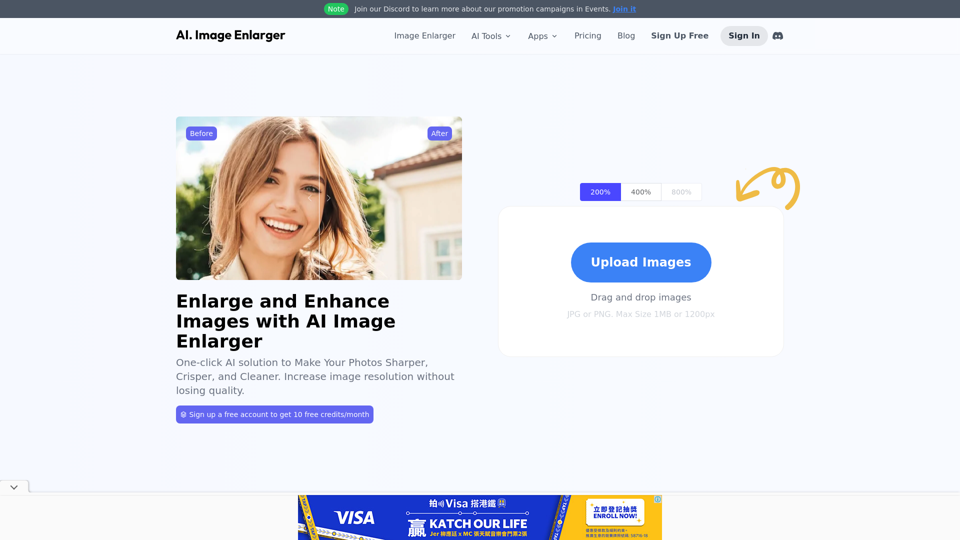
AI Image Enlarger | Enlarge Images Without Losing Quality!
AI Image Enlarger | Enlarge Images Without Losing Quality!AI Image Enlarger is a FREE online tool for automatically upscaling and enhancing small images. It can make jpg/png pictures larger without compromising quality.
614.68 K
Flux Tools: Comprehensive Guide to AI Image Creation and Editing
Flux Tools: Comprehensive Guide to AI Image Creation and EditingDiscover how Flux Tools transforms image generation and editing. Expert guide with hands-on experience, use cases, and best practices for creators.
0
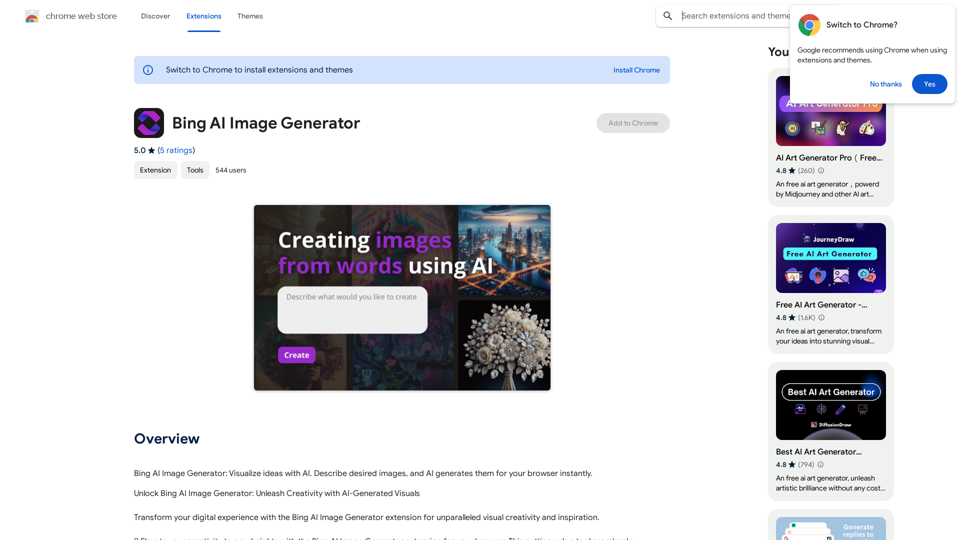
Bing AI Image Generator: See your ideas come to life with AI. Tell the AI what you want to see, and it will create the image in your browser right away.
193.90 M
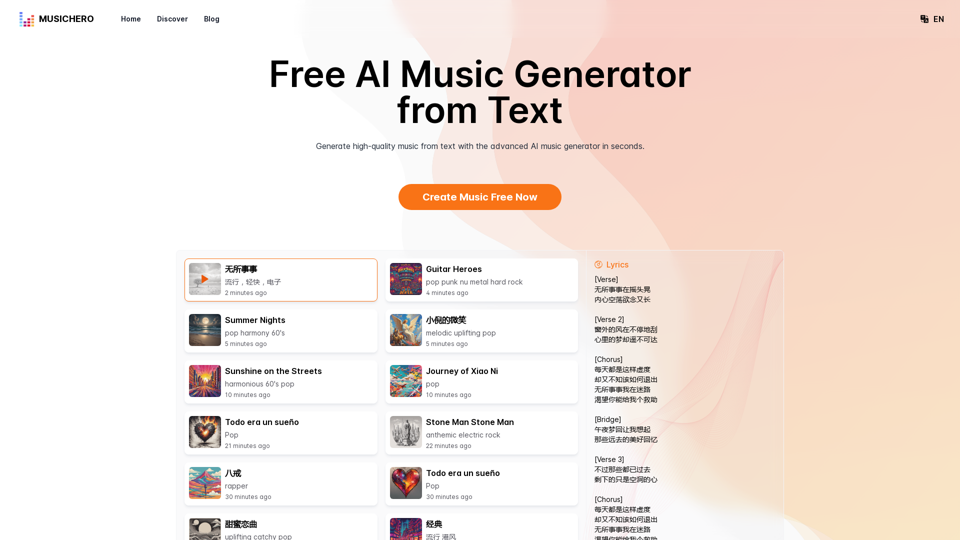
MusicHero.ai: Free AI Music Generator from Text Online
MusicHero.ai: Free AI Music Generator from Text OnlineGenerate high-quality music quickly with the advanced AI music generator. Platforms like MusicHero.ai, powered by Suno V3.5 technology, offer AI music generator free online services. Create music from text or lyrics effortlessly with this versatile text to music AI tool.
577.73 K
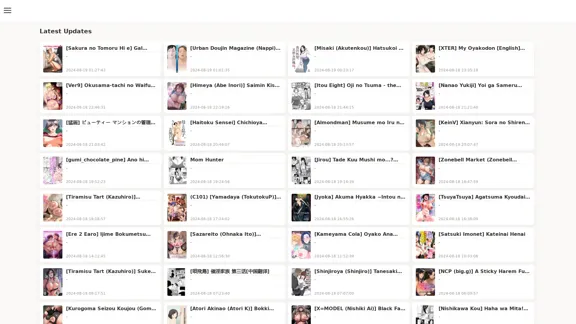
FreeAI Manga is a website that provides free access to a wide variety of manga content, including doujinshi and adult-oriented manga. The site features a regularly updated collection of manga titles across different genres and languages, with a focus on fan-translated works.
0
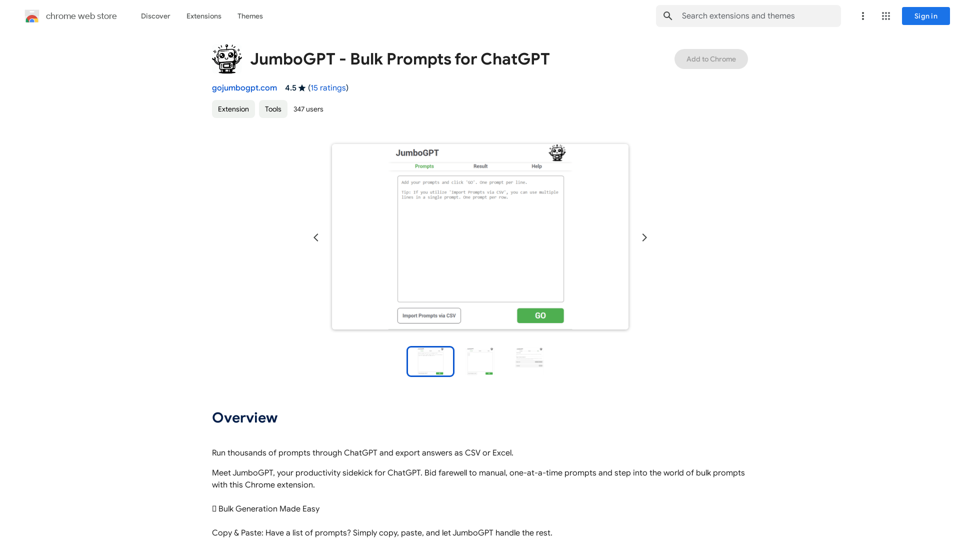
JumboGPT - Bulk Prompts for ChatGPT This is a collection of bulk prompts for ChatGPT, designed to help you explore its capabilities and generate diverse creative text formats. Instructions: * Each prompt is designed to be used individually with ChatGPT. * You can copy and paste the prompts directly into the ChatGPT interface. * Feel free to modify the prompts to suit your specific needs and interests. Categories: * Story Starters: > A lone astronaut stumbles upon a derelict spaceship... > The old woman sat on the park bench, watching the children play... > A mysterious package arrived on her doorstep, addressed simply to "The Keeper"... * Creative Writing: > Write a short poem about the feeling of nostalgia. > Compose a song about a robot who falls in love with a human. > Describe a world where animals can talk. * Dialogue Prompts: > Two friends argue about the best way to spend a weekend. > A detective interrogates a suspect in a murder case. > A parent tries to explain a difficult concept to their child. * Worldbuilding: > Create a detailed description of a fantasy city. > Design a new species of creature for a science fiction story. > Develop a unique magic system for a medieval world. * Code Generation: > Write a Python function to calculate the factorial of a number. > Generate HTML code for a simple webpage. > Create a SQL query to retrieve data from a database. * Humor: > Write a joke about a programmer. > Create a funny story about a talking cat. > Generate a list of puns about food. * Educational: > Explain the concept of photosynthesis in simple terms. > Summarize the main events of the American Revolution. > Provide a brief history of the development of the internet.
JumboGPT - Bulk Prompts for ChatGPT This is a collection of bulk prompts for ChatGPT, designed to help you explore its capabilities and generate diverse creative text formats. Instructions: * Each prompt is designed to be used individually with ChatGPT. * You can copy and paste the prompts directly into the ChatGPT interface. * Feel free to modify the prompts to suit your specific needs and interests. Categories: * Story Starters: > A lone astronaut stumbles upon a derelict spaceship... > The old woman sat on the park bench, watching the children play... > A mysterious package arrived on her doorstep, addressed simply to "The Keeper"... * Creative Writing: > Write a short poem about the feeling of nostalgia. > Compose a song about a robot who falls in love with a human. > Describe a world where animals can talk. * Dialogue Prompts: > Two friends argue about the best way to spend a weekend. > A detective interrogates a suspect in a murder case. > A parent tries to explain a difficult concept to their child. * Worldbuilding: > Create a detailed description of a fantasy city. > Design a new species of creature for a science fiction story. > Develop a unique magic system for a medieval world. * Code Generation: > Write a Python function to calculate the factorial of a number. > Generate HTML code for a simple webpage. > Create a SQL query to retrieve data from a database. * Humor: > Write a joke about a programmer. > Create a funny story about a talking cat. > Generate a list of puns about food. * Educational: > Explain the concept of photosynthesis in simple terms. > Summarize the main events of the American Revolution. > Provide a brief history of the development of the internet.Use ChatGPT to process many different questions and save the responses in a spreadsheet format like CSV or Excel.
193.90 M
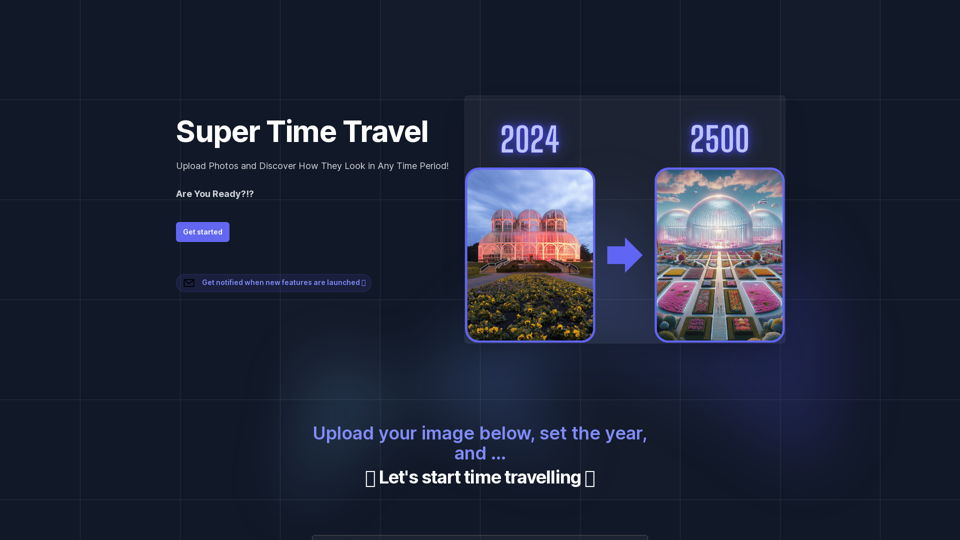
Super Time Travel - Explore the Past... and the Future
Super Time Travel - Explore the Past... and the FutureSuper Time Travel lets you upload your photos and see them transformed to any past or future year. Experience your images as they would appear in any historical era or future setting with the magic of AI.
0