APIFRAME offers a powerful Midjourney API for automating AI image generation. This service allows seamless integration into various applications, including no-code platforms like Zapier, Make.com, and Pabbly Connect. With features like stability, scalability, and easy integration, APIFRAME provides a comprehensive solution for developers and businesses looking to incorporate Midjourney's AI image generation capabilities into their projects.
Midjourney API - Automate Midjourney AI Image Generation This document outlines how to use the Midjourney API to automate the generation of AI images. What is the Midjourney API? The Midjourney API allows developers to programmatically interact with the powerful Midjourney AI model. This means you can generate images, control various parameters, and integrate Midjourney into your own applications and workflows. Why Use the Midjourney API? * Automation: Automate the creation of images for various purposes, such as marketing materials, website content, or research projects. * Customization: Fine-tune image generation by controlling parameters like aspect ratio, style, and seed values. * Integration: Seamlessly integrate Midjourney's capabilities into your existing tools and platforms. Getting Started 1. Sign Up for a Midjourney Account: You'll need a Midjourney account to access the API. 2. Obtain an API Key: Once you have an account, you can generate an API key from your account settings. 3. Choose a Programming Language: The Midjourney API supports various programming languages, including Python, JavaScript, and Go. 4. Install the API Client: Install the appropriate API client library for your chosen language. 5. Start Generating Images: Use the API client to send image generation requests to the Midjourney server. Example (Python): ```python import midjourney Replace with your actual API key api_key = "YOUR_API_KEY" Create a Midjourney client client = midjourney.Client(api_key=api_key) Generate an image response = client.create_image(prompt="A cat wearing a hat", num_images=1) Print the image URL print(response.images[0].url) ``` Documentation and Resources For detailed information about the Midjourney API, including available endpoints, parameters, and examples, please refer to the official documentation: [https://docs.midjourney.com/](https://docs.midjourney.com/)
Easily integrate Midjourney AI into your apps using the Midjourney API. Start creating AI images automatically today!
![Midjourney API - Automate Midjourney AI Image Generation
This document outlines how to use the Midjourney API to automate the generation of AI images.
What is the Midjourney API?
The Midjourney API allows developers to programmatically interact with the powerful Midjourney AI model. This means you can generate images, control various parameters, and integrate Midjourney into your own applications and workflows.
Why Use the Midjourney API?
* Automation: Automate the creation of images for various purposes, such as marketing materials, website content, or research projects.
* Customization: Fine-tune image generation by controlling parameters like aspect ratio, style, and seed values.
* Integration: Seamlessly integrate Midjourney's capabilities into your existing tools and platforms.
Getting Started
1. Sign Up for a Midjourney Account: You'll need a Midjourney account to access the API.
2. Obtain an API Key: Once you have an account, you can generate an API key from your account settings.
3. Choose a Programming Language: The Midjourney API supports various programming languages, including Python, JavaScript, and Go.
4. Install the API Client: Install the appropriate API client library for your chosen language.
5. Start Generating Images: Use the API client to send image generation requests to the Midjourney server.
Example (Python):
```python
import midjourney
Replace with your actual API key
api_key = "YOUR_API_KEY"
Create a Midjourney client
client = midjourney.Client(api_key=api_key)
Generate an image
response = client.create_image(prompt="A cat wearing a hat", num_images=1)
Print the image URL
print(response.images[0].url)
```
Documentation and Resources
For detailed information about the Midjourney API, including available endpoints, parameters, and examples, please refer to the official documentation: [https://docs.midjourney.com/](https://docs.midjourney.com/)
Midjourney API - Automate Midjourney AI Image Generation
This document outlines how to use the Midjourney API to automate the generation of AI images.
What is the Midjourney API?
The Midjourney API allows developers to programmatically interact with the powerful Midjourney AI model. This means you can generate images, control various parameters, and integrate Midjourney into your own applications and workflows.
Why Use the Midjourney API?
* Automation: Automate the creation of images for various purposes, such as marketing materials, website content, or research projects.
* Customization: Fine-tune image generation by controlling parameters like aspect ratio, style, and seed values.
* Integration: Seamlessly integrate Midjourney's capabilities into your existing tools and platforms.
Getting Started
1. Sign Up for a Midjourney Account: You'll need a Midjourney account to access the API.
2. Obtain an API Key: Once you have an account, you can generate an API key from your account settings.
3. Choose a Programming Language: The Midjourney API supports various programming languages, including Python, JavaScript, and Go.
4. Install the API Client: Install the appropriate API client library for your chosen language.
5. Start Generating Images: Use the API client to send image generation requests to the Midjourney server.
Example (Python):
```python
import midjourney
Replace with your actual API key
api_key = "YOUR_API_KEY"
Create a Midjourney client
client = midjourney.Client(api_key=api_key)
Generate an image
response = client.create_image(prompt="A cat wearing a hat", num_images=1)
Print the image URL
print(response.images[0].url)
```
Documentation and Resources
For detailed information about the Midjourney API, including available endpoints, parameters, and examples, please refer to the official documentation: [https://docs.midjourney.com/](https://docs.midjourney.com/)](https://static.right-ai.com/tools/2024/7/10/apiframe-pro-thumbnail-1720625482.png)
Introduction
Feature
Easy Integration
Empower your apps with APIFRAME's Midjourney API. The service offers simple integration into any application, allowing developers to quickly implement AI image generation functionality.
Scalability
APIFRAME's API is designed to handle growth effortlessly. It supports up to 50 concurrent generations, ensuring that your application can scale as needed without performance issues.
Seamless Access
The service is fully managed, eliminating the need for a separate Midjourney account. APIFRAME handles all aspects of access, including avoiding bans, making the process hassle-free for users.
Up-to-Date Technology
Users have access to the latest Midjourney version, ensuring that they can leverage the most recent advancements in AI image generation.
No-Code Platform Support
APIFRAME extends its functionality to popular no-code automation platforms like Zapier, Make.com, and Pabbly Connect, enabling users to automate Midjourney AI image generation without coding skills.
7-Day Trial
A low-cost trial option is available for $0.99, allowing users to test the service before committing to a full subscription.
24/7 Support
APIFRAME offers round-the-clock support, assisting users with API integration and addressing any concerns or questions they may have.
FAQ
Is this the official Midjourney API?
No, APIFRAME is not affiliated with, endorsed by, or officially connected to Midjourney, Inc. or any of its subsidiaries or affiliates.
Is there an API for Midjourney?
While there is no official API for Midjourney, APIFRAME offers a feature-rich API to automate Midjourney AI image creation.
How do I get my Midjourney API Keys?
After creating an account with APIFRAME, you can access your API Keys by logging in and clicking on the "Account" button to copy your API Key.
What sets APIFRAME apart from other services?
APIFRAME offers stable and scalable integration, supports no-code platforms, provides 24/7 support, and ensures access to the latest Midjourney version without the need for a separate Midjourney account.
Can I try the service before committing?
Yes, APIFRAME offers a 7-day trial for $0.99, allowing users to test the service before subscribing.
Related Websites
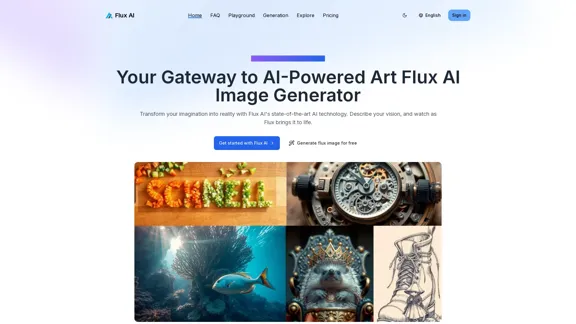
Flux AI Image Generator: The Future of Creative Visualization
Flux AI Image Generator: The Future of Creative VisualizationExplore the boundless possibilities of Flux AI, the leading AI image generator that converts your textual descriptions into breathtaking, one-of-a-kind visuals.
0
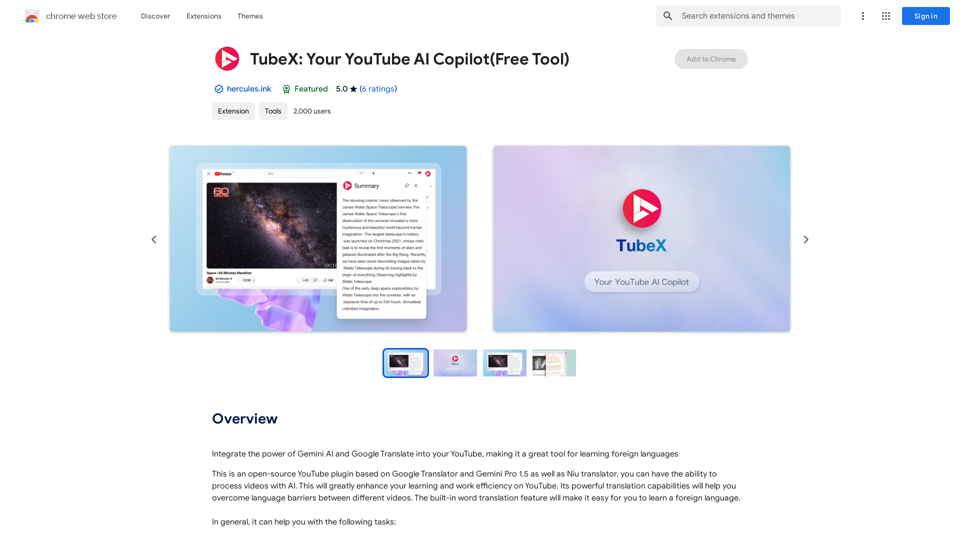
Integrate the power of Gemini AI and Google Translate into your YouTube, making it a great tool for learning foreign languages
193.90 M
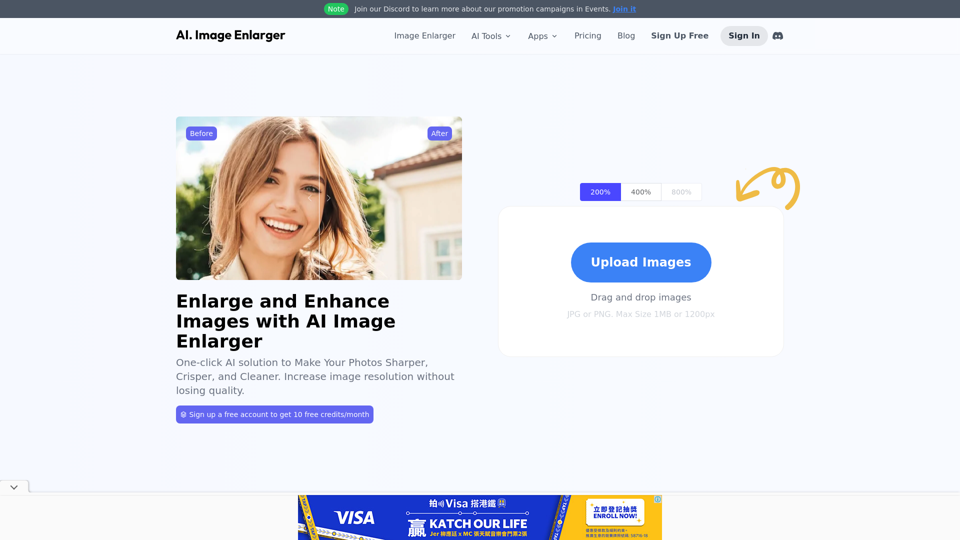
AI Image Enlarger | Enlarge Images Without Losing Quality!
AI Image Enlarger | Enlarge Images Without Losing Quality!AI Image Enlarger is a FREE online tool for automatically upscaling and enhancing small images. It can make jpg/png pictures larger without compromising quality.
614.68 K
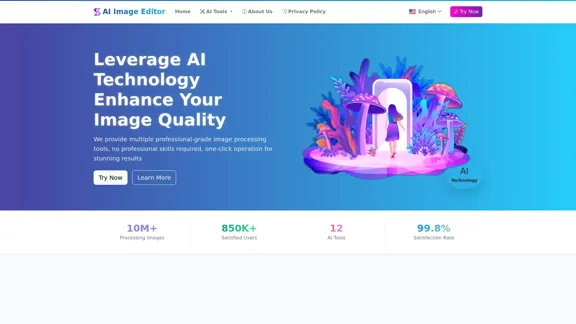
AI Image Editor │ Free Comprehensive Photo AI Tools
AI Image Editor │ Free Comprehensive Photo AI ToolsAIImageEditor.me offers 12 Free AI image tools—from image enhancement and watermark removal to style transfer and background editing—to simplify image editing.
21.99 K
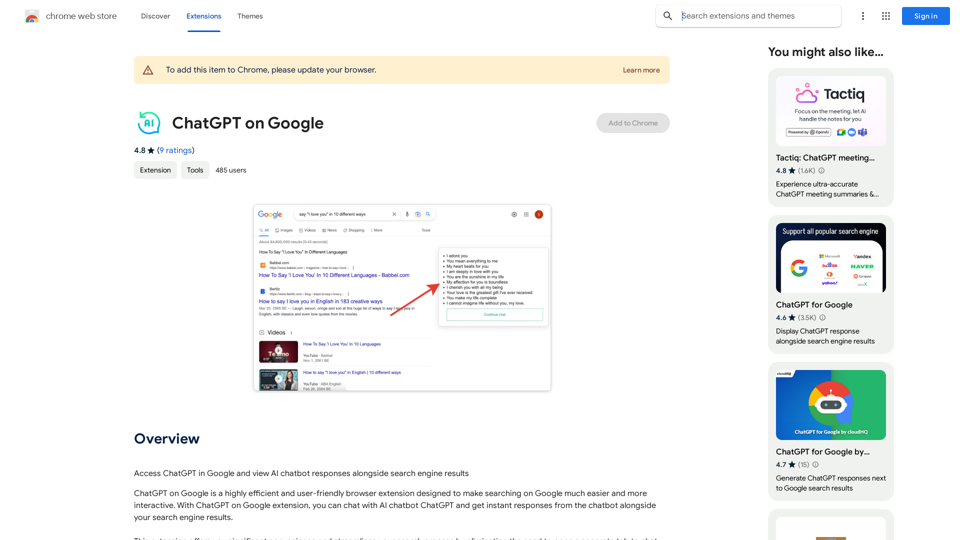
Use Google to access ChatGPT and see the AI chatbot's answers next to regular search results.
193.90 M
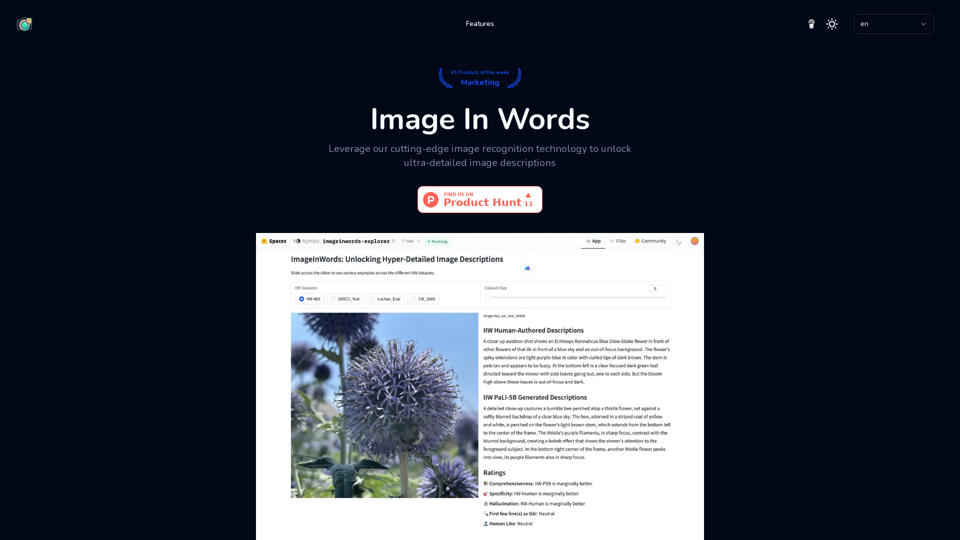
Image In Words: Unlock Text from Images with Google
Image In Words: Unlock Text from Images with GoogleDiscover how to use Google to convert images to text effortlessly. Click to learn more and start converting today!
0

AI Hug | AI-powered Photo Embrace & Text-to-Video Creator
AI Hug | AI-powered Photo Embrace & Text-to-Video CreatorAI Hug brings people closer through AI. Create heartwarming embraces from photos and transform your words into captivating videos.
0
