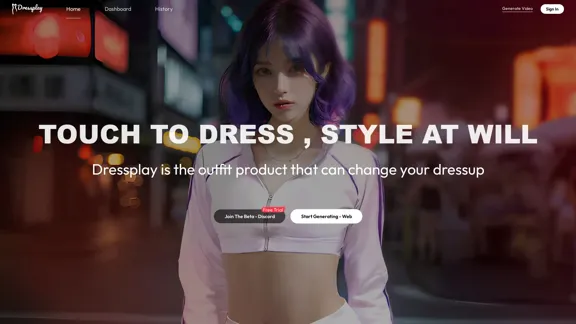
Dressplay is an innovative outfit product that revolutionizes the way you dress up. With its unique "touch to dress" concept, it allows users to style at will, offering a seamless and interactive approach to fashion. This AI-powered tool enables users to generate virtual outfit changes, providing a fun and practical solution for fashion enthusiasts and professionals alike.
Dressplay
Dressplay
Introduction
Feature
-
Virtual Outfit Generation
- Users can select specific clothing areas to modify
- Ability to choose a target person for the outfit change
- Option to select desired clothing items for the target person
-
User-Friendly Interface
- Step-by-step guidance through the generation process
- Clear instructions for each stage of outfit creation
-
Versatile Application
- Suitable for personal styling experiments
- Potential use in fashion retail and e-commerce
-
AI-Powered Technology
- Utilizes advanced AI to generate realistic outfit changes
- Aims to produce high-quality results based on user inputs
-
Accessibility
- Web-based platform for easy access
- Free trial option available for new users
-
Community Engagement
- Beta program with Discord community support
- Encourages user participation and feedback
FAQ
What is Dressplay?
Dressplay is an AI-powered outfit generator that allows users to virtually change clothes on target persons or images. It offers a unique "touch to dress" experience, enabling users to style outfits digitally.
How does Dressplay work?
Dressplay works in three main steps:
- Select the target clothing area you want to change.
- Choose the target person or image.
- Select the desired clothing item you want the target person to wear.
Is there a free trial available?
Yes, Dressplay offers a free trial for users to test the platform's capabilities.
How can I join the Beta program?
You can join the Beta program through Discord. The website provides a link to join the Discord community.
What type of images work best with Dressplay?
For optimal results, it's recommended to use clear images of the target person and flat product images for the target clothing items.
Evaluation
-
Dressplay presents an innovative approach to virtual fashion styling, leveraging AI technology to offer a unique and interactive experience. Its step-by-step process makes it accessible to users of varying technical abilities.
-
The platform's potential applications in personal styling, e-commerce, and fashion retail are significant. It could revolutionize how consumers interact with clothing online and how retailers showcase their products.
-
The availability of a free trial and beta program demonstrates the company's commitment to user feedback and continuous improvement. This approach could lead to rapid enhancements and a more refined user experience.
-
However, the success of Dressplay will largely depend on the quality and realism of its AI-generated outfit changes. If the results are not sufficiently realistic or accurate, it may limit the tool's practical applications.
-
Privacy and ethical considerations regarding the use of personal images should be clearly addressed to ensure user trust and compliance with data protection regulations.
-
While the concept is promising, Dressplay will need to differentiate itself from existing virtual try-on solutions and continuously innovate to maintain a competitive edge in the rapidly evolving AI fashion tech market.
Related Websites
![Batch Save ChatGPT to Notion
This is a guide on how to save multiple ChatGPT responses to Notion in a batch.
Tools You'll Need:
* ChatGPT: An AI chatbot that can generate text.
* Notion: A note-taking and project management tool.
* Python: A programming language.
* Requests Library: A Python library for making HTTP requests.
Steps:
1. Get Your Notion API Token:
- Go to your Notion workspace settings.
- Navigate to the "Integrations" tab.
- Click "Create new integration" and choose "API Token".
- Copy your API token.
2. Install Python Libraries:
- Open your terminal or command prompt.
- Type `pip install requests` and press Enter.
3. Write Python Script:
- Create a new Python file (e.g., `save_chatgpt_to_notion.py`).
- Paste the following code into the file, replacing `YOUR_NOTION_API_TOKEN` with your actual token:
```python
import requests
def save_chatgpt_response_to_notion(response, page_id, token):
"""Saves a ChatGPT response to a Notion page."""
url = f"https://api.notion.com/v1/pages/{page_id}/children"
headers = {"Authorization": f"Bearer {token}"}
data = {
"parent": {
"page_id": page_id
},
"properties": {
"title": {
"title": [
{
"text": {
"content": "ChatGPT Response"
}
}
]
},
"content": {
"rich_text": [
{
"text": {
"content": response
}
}
]
}
}
}
response = requests.post(url, headers=headers, json=data)
print(response.status_code)
Example usage
page_id = "YOUR_NOTION_PAGE_ID"
token = "YOUR_NOTION_API_TOKEN"
Get ChatGPT responses (replace with your actual ChatGPT interaction)
chatgpt_responses = [
"This is the first ChatGPT response.",
"This is the second ChatGPT response.",
"This is the third ChatGPT response."
]
Save each response to Notion
for response in chatgpt_responses:
save_chatgpt_response_to_notion(response, page_id, token)
```
4. Run the Script:
- In your terminal, navigate to the directory where you saved the Python file.
- Type `python save_chatgpt_to_notion.py` and press Enter.
5. Check Notion:
- Open your Notion workspace and go to the page specified by `page_id`.
- You should see your ChatGPT responses saved as separate blocks.](https://static.right-ai.com/tools/2024/7/4/chromewebstore-google-com-detail-save-chatgpt-to-notion-da-djefhicmpbpmmlagbgooepmbobdhajgn-thumbnail-1720087209.png "Batch Save ChatGPT to Notion
This is a guide on how to save multiple ChatGPT responses to Notion in a batch.
Tools You'll Need:
* ChatGPT: An AI chatbot that can generate text.
* Notion: A note-taking and project management tool.
* Python: A programming language.
* Requests Library: A Python library for making HTTP requests.
Steps:
1. Get Your Notion API Token:
- Go to your Notion workspace settings.
- Navigate to the \"Integrations\" tab.
- Click \"Create new integration\" and choose \"API Token\".
- Copy your API token.
2. Install Python Libraries:
- Open your terminal or command prompt.
- Type `pip install requests` and press Enter.
3. Write Python Script:
- Create a new Python file (e.g., `save_chatgpt_to_notion.py`).
- Paste the following code into the file, replacing `YOUR_NOTION_API_TOKEN` with your actual token:
```python
import requests
def save_chatgpt_response_to_notion(response, page_id, token):
\"\"\"Saves a ChatGPT response to a Notion page.\"\"\"
url = f\"https://api.notion.com/v1/pages/{page_id}/children\"
headers = {\"Authorization\": f\"Bearer {token}\"}
data = {
\"parent\": {
\"page_id\": page_id
},
\"properties\": {
\"title\": {
\"title\": [
{
\"text\": {
\"content\": \"ChatGPT Response\"
}
}
]
},
\"content\": {
\"rich_text\": [
{
\"text\": {
\"content\": response
}
}
]
}
}
}
response = requests.post(url, headers=headers, json=data)
print(response.status_code)
Example usage
page_id = \"YOUR_NOTION_PAGE_ID\"
token = \"YOUR_NOTION_API_TOKEN\"
Get ChatGPT responses (replace with your actual ChatGPT interaction)
chatgpt_responses = [
\"This is the first ChatGPT response.\",
\"This is the second ChatGPT response.\",
\"This is the third ChatGPT response.\"
]
Save each response to Notion
for response in chatgpt_responses:
save_chatgpt_response_to_notion(response, page_id, token)
```
4. Run the Script:
- In your terminal, navigate to the directory where you saved the Python file.
- Type `python save_chatgpt_to_notion.py` and press Enter.
5. Check Notion:
- Open your Notion workspace and go to the page specified by `page_id`.
- You should see your ChatGPT responses saved as separate blocks.")
Batch Save ChatGPT to Notion This is a guide on how to save multiple ChatGPT responses to Notion in a batch. Tools You'll Need: * ChatGPT: An AI chatbot that can generate text. * Notion: A note-taking and project management tool. * Python: A programming language. * Requests Library: A Python library for making HTTP requests. Steps: 1. Get Your Notion API Token: - Go to your Notion workspace settings. - Navigate to the "Integrations" tab. - Click "Create new integration" and choose "API Token". - Copy your API token. 2. Install Python Libraries: - Open your terminal or command prompt. - Type `pip install requests` and press Enter. 3. Write Python Script: - Create a new Python file (e.g., `save_chatgpt_to_notion.py`). - Paste the following code into the file, replacing `YOUR_NOTION_API_TOKEN` with your actual token: ```python import requests def save_chatgpt_response_to_notion(response, page_id, token): """Saves a ChatGPT response to a Notion page.""" url = f"https://api.notion.com/v1/pages/{page_id}/children" headers = {"Authorization": f"Bearer {token}"} data = { "parent": { "page_id": page_id }, "properties": { "title": { "title": [ { "text": { "content": "ChatGPT Response" } } ] }, "content": { "rich_text": [ { "text": { "content": response } } ] } } } response = requests.post(url, headers=headers, json=data) print(response.status_code) Example usage page_id = "YOUR_NOTION_PAGE_ID" token = "YOUR_NOTION_API_TOKEN" Get ChatGPT responses (replace with your actual ChatGPT interaction) chatgpt_responses = [ "This is the first ChatGPT response.", "This is the second ChatGPT response.", "This is the third ChatGPT response." ] Save each response to Notion for response in chatgpt_responses: save_chatgpt_response_to_notion(response, page_id, token) ``` 4. Run the Script: - In your terminal, navigate to the directory where you saved the Python file. - Type `python save_chatgpt_to_notion.py` and press Enter. 5. Check Notion: - Open your Notion workspace and go to the page specified by `page_id`. - You should see your ChatGPT responses saved as separate blocks.
Batch Save ChatGPT to Notion This is a guide on how to save multiple ChatGPT responses to Notion in a batch. Tools You'll Need: * ChatGPT: An AI chatbot that can generate text. * Notion: A note-taking and project management tool. * Python: A programming language. * Requests Library: A Python library for making HTTP requests. Steps: 1. Get Your Notion API Token: - Go to your Notion workspace settings. - Navigate to the "Integrations" tab. - Click "Create new integration" and choose "API Token". - Copy your API token. 2. Install Python Libraries: - Open your terminal or command prompt. - Type `pip install requests` and press Enter. 3. Write Python Script: - Create a new Python file (e.g., `save_chatgpt_to_notion.py`). - Paste the following code into the file, replacing `YOUR_NOTION_API_TOKEN` with your actual token: ```python import requests def save_chatgpt_response_to_notion(response, page_id, token): """Saves a ChatGPT response to a Notion page.""" url = f"https://api.notion.com/v1/pages/{page_id}/children" headers = {"Authorization": f"Bearer {token}"} data = { "parent": { "page_id": page_id }, "properties": { "title": { "title": [ { "text": { "content": "ChatGPT Response" } } ] }, "content": { "rich_text": [ { "text": { "content": response } } ] } } } response = requests.post(url, headers=headers, json=data) print(response.status_code) Example usage page_id = "YOUR_NOTION_PAGE_ID" token = "YOUR_NOTION_API_TOKEN" Get ChatGPT responses (replace with your actual ChatGPT interaction) chatgpt_responses = [ "This is the first ChatGPT response.", "This is the second ChatGPT response.", "This is the third ChatGPT response." ] Save each response to Notion for response in chatgpt_responses: save_chatgpt_response_to_notion(response, page_id, token) ``` 4. Run the Script: - In your terminal, navigate to the directory where you saved the Python file. - Type `python save_chatgpt_to_notion.py` and press Enter. 5. Check Notion: - Open your Notion workspace and go to the page specified by `page_id`. - You should see your ChatGPT responses saved as separate blocks.Save ChatGPT Conversations to Notion with One Click Export your ChatGPT conversations directly to Notion with a single click.
193.90 M
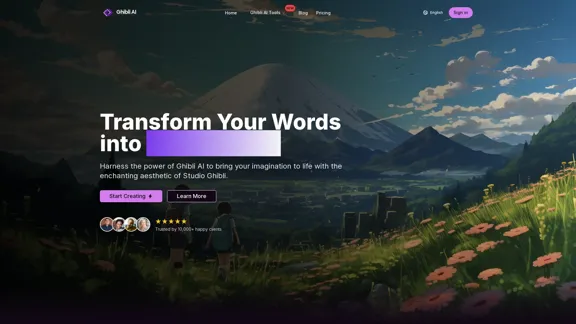
Create stunning Studio Ghibli style artwork using AI. Our text-to-image generator brings your imagination to life with the magical aesthetic of Ghibli animation.
0
![Simplified Chrome Extension
This is a basic Chrome extension designed to be easy to understand and modify.
Manifest File (manifest.json):
```json
{
"manifest_version": 3,
"name": "Simplified Extension",
"version": "1.0",
"description": "A simple Chrome extension example.",
"permissions": [
"activeTab"
],
"action": {
"default_popup": "popup.html"
}
}
```
Popup HTML (popup.html):
```html
<!DOCTYPE html>
<html>
<head>
<title>Simplified Extension</title>
</head>
<body>
<h1>Hello from the extension!</h1>
<p>This is a simple popup.</p>
</body>
</html>
```
Explanation:
* manifest.json: This file tells Chrome what your extension does.
* `manifest_version`: Specifies the version of the manifest file format.
* `name`: The name of your extension.
* `version`: The current version of your extension.
* `description`: A brief description of your extension.
* `permissions`: Lists the permissions your extension needs to function. Here, it needs access to the active tab.
* `action`: Defines the popup that appears when the extension icon is clicked.
* popup.html: This file contains the HTML code for the popup window.
How it works:
1. When you install the extension, Chrome reads the `manifest.json` file.
2. When you click the extension icon, Chrome opens the `popup.html` file in a new window.
3. The popup displays the "Hello from the extension!" message.](https://static.right-ai.com/tools/2024/7/4/chromewebstore-google-com-detail-simplified-chrome-extensi-hibfheifkaehlpnfggmfimfbhhffcmla-thumbnail-1720057553.png "Simplified Chrome Extension
This is a basic Chrome extension designed to be easy to understand and modify.
Manifest File (manifest.json):
```json
{
\"manifest_version\": 3,
\"name\": \"Simplified Extension\",
\"version\": \"1.0\",
\"description\": \"A simple Chrome extension example.\",
\"permissions\": [
\"activeTab\"
],
\"action\": {
\"default_popup\": \"popup.html\"
}
}
```
Popup HTML (popup.html):
```html
<!DOCTYPE html>
<html>
<head>
<title>Simplified Extension</title>
</head>
<body>
<h1>Hello from the extension!</h1>
<p>This is a simple popup.</p>
</body>
</html>
```
Explanation:
* manifest.json: This file tells Chrome what your extension does.
* `manifest_version`: Specifies the version of the manifest file format.
* `name`: The name of your extension.
* `version`: The current version of your extension.
* `description`: A brief description of your extension.
* `permissions`: Lists the permissions your extension needs to function. Here, it needs access to the active tab.
* `action`: Defines the popup that appears when the extension icon is clicked.
* popup.html: This file contains the HTML code for the popup window.
How it works:
1. When you install the extension, Chrome reads the `manifest.json` file.
2. When you click the extension icon, Chrome opens the `popup.html` file in a new window.
3. The popup displays the \"Hello from the extension!\" message.")
Simplified Chrome Extension This is a basic Chrome extension designed to be easy to understand and modify. Manifest File (manifest.json): ```json { "manifest_version": 3, "name": "Simplified Extension", "version": "1.0", "description": "A simple Chrome extension example.", "permissions": [ "activeTab" ], "action": { "default_popup": "popup.html" } } ``` Popup HTML (popup.html): ```html <!DOCTYPE html> <html> <head> <title>Simplified Extension</title> </head> <body> <h1>Hello from the extension!</h1> <p>This is a simple popup.</p> </body> </html> ``` Explanation: * manifest.json: This file tells Chrome what your extension does. * `manifest_version`: Specifies the version of the manifest file format. * `name`: The name of your extension. * `version`: The current version of your extension. * `description`: A brief description of your extension. * `permissions`: Lists the permissions your extension needs to function. Here, it needs access to the active tab. * `action`: Defines the popup that appears when the extension icon is clicked. * popup.html: This file contains the HTML code for the popup window. How it works: 1. When you install the extension, Chrome reads the `manifest.json` file. 2. When you click the extension icon, Chrome opens the `popup.html` file in a new window. 3. The popup displays the "Hello from the extension!" message.
Simplified Chrome Extension This is a basic Chrome extension designed to be easy to understand and modify. Manifest File (manifest.json): ```json { "manifest_version": 3, "name": "Simplified Extension", "version": "1.0", "description": "A simple Chrome extension example.", "permissions": [ "activeTab" ], "action": { "default_popup": "popup.html" } } ``` Popup HTML (popup.html): ```html <!DOCTYPE html> <html> <head> <title>Simplified Extension</title> </head> <body> <h1>Hello from the extension!</h1> <p>This is a simple popup.</p> </body> </html> ``` Explanation: * manifest.json: This file tells Chrome what your extension does. * `manifest_version`: Specifies the version of the manifest file format. * `name`: The name of your extension. * `version`: The current version of your extension. * `description`: A brief description of your extension. * `permissions`: Lists the permissions your extension needs to function. Here, it needs access to the active tab. * `action`: Defines the popup that appears when the extension icon is clicked. * popup.html: This file contains the HTML code for the popup window. How it works: 1. When you install the extension, Chrome reads the `manifest.json` file. 2. When you click the extension icon, Chrome opens the `popup.html` file in a new window. 3. The popup displays the "Hello from the extension!" message.Design & Collaborate Marketing made easy #Simplified
193.90 M
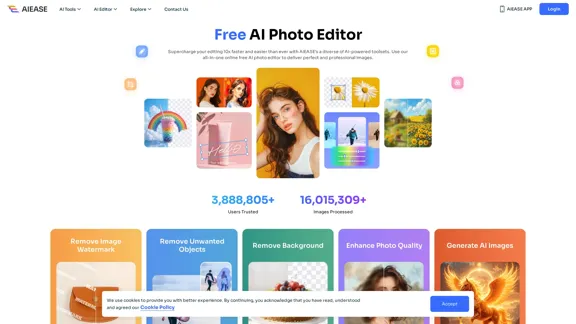
Free AI Photo Editor: Simplify Photo Editing Online - AI Ease
Free AI Photo Editor: Simplify Photo Editing Online - AI EaseSimplify and automate your photo editing with AI Ease. Experience a variety of AI photo editing tools to enhance every aspect of your images for free.
2.46 M
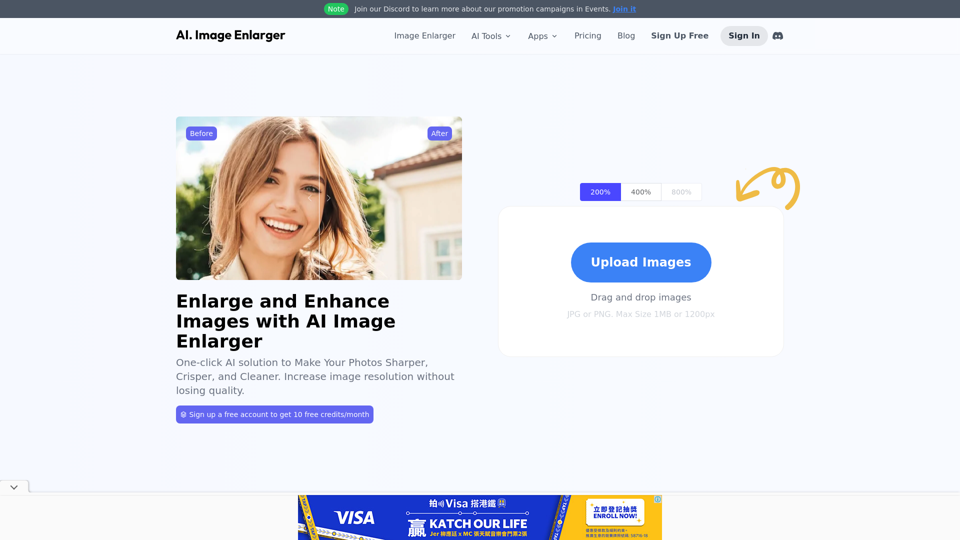
AI Image Enlarger | Enlarge Images Without Losing Quality!
AI Image Enlarger | Enlarge Images Without Losing Quality!AI Image Enlarger is a FREE online tool for automatically upscaling and enhancing small images. It can make jpg/png pictures larger without compromising quality.
614.68 K
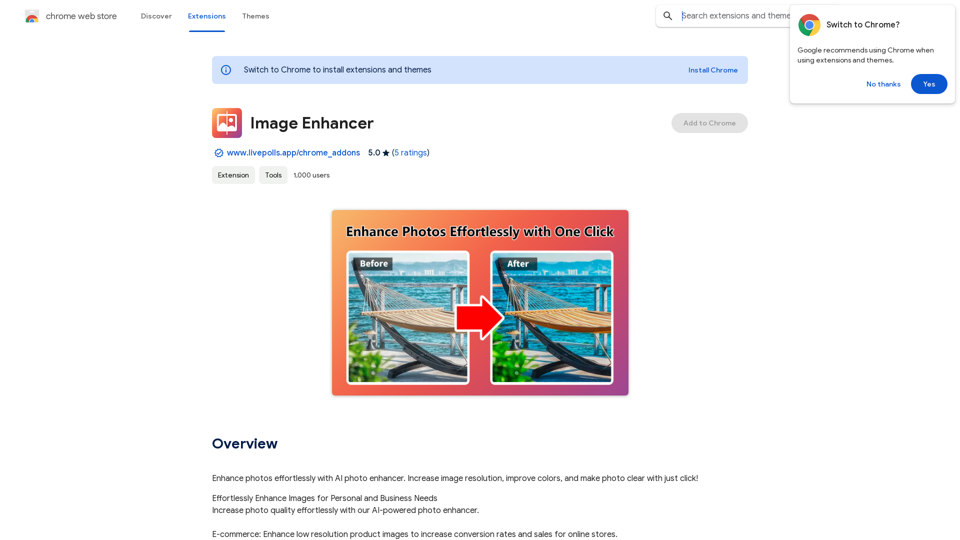
Enhance photos effortlessly with AI photo enhancer. Increase image resolution, improve colors, and make photo clear with just a click!
193.90 M
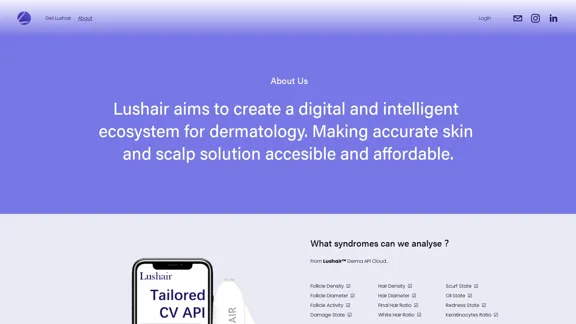
Lushair, AI-Powered Hair & Scalp Analysis | Personalized Care Solutions
Lushair, AI-Powered Hair & Scalp Analysis | Personalized Care SolutionsUnlock the secrets of healthy hair with our AI-powered hair and scalp analysis. Discover personalized insights, effective treatments, and embrace a vibrant, confident you. Elevate your hair care journey with cutting-edge technology and expert analysis.
0