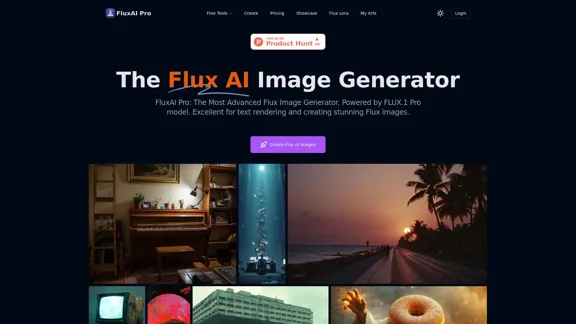
FluxAI Pro is an advanced AI-powered image generation platform that utilizes the FLUX.1 Pro model. It excels in creating high-quality images with exceptional text rendering capabilities. The platform offers various models, including FLUX.1 Pro, Dev, and Schnell, each tailored for different use cases ranging from professional applications to rapid prototyping.
FluxAI Pro - Advanced Flux Image Generator
FluxAI Pro: Superior Flux Image Generator with exceptional text rendering. Powered by FLUX.1 Pro, Dev, Schnell and Realism models.
Introduction
Feature
| Feature | Description |
|---|---|
| Advanced AI Architecture | FLUX.1 models use cutting-edge transformer-based flow technology, scaled to 12 billion parameters for top performance. |
| Exceptional Image Quality | Generate high-res images up to 2.0 megapixels with remarkable detail, supporting various aspect ratios. |
| Precise Prompt Adherence | Superior text-to-image synthesis with exceptional ability to interpret and faithfully render complex prompts. |
| Versatile Model Options | Choose from FLUX.1 Pro, Dev, and Schnell variants, each tailored for different use cases. |
| Flexible Access Methods | Access through API integration, platforms like Replicate and fal.ai, or explore open-weight versions for non-commercial projects. |
| Innovative Text Rendering | Advanced capabilities in rendering clear, readable text within generated images. |
How to Use?
- Start with 100 free credits upon signing up.
- Experiment with different FLUX.1 models to find the best fit for your needs.
- Use the Flux Prompt Generator to enhance your prompts for better results.
- Consider purchasing additional credits to unlock more features like private mode and safety tolerance adjustment.
- Explore the community showcase for inspiration from other users' creations.
- Try different aspect ratios to suit your specific image requirements.
- For commercial use, ensure you're using the appropriate model and license.
FAQ
What makes FLUX.1 models unique?
FLUX.1 models stand out with excellent prompt following, superior visual quality, intricate image detail, and diverse outputs across various styles and subjects.
Can I use FluxAI Pro for commercial purposes?
Yes, FluxAI Pro and its FLUX.1 models are suitable for both personal and commercial use, meeting professional standards for various applications.
How often are the FLUX.1 models updated?
The developers are committed to continuous improvement, regularly updating FLUX.1 models to enhance capabilities and performance.
What image sizes can I generate?
Both free and paid users can choose from various aspect ratios: Square (512x512), Square HD (1024x1024), Portrait 4:3 (768x1024), Portrait 16:9 (576x1024), Landscape 4:3 (1024x768), and Landscape 16:9 (1024x576).
How do credits work in FluxAI Pro?
Credits are used to generate images. The credit cost varies by model: FLUX.1 Schnell (1 credit), FLUX.1 Dev (10 credits), and FLUX.1 Pro (20 credits). Free users receive a set number of credits each month.
Price
The website does not provide specific pricing information. However, it mentions a free plan with 100 credits for new users and the option to purchase additional credits for more features and image generation.
The price is for reference only, please refer to the latest official data for actual information.
Evaluation
-
FluxAI Pro offers a robust set of features, including high-quality image generation, versatile model options, and advanced text rendering capabilities, making it a strong contender in the AI image generation market.
-
The platform's focus on prompt adherence and image quality sets it apart from some competitors, potentially making it more suitable for professional or detailed work.
-
The credit system and model-specific pricing could be more transparent, as the website lacks clear information on subscription plans or exact costs for additional credits.
-
While the platform offers commercial usage, the distinction between open-source and proprietary models may require careful consideration for users with specific licensing needs.
-
The regular updates and community showcase demonstrate a commitment to improvement and user engagement, which is a positive aspect of the platform.
-
More information on the ethical considerations and content moderation policies would be beneficial for users concerned about responsible AI use.
Related Websites

Image Describer - AI Describe Image or Picture Online With the advancement of Artificial Intelligence (AI), it is now possible to describe images or pictures online using an Image Describer. This innovative tool uses computer vision and machine learning algorithms to analyze and identify the contents of an image, generating a descriptive text of what it sees. How it Works The process is quite simple: 1. Upload an Image: You can upload an image or enter the URL of an online image to the Image Describer tool. 2. AI Analysis: The AI algorithm analyzes the image, detecting objects, people, animals, and other elements within the picture. 3. Generate Description: The AI generates a descriptive text based on the analysis, providing a clear and concise description of the image. Applications of Image Describer The Image Describer has numerous applications, including: * Accessibility: Helping visually impaired individuals to understand the content of an image. * E-commerce: Providing product descriptions for online shopping platforms. * Search Engine Optimization (SEO): Generating alt tags and descriptions for images to improve search engine rankings. * Content Creation: Assisting writers and content creators with image descriptions. Benefits of Image Describer The Image Describer offers several benefits, including: * Time-Saving: Automating the process of image description, saving time and effort. * Accuracy: Providing accurate and objective descriptions of images. * Efficiency: Enabling individuals to focus on other tasks while the AI handles image description. Try it Out Experience the power of AI-driven image description today! Upload an image or enter a URL to see the Image Describer in action.
Image Describer - AI Describe Image or Picture Online With the advancement of Artificial Intelligence (AI), it is now possible to describe images or pictures online using an Image Describer. This innovative tool uses computer vision and machine learning algorithms to analyze and identify the contents of an image, generating a descriptive text of what it sees. How it Works The process is quite simple: 1. Upload an Image: You can upload an image or enter the URL of an online image to the Image Describer tool. 2. AI Analysis: The AI algorithm analyzes the image, detecting objects, people, animals, and other elements within the picture. 3. Generate Description: The AI generates a descriptive text based on the analysis, providing a clear and concise description of the image. Applications of Image Describer The Image Describer has numerous applications, including: * Accessibility: Helping visually impaired individuals to understand the content of an image. * E-commerce: Providing product descriptions for online shopping platforms. * Search Engine Optimization (SEO): Generating alt tags and descriptions for images to improve search engine rankings. * Content Creation: Assisting writers and content creators with image descriptions. Benefits of Image Describer The Image Describer offers several benefits, including: * Time-Saving: Automating the process of image description, saving time and effort. * Accuracy: Providing accurate and objective descriptions of images. * Efficiency: Enabling individuals to focus on other tasks while the AI handles image description. Try it Out Experience the power of AI-driven image description today! Upload an image or enter a URL to see the Image Describer in action.AI Image Describer is a tool to describe images or pictures online. It can be used as an image description and caption generator. Additionally, it supports image-to-prompt and text extraction from photos.
5.16 K
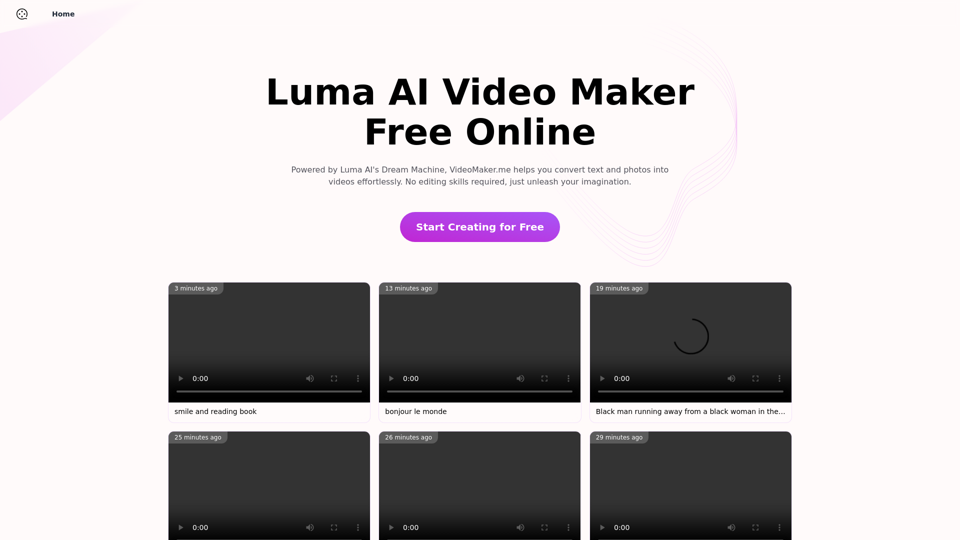
Luma AI Video Generator Free Online - Convert Text and Photos to Video at VideoMaker.me
Luma AI Video Generator Free Online - Convert Text and Photos to Video at VideoMaker.meDiscover the power of Luma AI's Dream Machine, an advanced video generator that transforms text and images into high-quality, dynamic videos. Ideal for creators, marketers, and innovators, videomaker.me brings your visual ideas to life with stunning realism and versatility.
397.91 K
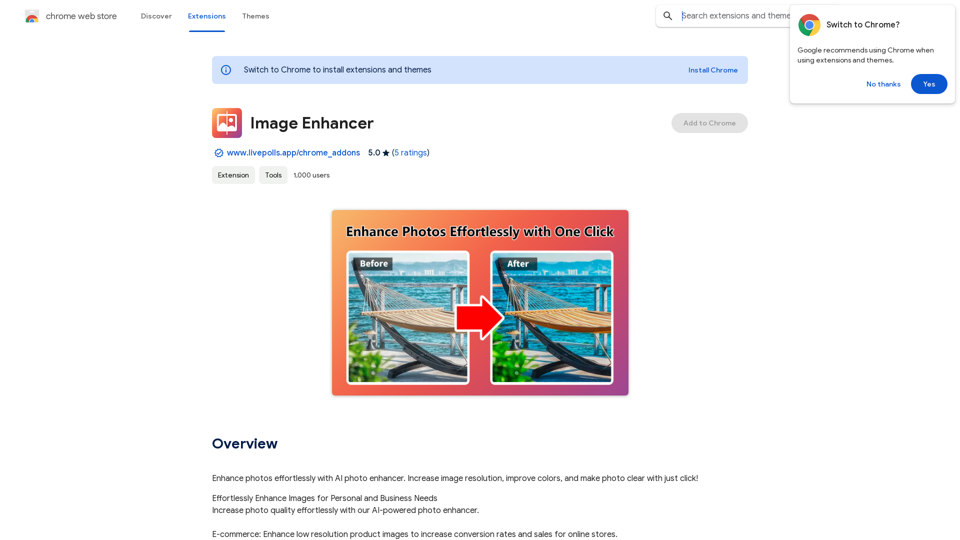
Enhance photos effortlessly with AI photo enhancer. Increase image resolution, improve colors, and make photo clear with just a click!
193.90 M

Free Instant Influencer Search Tool - Find the Best Match for Your Influencer
Free Instant Influencer Search Tool - Find the Best Match for Your InfluencerReceive instant research and discover the most relevant influencers with our AI-driven platform. Find YouTube influencers. Find the best fit TikTok & Instagram influencers.
0