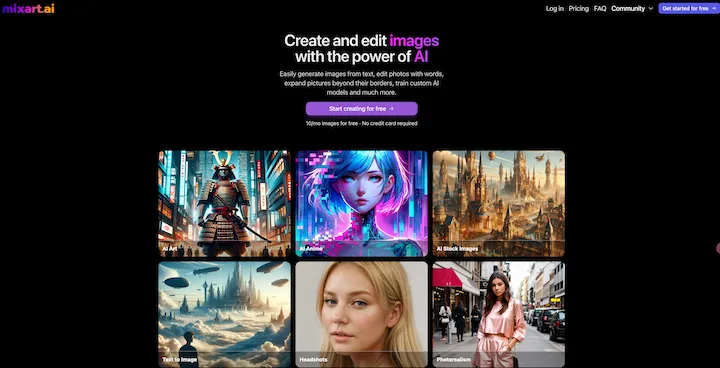
MixArt is an innovative AI-powered platform for image creation and editing. It offers a range of tools including text-to-image generation, photo editing, image expansion, and custom AI model training. With its user-friendly interface, MixArt caters to both creative professionals and hobbyists, providing high-quality image generation without requiring extensive technical skills.
AI Image Generator Free: Create and Edit Images with AI
With our free AI image generator, creating and editing images has never been easier. Harness the potential of AI to effortlessly generate and customize visuals according to your vision. Start creating today!
Introduction
Feature
AI-Powered Image Generation
MixArt utilizes advanced AI technology to create images from text descriptions, allowing users to bring their ideas to life quickly and easily.
Photo Editing and Expansion
Users can upload existing photos for editing or expansion, enhancing their visual content with AI assistance.
Custom AI Model Training
MixArt offers the ability to train custom AI models, enabling users to tailor the platform to their specific needs and preferences.
Versatile Art and Design Applications
The platform supports various art styles and design applications, including anime art, stock photos, headshots, avatars, and wallpapers.
User-Friendly Interface
With a simple sign-up process and intuitive tools, MixArt makes AI-powered image creation accessible to users of all skill levels.
Free Trial and Flexible Plans
MixArt offers a free plan with 10 image creations per month, as well as paid subscription options for increased access and features.
FAQ
What types of images can I create with MixArt?
MixArt supports the creation of various image types, including:
- Stock photos
- Headshots
- Avatars
- Wallpapers
- Anime art
- Custom designs
How can I maximize the use of MixArt's services?
To get the most out of MixArt:
- Utilize the free monthly image creation limit
- Explore different AI models for diverse results
- Use the editing tools to enhance and customize your images
- Consider upgrading to a paid plan for extended access and features
Is my privacy protected when using MixArt?
MixArt prioritizes user privacy:
- Data is not used for training without consent
- Users can manage their data and privacy settings within their accounts
- Information is handled securely
What are the pricing options for MixArt?
| Plan | Price | Features |
|---|---|---|
| Free | $0 | 10 images/month |
| Basic | $9.99/month | Extended access |
| Standard | $19.99/month | More features |
| Pro | $49.99/month | Highest usage limits |
Latest Traffic Insights
Monthly Visits
9.93 K
Bounce Rate
43.27%
Pages Per Visit
7.06
Time on Site(s)
715.84
Global Rank
1469058
Country Rank
Egypt 15128
Recent Visits
Traffic Sources
- Social Media:9.69%
- Paid Referrals:1.36%
- Email:0.19%
- Referrals:12.73%
- Search Engines:33.38%
- Direct:41.80%
Related Websites

Ai Workout Generator ===================== What is an AI Workout Generator? An AI workout generator is a tool that uses artificial intelligence to create personalized workout plans tailored to an individual's fitness goals, fitness level, and preferences. How does it work? The AI workout generator uses machine learning algorithms to analyze a user's input data, such as their fitness goals, fitness level, and exercise preferences. It then generates a customized workout plan that includes a series of exercises, sets, reps, and weights tailored to the user's specific needs. Benefits of using an AI Workout Generator * Personalized workouts: The AI workout generator creates a workout plan that is tailored to the user's specific fitness goals and fitness level. * Time-saving: The AI workout generator saves time by eliminating the need to research and create a workout plan from scratch. * Increased motivation: The AI workout generator provides a sense of accountability and motivation, as users are more likely to stick to a workout plan that is tailored to their specific needs. * Improved results: The AI workout generator helps users achieve their fitness goals faster and more efficiently, as the workout plan is optimized for their specific needs. How to use an AI Workout Generator 1. Input your data: Enter your fitness goals, fitness level, and exercise preferences into the AI workout generator. 2. Select your workout type: Choose the type of workout you want to do, such as strength training, cardio, or yoga. 3. Generate your workout plan: The AI workout generator will create a customized workout plan tailored to your specific needs. 4. Start your workout: Follow the workout plan and track your progress. Conclusion An AI workout generator is a powerful tool that can help individuals achieve their fitness goals faster and more efficiently. By providing personalized workout plans, the AI workout generator saves time, increases motivation, and improves results. Whether you're a beginner or an experienced athlete, an AI workout generator can help you take your fitness to the next level.
Ai Workout Generator ===================== What is an AI Workout Generator? An AI workout generator is a tool that uses artificial intelligence to create personalized workout plans tailored to an individual's fitness goals, fitness level, and preferences. How does it work? The AI workout generator uses machine learning algorithms to analyze a user's input data, such as their fitness goals, fitness level, and exercise preferences. It then generates a customized workout plan that includes a series of exercises, sets, reps, and weights tailored to the user's specific needs. Benefits of using an AI Workout Generator * Personalized workouts: The AI workout generator creates a workout plan that is tailored to the user's specific fitness goals and fitness level. * Time-saving: The AI workout generator saves time by eliminating the need to research and create a workout plan from scratch. * Increased motivation: The AI workout generator provides a sense of accountability and motivation, as users are more likely to stick to a workout plan that is tailored to their specific needs. * Improved results: The AI workout generator helps users achieve their fitness goals faster and more efficiently, as the workout plan is optimized for their specific needs. How to use an AI Workout Generator 1. Input your data: Enter your fitness goals, fitness level, and exercise preferences into the AI workout generator. 2. Select your workout type: Choose the type of workout you want to do, such as strength training, cardio, or yoga. 3. Generate your workout plan: The AI workout generator will create a customized workout plan tailored to your specific needs. 4. Start your workout: Follow the workout plan and track your progress. Conclusion An AI workout generator is a powerful tool that can help individuals achieve their fitness goals faster and more efficiently. By providing personalized workout plans, the AI workout generator saves time, increases motivation, and improves results. Whether you're a beginner or an experienced athlete, an AI workout generator can help you take your fitness to the next level.AI generated workouts reviewed and Approved by American College of Sports Medicine certified Personal Trainers.
3.30 K
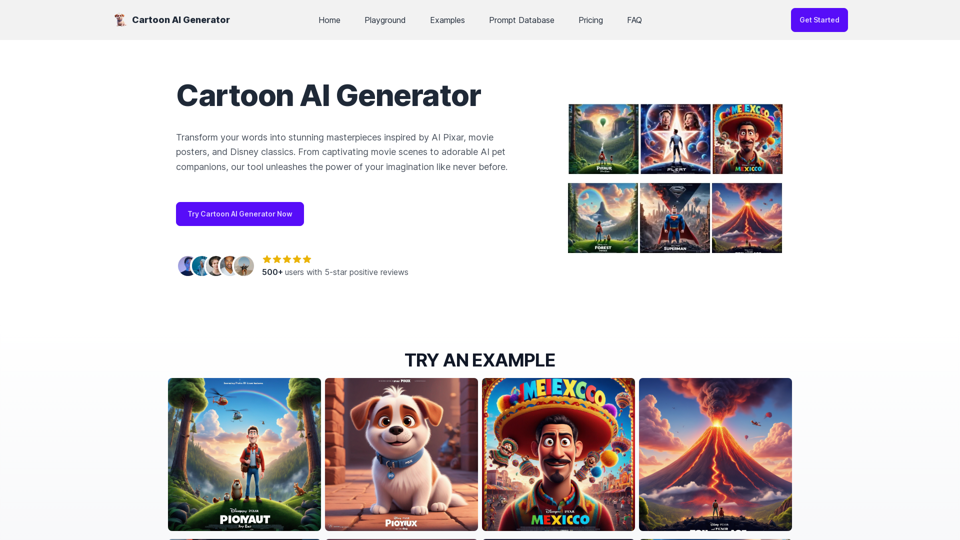
Create Stunning Disney-Style Posters with Our Cartoon AI Generator
Create Stunning Disney-Style Posters with Our Cartoon AI GeneratorCreate stunning Disney Pixar movie posters effortlessly with AI technology. pixar ai generator allows you to generate professional pixar&disney posters with ease.
0

Kolors Virtual Try On AI: Free Tool for Stunning Virtual
Kolors Virtual Try On AI: Free Tool for Stunning VirtualExperience Kolors Virtual Try On AI: effortlessly try various makeup looks and hairstyles in real-time, ensuring the perfect style for you
0
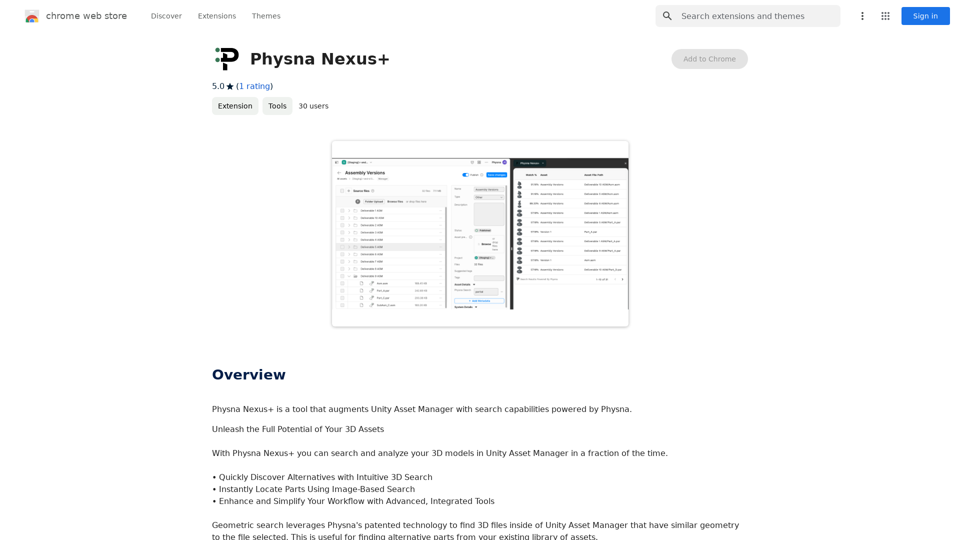
Physna Nexus+ is a tool that improves Unity Asset Manager by adding search features powered by Physna.
193.90 M
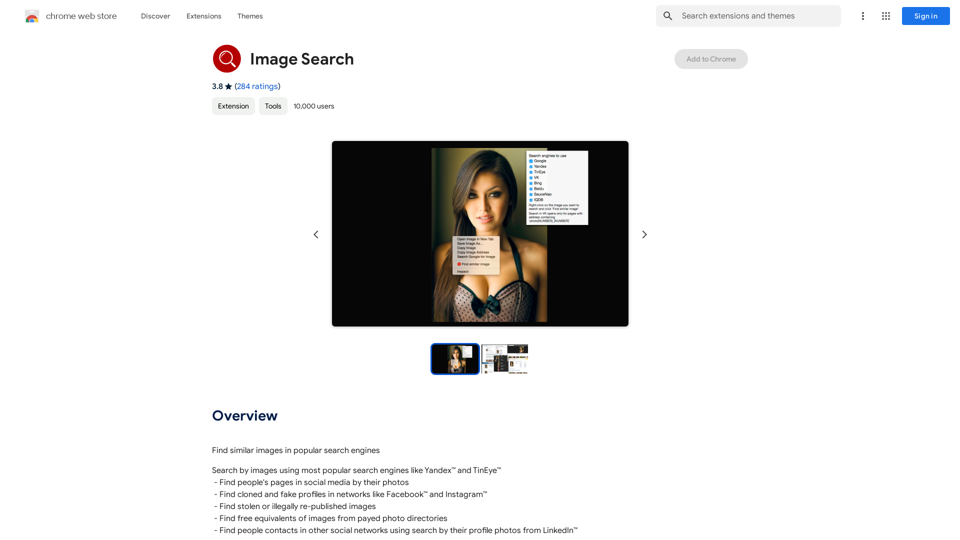
Find Similar Images in Popular Search Engines You can find similar images in popular search engines like Google, Bing, and Yandex using the following methods: #Google Images * Drag and drop an image into the search bar or click on the camera icon to upload an image. * Click on the "Search by image" button. * Google will display a list of similar images. #Bing Images * Click on the "Images" tab on the Bing homepage. * Click on the "Camera" icon in the search bar. * Upload an image or enter the image URL. * Bing will display a list of similar images. #Yandex Images * Click on the "Images" tab on the Yandex homepage. * Click on the "Lens" icon in the search bar. * Upload an image or enter the image URL. * Yandex will display a list of similar images. These search engines use advanced algorithms to find similar images based on various factors such as color, shape, and texture.
193.90 M
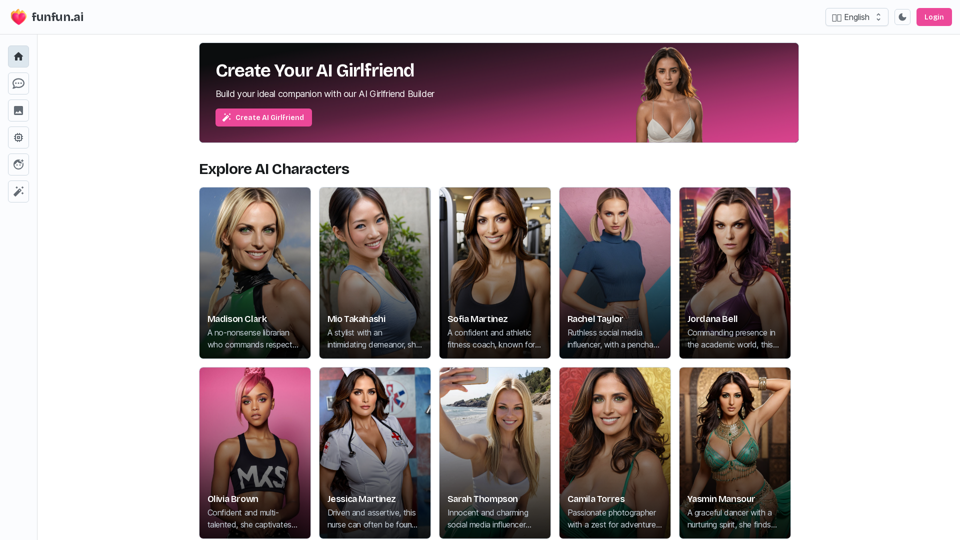
Create Your Dream AI Girlfriend! Customize her look and personality, and bring her to life in one click. 100% powered by Artificial Intelligence.
868.33 K
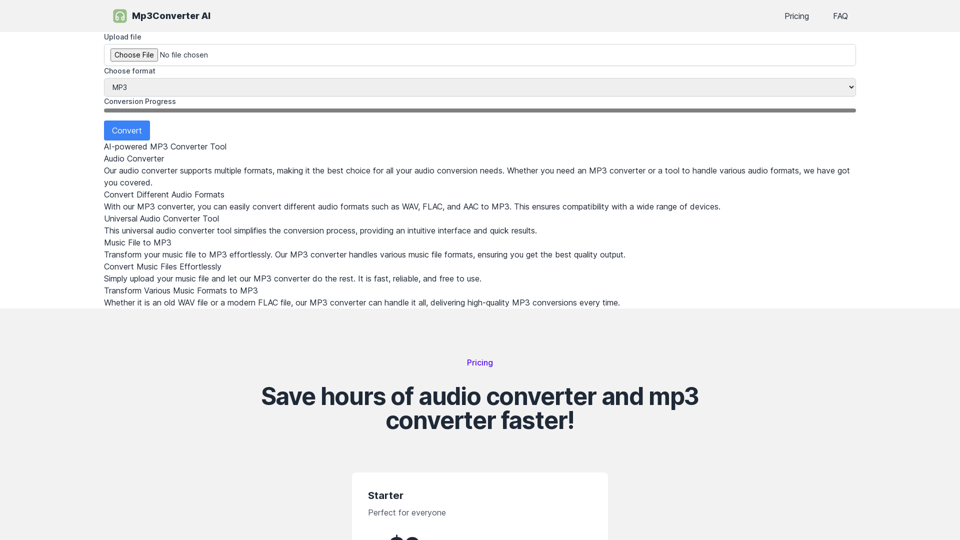
Experience high-quality, efficient audio conversions with our AI-powered MP3 Converter. Convert any format to MP3 with unmatched speed and precision. Transform your audio effortlessly!
0
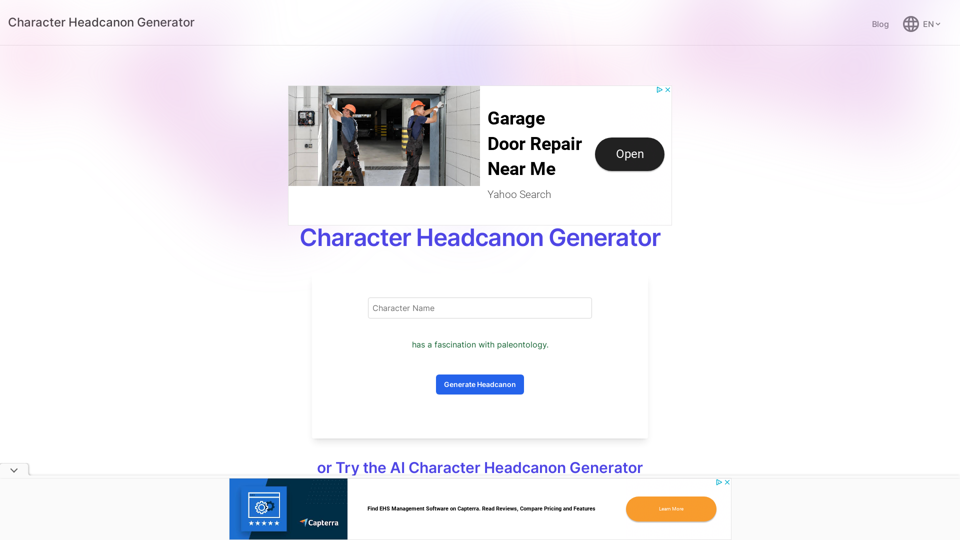
Character Headcanon Generator The Character Headcanon Generator, originating from Perchance, creates unique character headcanons through our headcanon generator.
Character Headcanon Generator The Character Headcanon Generator, originating from Perchance, creates unique character headcanons through our headcanon generator.Discover the Character Headcanon Generator, an innovative tool that originated from the Perchance platform. This powerful character headcanon generator helps you create detailed and engaging character headcanon with ease, allowing fans to explore new interpretations of their favorite characters. Whether you're a writer, role-player, or fan fiction enthusiast, our headcanon generator provides endless creative possibilities by generating unique backgrounds and traits. Enhance your storytelling and bring your characters to life with the Character Headcanon Generator today!
243