Open-source RightAI Tools Directory
  • Discover AI
  • Submit
  • Startup
  • Blog
Open-source RightAI Tools Directory
Discover the best AI tools of 2025 with the RightAI Tools Directory!

Friend Links

AI Anime GeneratorToolsApp AI

Support

Tap4
Privacy policyTerms & ConditionsContact Us
Loading...
loading...

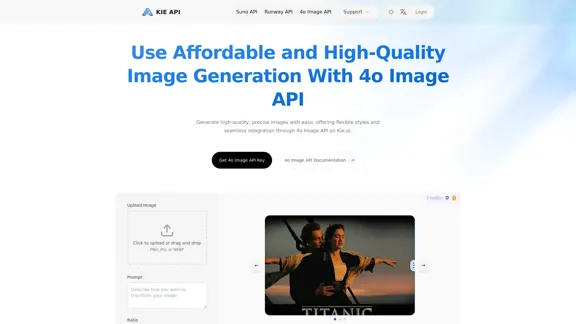
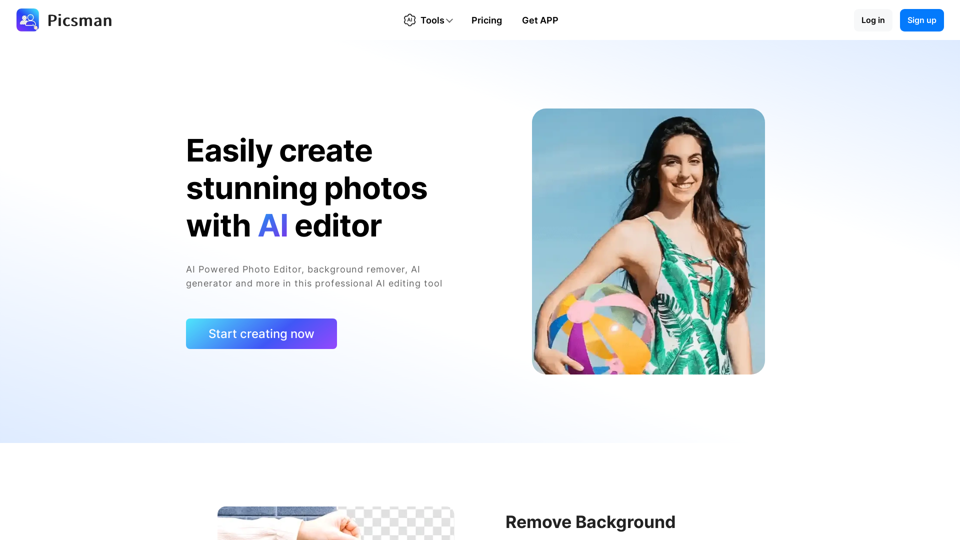
Powerful AI Photo Editor: Online Image Editing Tools

Easily enhance and create product photos with our AI editing tools. Remove background, background generator, magic eraser, photo enhancer, and batch edit.
Visit Website
Powerful AI Photo Editor: Online Image Editing Tools
Visit Website

Introduction

Picsman is a powerful AI photo editor offering a range of online image editing tools. It provides features like background removal, object erasure, and image quality enhancement, all accessible through a user-friendly interface. Picsman caters to both personal and business needs, making professional-grade photo editing accessible to everyone.

Feature

Remove Background

Picsman's background removal tool allows users to:

  • Erase and replace backgrounds with one touch
  • Cut out backgrounds perfectly
  • Download images in PNG format

Magic Eraser

The Magic Eraser feature enables users to:

  • Remove objects from photos easily
  • Achieve perfect erasure automatically

Batch Edit

Picsman's Batch Edit functionality offers:

  • Retouching of multiple photos simultaneously
  • Time-efficient editing for e-commerce platforms (Amazon, eBay, Depop)

AI Background

The AI Background feature provides:

  • Instant background generation for product photography
  • High-quality and realistic results
  • Pre-designed templates for quick editing

Photo Enhancer

Picsman's Photo Enhancer allows users to:

  • Upscale and enhance image quality rapidly
  • Convert photos to HD resolution
  • Download images in high definition

User-Friendly Interface

Picsman offers:

  • Simple and intuitive design
  • Easy-to-use tools for beginners and professionals
  • No steep learning curve

Flexible Pricing Options

Picsman provides:

  • Free tools for basic editing
  • Premium features for advanced users
  • Various plans to suit different needs

FAQ

Is Picsman free to use?

Yes, Picsman offers a range of free tools and features. Users can start creating stunning photos right away without any cost.

How do I use Picsman's AI Background feature?

To use the AI Background feature:

  1. Upload your photo
  2. Select the AI Background option
  3. Choose from pre-designed templates
  4. Adjust settings as needed
  5. Achieve instant results with high-quality, realistic images

Can I download my edited photos in HD quality?

Yes, Picsman allows you to download your edited photos in HD quality using the Photo Enhancer feature. This ensures that your final images are of the highest possible resolution.

Related Websites

Mirror AI - Emoji Maker and Free AI Avatar Creator
View Detail

Mirror AI - Emoji Maker and Free AI Avatar Creator

Mirror AI - Emoji Maker and Free AI Avatar Creator

Mirror is your personal sticker creator! Take a single selfie and receive thousands of personalized emojis and stickers featuring you and your friends. Use them in WhatsApp, Facebook, iMessage, Telegram, and other messaging apps!

26.00 K
meetXcc: AI Meeting Notes for Google Meet
View Detail

meetXcc: AI Meeting Notes for Google Meet

meetXcc: AI Meeting Notes for Google Meet

Automated meeting documentation via transcripts, summaries and intuitive AI-generated mind maps.

290.25 M
Simplified Chrome Extension

This is a basic Chrome extension designed to be easy to understand and modify. 

Manifest File (manifest.json):

```json
{
  "manifest_version": 3,
  "name": "Simplified Extension",
  "version": "1.0",
  "description": "A simple Chrome extension example.",
  "permissions": [
    "activeTab"
  ],
  "action": {
    "default_popup": "popup.html"
  }
}
```

Popup HTML (popup.html):

```html
<!DOCTYPE html>
<html>
<head>
  <title>Simplified Extension</title>
</head>
<body>
  <h1>Hello from the extension!</h1>
  <p>This is a simple popup.</p>
</body>
</html>
```

Explanation:

* manifest.json: This file tells Chrome what your extension does.
    * `manifest_version`: Specifies the version of the manifest file format.
    * `name`: The name of your extension.
    * `version`: The current version of your extension.
    * `description`: A brief description of your extension.
    * `permissions`: Lists the permissions your extension needs to function. Here, it needs access to the active tab.
    * `action`: Defines the popup that appears when the extension icon is clicked.

* popup.html: This file contains the HTML code for the popup window.

How it works:

1. When you install the extension, Chrome reads the `manifest.json` file.
2. When you click the extension icon, Chrome opens the `popup.html` file in a new window.
3. The popup displays the "Hello from the extension!" message.
View Detail

Simplified Chrome Extension This is a basic Chrome extension designed to be easy to understand and modify. Manifest File (manifest.json): ```json { "manifest_version": 3, "name": "Simplified Extension", "version": "1.0", "description": "A simple Chrome extension example.", "permissions": [ "activeTab" ], "action": { "default_popup": "popup.html" } } ``` Popup HTML (popup.html): ```html <!DOCTYPE html> <html> <head> <title>Simplified Extension</title> </head> <body> <h1>Hello from the extension!</h1> <p>This is a simple popup.</p> </body> </html> ``` Explanation: * manifest.json: This file tells Chrome what your extension does. * `manifest_version`: Specifies the version of the manifest file format. * `name`: The name of your extension. * `version`: The current version of your extension. * `description`: A brief description of your extension. * `permissions`: Lists the permissions your extension needs to function. Here, it needs access to the active tab. * `action`: Defines the popup that appears when the extension icon is clicked. * popup.html: This file contains the HTML code for the popup window. How it works: 1. When you install the extension, Chrome reads the `manifest.json` file. 2. When you click the extension icon, Chrome opens the `popup.html` file in a new window. 3. The popup displays the "Hello from the extension!" message.

Simplified Chrome Extension This is a basic Chrome extension designed to be easy to understand and modify. Manifest File (manifest.json): ```json { "manifest_version": 3, "name": "Simplified Extension", "version": "1.0", "description": "A simple Chrome extension example.", "permissions": [ "activeTab" ], "action": { "default_popup": "popup.html" } } ``` Popup HTML (popup.html): ```html <!DOCTYPE html> <html> <head> <title>Simplified Extension</title> </head> <body> <h1>Hello from the extension!</h1> <p>This is a simple popup.</p> </body> </html> ``` Explanation: * manifest.json: This file tells Chrome what your extension does. * `manifest_version`: Specifies the version of the manifest file format. * `name`: The name of your extension. * `version`: The current version of your extension. * `description`: A brief description of your extension. * `permissions`: Lists the permissions your extension needs to function. Here, it needs access to the active tab. * `action`: Defines the popup that appears when the extension icon is clicked. * popup.html: This file contains the HTML code for the popup window. How it works: 1. When you install the extension, Chrome reads the `manifest.json` file. 2. When you click the extension icon, Chrome opens the `popup.html` file in a new window. 3. The popup displays the "Hello from the extension!" message.

Design & Collaborate Marketing made easy #Simplified

290.25 M
Batch Save ChatGPT to Notion

This is a guide on how to save multiple ChatGPT responses to Notion in a batch. 

Tools You'll Need:

* ChatGPT: An AI chatbot that can generate text.
* Notion: A note-taking and project management tool.
* Python: A programming language.
* Requests Library: A Python library for making HTTP requests.

Steps:

1. Get Your Notion API Token:
   - Go to your Notion workspace settings.
   - Navigate to the "Integrations" tab.
   - Click "Create new integration" and choose "API Token".
   - Copy your API token.

2. Install Python Libraries:
   - Open your terminal or command prompt.
   - Type `pip install requests` and press Enter.

3. Write Python Script:
   - Create a new Python file (e.g., `save_chatgpt_to_notion.py`).
   - Paste the following code into the file, replacing `YOUR_NOTION_API_TOKEN` with your actual token:

```python
import requests

def save_chatgpt_response_to_notion(response, page_id, token):
  """Saves a ChatGPT response to a Notion page."""
  url = f"https://api.notion.com/v1/pages/{page_id}/children"
  headers = {"Authorization": f"Bearer {token}"}
  data = {
    "parent": {
      "page_id": page_id
    },
    "properties": {
      "title": {
        "title": [
          {
            "text": {
              "content": "ChatGPT Response"
            }
          }
        ]
      },
      "content": {
        "rich_text": [
          {
            "text": {
              "content": response
            }
          }
        ]
      }
    }
  }
  response = requests.post(url, headers=headers, json=data)
  print(response.status_code)

Example usage
page_id = "YOUR_NOTION_PAGE_ID"
token = "YOUR_NOTION_API_TOKEN"

Get ChatGPT responses (replace with your actual ChatGPT interaction)
chatgpt_responses = [
  "This is the first ChatGPT response.",
  "This is the second ChatGPT response.",
  "This is the third ChatGPT response."
]

Save each response to Notion
for response in chatgpt_responses:
  save_chatgpt_response_to_notion(response, page_id, token)
```

4. Run the Script:
   - In your terminal, navigate to the directory where you saved the Python file.
   - Type `python save_chatgpt_to_notion.py` and press Enter.

5. Check Notion:
   - Open your Notion workspace and go to the page specified by `page_id`.
   - You should see your ChatGPT responses saved as separate blocks.
View Detail

Batch Save ChatGPT to Notion This is a guide on how to save multiple ChatGPT responses to Notion in a batch. Tools You'll Need: * ChatGPT: An AI chatbot that can generate text. * Notion: A note-taking and project management tool. * Python: A programming language. * Requests Library: A Python library for making HTTP requests. Steps: 1. Get Your Notion API Token: - Go to your Notion workspace settings. - Navigate to the "Integrations" tab. - Click "Create new integration" and choose "API Token". - Copy your API token. 2. Install Python Libraries: - Open your terminal or command prompt. - Type `pip install requests` and press Enter. 3. Write Python Script: - Create a new Python file (e.g., `save_chatgpt_to_notion.py`). - Paste the following code into the file, replacing `YOUR_NOTION_API_TOKEN` with your actual token: ```python import requests def save_chatgpt_response_to_notion(response, page_id, token): """Saves a ChatGPT response to a Notion page.""" url = f"https://api.notion.com/v1/pages/{page_id}/children" headers = {"Authorization": f"Bearer {token}"} data = { "parent": { "page_id": page_id }, "properties": { "title": { "title": [ { "text": { "content": "ChatGPT Response" } } ] }, "content": { "rich_text": [ { "text": { "content": response } } ] } } } response = requests.post(url, headers=headers, json=data) print(response.status_code) Example usage page_id = "YOUR_NOTION_PAGE_ID" token = "YOUR_NOTION_API_TOKEN" Get ChatGPT responses (replace with your actual ChatGPT interaction) chatgpt_responses = [ "This is the first ChatGPT response.", "This is the second ChatGPT response.", "This is the third ChatGPT response." ] Save each response to Notion for response in chatgpt_responses: save_chatgpt_response_to_notion(response, page_id, token) ``` 4. Run the Script: - In your terminal, navigate to the directory where you saved the Python file. - Type `python save_chatgpt_to_notion.py` and press Enter. 5. Check Notion: - Open your Notion workspace and go to the page specified by `page_id`. - You should see your ChatGPT responses saved as separate blocks.

Batch Save ChatGPT to Notion This is a guide on how to save multiple ChatGPT responses to Notion in a batch. Tools You'll Need: * ChatGPT: An AI chatbot that can generate text. * Notion: A note-taking and project management tool. * Python: A programming language. * Requests Library: A Python library for making HTTP requests. Steps: 1. Get Your Notion API Token: - Go to your Notion workspace settings. - Navigate to the "Integrations" tab. - Click "Create new integration" and choose "API Token". - Copy your API token. 2. Install Python Libraries: - Open your terminal or command prompt. - Type `pip install requests` and press Enter. 3. Write Python Script: - Create a new Python file (e.g., `save_chatgpt_to_notion.py`). - Paste the following code into the file, replacing `YOUR_NOTION_API_TOKEN` with your actual token: ```python import requests def save_chatgpt_response_to_notion(response, page_id, token): """Saves a ChatGPT response to a Notion page.""" url = f"https://api.notion.com/v1/pages/{page_id}/children" headers = {"Authorization": f"Bearer {token}"} data = { "parent": { "page_id": page_id }, "properties": { "title": { "title": [ { "text": { "content": "ChatGPT Response" } } ] }, "content": { "rich_text": [ { "text": { "content": response } } ] } } } response = requests.post(url, headers=headers, json=data) print(response.status_code) Example usage page_id = "YOUR_NOTION_PAGE_ID" token = "YOUR_NOTION_API_TOKEN" Get ChatGPT responses (replace with your actual ChatGPT interaction) chatgpt_responses = [ "This is the first ChatGPT response.", "This is the second ChatGPT response.", "This is the third ChatGPT response." ] Save each response to Notion for response in chatgpt_responses: save_chatgpt_response_to_notion(response, page_id, token) ``` 4. Run the Script: - In your terminal, navigate to the directory where you saved the Python file. - Type `python save_chatgpt_to_notion.py` and press Enter. 5. Check Notion: - Open your Notion workspace and go to the page specified by `page_id`. - You should see your ChatGPT responses saved as separate blocks.

Save ChatGPT Conversations to Notion with One Click Export your ChatGPT conversations directly to Notion with a single click.

290.25 M
Brush - Smart and Easy Image Editing App
View Detail

Brush - Smart and Easy Image Editing App

Brush - Smart and Easy Image Editing App

Transform your photos effortlessly with Pincel, the intelligent and user-friendly online image editing application. Perfect your images, one brush stroke at a time.

603.39 K
Home of AI Stock Images
View Detail

Home of AI Stock Images

Home of AI Stock Images

Your source for high-quality AI-generated stock images. Browse our curated collection of royalty-free images, both free and premium. Sell AI art and earn a 90% commission.

482
Drawbert - A Portrait Artist AI
View Detail

Drawbert - A Portrait Artist AI

Drawbert - A Portrait Artist AI

Drawbert creates beautiful paintings for you within seconds and at low cost. You can choose from watercolor, sketch, oil painting, comic, cartoon, caricature and more styles, plus the option to customize the painting to your liking.

0
AI Infographic Generator
View Detail

AI Infographic Generator

AI Infographic Generator

Discover our AI-powered Infographic maker, infographic generator online ,infographics,infographic of infographics, infographic, infographic examples,piktochart, text to infographic,infographic of infographics

27.91 K