Suki Assistant is an innovative AI-powered clinical documentation app designed to streamline the note-taking process for healthcare professionals. By leveraging advanced generative AI and voice technologies, Suki listens to patient-clinician conversations and automatically generates note suggestions. This intelligent system allows clinicians to easily review, modify, or approve suggestions before seamlessly integrating them into their Electronic Health Record (EHR) system.
Suki Assistant
Suki: An AI-powered clinical documentation app for your Chrome browser.
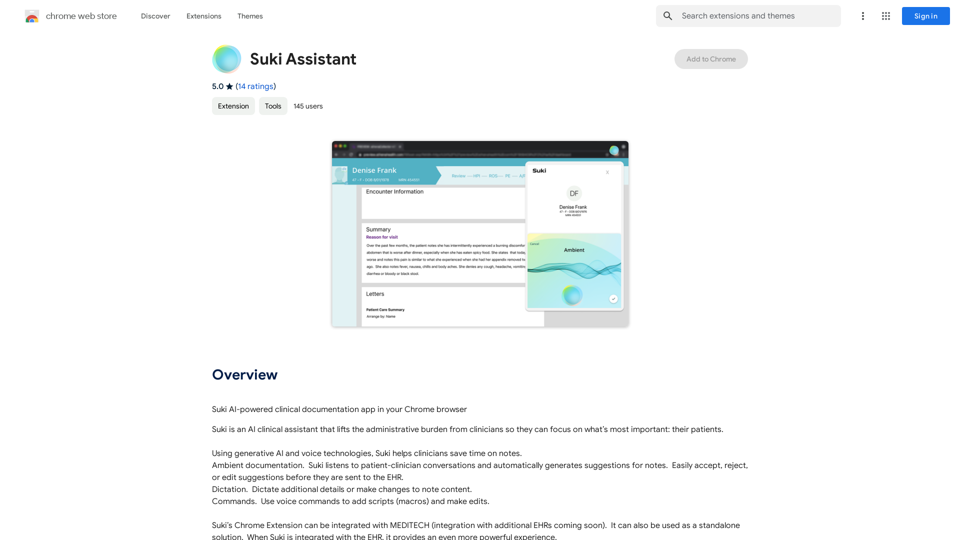
Introduction
Feature
Ambient Documentation
Suki's cutting-edge technology actively listens to patient-clinician interactions, automatically generating accurate and comprehensive note suggestions.
Voice-Enabled Dictation
Clinicians can effortlessly add details or make modifications to notes using voice dictation, enhancing efficiency and accuracy.
Voice Command Functionality
The app supports voice commands, enabling clinicians to add scripts (macros) and make quick edits, further streamlining the documentation process.
EHR Integration
Suki seamlessly integrates with MEDITECH, with plans to expand compatibility to additional EHR systems, ensuring a smooth workflow for healthcare professionals.
Privacy and Security Compliance
Prioritizing data protection, Suki Assistant is fully HIPAA compliant and SOC2 Type 2 certified, guaranteeing the highest standards of security for sensitive medical information.
User-Friendly Setup
Getting started with Suki is straightforward:
- Sign up for an account
- Install the Suki Chrome Extension from the Chrome Web Store
- Begin using the extension to generate notes, dictate, and utilize voice commands
Flexible Pricing Options
Suki offers an affordable pricing structure, including a free version with limited functionality. For detailed pricing information, users can visit the official Suki website.
FAQ
Is Suki Assistant compatible with all EHR systems?
Currently, Suki Assistant integrates with MEDITECH. The company is actively working on expanding compatibility to additional EHR systems in the near future.
How does Suki ensure the privacy and security of patient information?
Suki Assistant is fully HIPAA compliant and SOC2 Type 2 certified, adhering to the highest standards of data protection and security in the healthcare industry.
What are the steps to start using Suki Assistant?
To begin using Suki Assistant:
- Sign up for a Suki account
- Install the Suki Chrome Extension from the Chrome Web Store
- Start using the extension to generate notes, dictate additional information, and utilize voice commands for efficient clinical documentation
Are there any tips for maximizing the benefits of Suki Assistant?
To get the most out of Suki Assistant:
- Utilize the ambient documentation feature for quick and easy note generation
- Take advantage of voice commands to add scripts (macros) and make efficient edits
- Explore all features to streamline your clinical documentation process and save valuable time
Related Websites
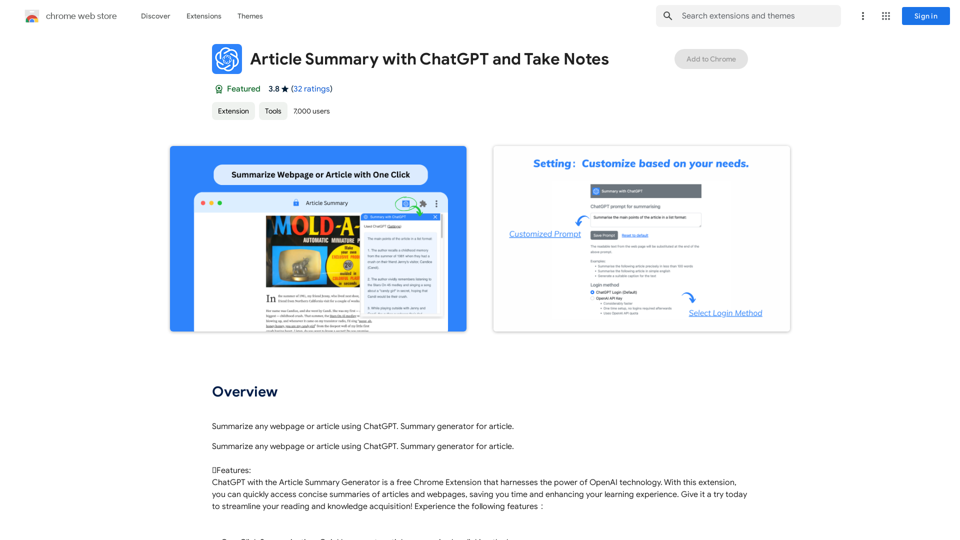
Article Summary with ChatGPT and Take Notes This is a guide on how to use ChatGPT to summarize articles and take notes effectively. Step 1: Provide ChatGPT with the Article Copy and paste the full text of the article into the ChatGPT interface. Step 2: Craft Your Prompt Tell ChatGPT what you want it to do. Here are some examples: * Summarize: "Please summarize this article in 200 words." * Key Points: "What are the main points of this article?" * Bullet Points: "Summarize the key findings of this article in bullet points." * Notes: "Take notes on this article, focusing on the author's arguments and supporting evidence." Step 3: Review and Refine ChatGPT will generate a summary, key points, bullet points, or notes based on your prompt. * Read carefully: Make sure the output accurately reflects the article's content. * Edit as needed: You can ask ChatGPT to rephrase sections or provide more detail. * Add your own insights: Don't just copy ChatGPT's output. Use it as a starting point and add your own thoughts, questions, and connections. Tips for Effective Use: * Be specific: The more specific your prompt, the better the output will be. * Experiment with different prompts: Try various phrasing to see what works best. * Use ChatGPT as a tool: It's a powerful aid, but it's not a replacement for critical reading and thinking.
Article Summary with ChatGPT and Take Notes This is a guide on how to use ChatGPT to summarize articles and take notes effectively. Step 1: Provide ChatGPT with the Article Copy and paste the full text of the article into the ChatGPT interface. Step 2: Craft Your Prompt Tell ChatGPT what you want it to do. Here are some examples: * Summarize: "Please summarize this article in 200 words." * Key Points: "What are the main points of this article?" * Bullet Points: "Summarize the key findings of this article in bullet points." * Notes: "Take notes on this article, focusing on the author's arguments and supporting evidence." Step 3: Review and Refine ChatGPT will generate a summary, key points, bullet points, or notes based on your prompt. * Read carefully: Make sure the output accurately reflects the article's content. * Edit as needed: You can ask ChatGPT to rephrase sections or provide more detail. * Add your own insights: Don't just copy ChatGPT's output. Use it as a starting point and add your own thoughts, questions, and connections. Tips for Effective Use: * Be specific: The more specific your prompt, the better the output will be. * Experiment with different prompts: Try various phrasing to see what works best. * Use ChatGPT as a tool: It's a powerful aid, but it's not a replacement for critical reading and thinking.I can do that! Please provide me with the URL of the webpage or article you'd like me to summarize. I'll do my best to create a concise and easy-to-understand summary for you.
193.90 M
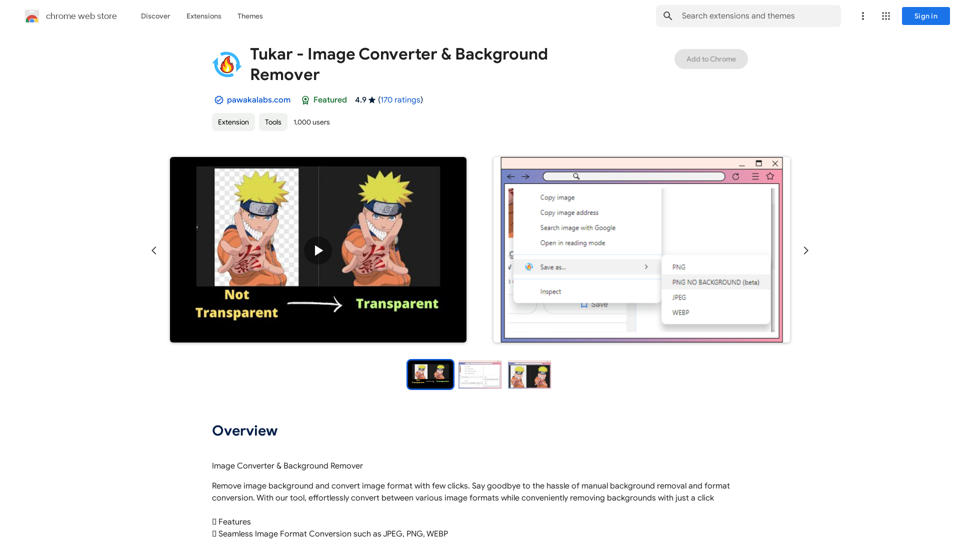
A free, privacy-friendly screen recorder with unlimited capabilities. Capture, annotate, edit videos, and more...
193.90 M
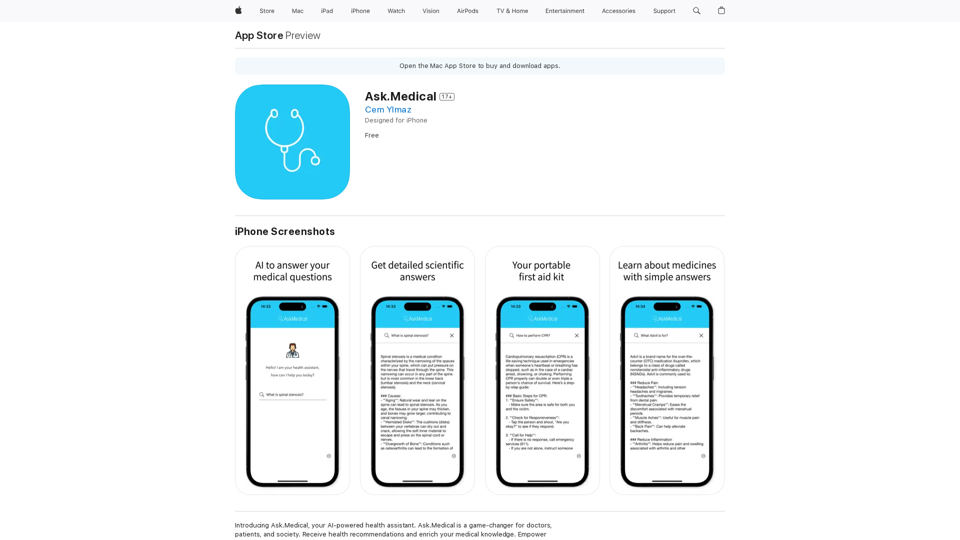
Introducing Ask.Medical, your AI-powered health assistant. Ask.Medical is a game-changer for doctors, patients, and society. Receive health recommendations and personalized guidance from a trusted and knowledgeable ally.
124.77 M
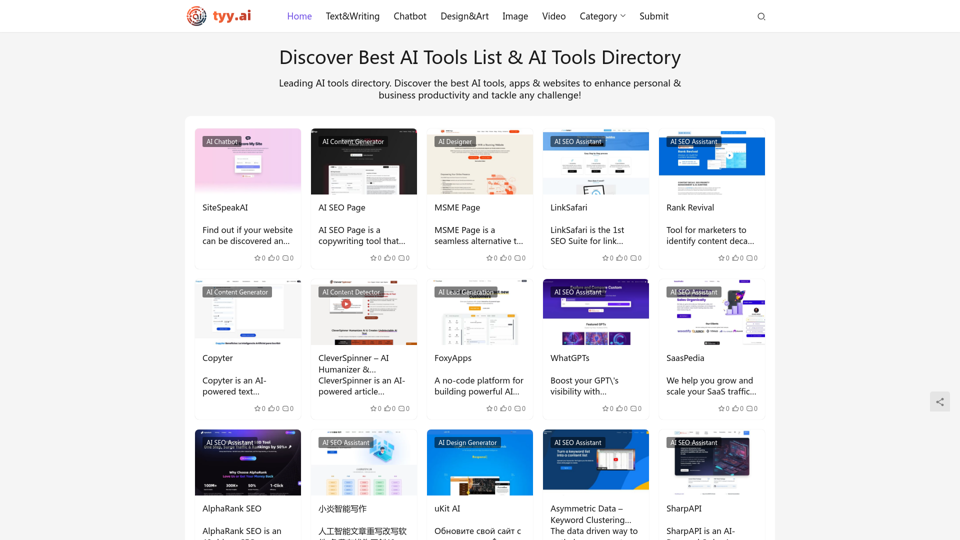
Discover the Best AI Tools List & AI Tools Directory with tyy.ai
Discover the Best AI Tools List & AI Tools Directory with tyy.aityy.ai - Leading AI tools directory. Discover the best AI tools, apps & websites to enhance personal & business productivity and tackle any challenge!
1.58 K
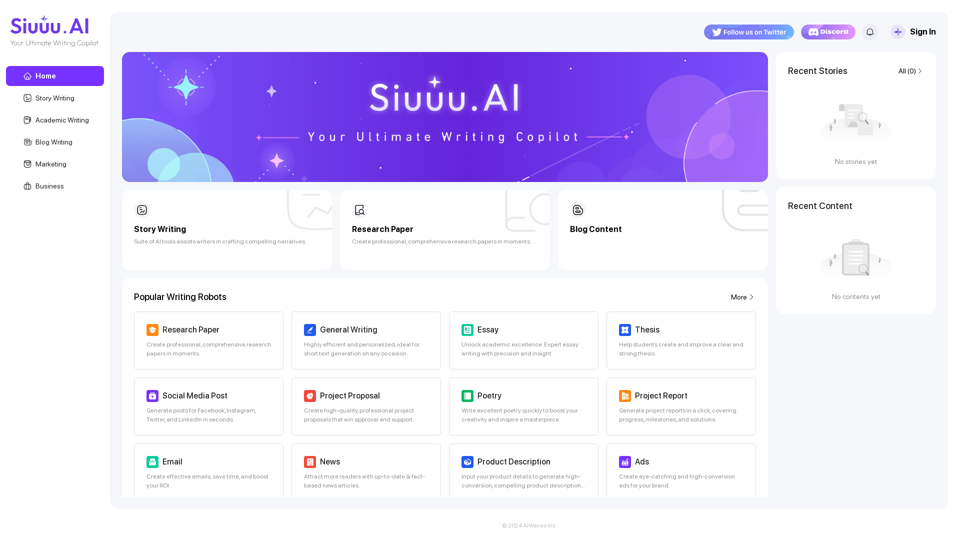
Siuuu.ai provides personalized writing tools for writers, students, educators, marketing professionals, and others. Our goal is to support and enhance your writing experience across a wide range of content types, including novels, research papers, marketing emails, blogs, and more.
0
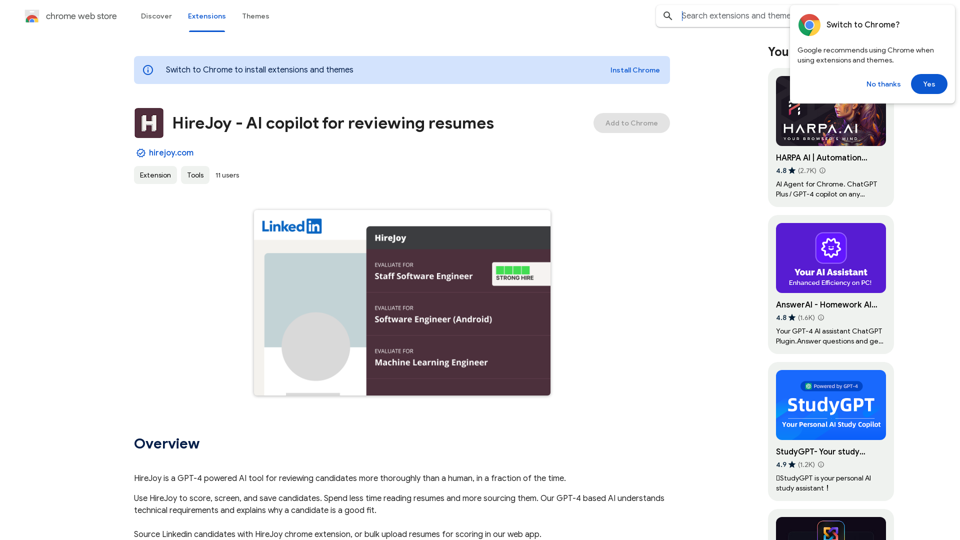
HireJoy is an AI tool powered by GPT-4 that can review candidates more completely than a person, in a much shorter amount of time.
193.90 M
AiJobster - Job Search in AI Companies and Remote AI Jobs
AiJobster - Job Search in AI Companies and Remote AI JobsAiJobster - Your premier platform for job search in AI companies and remote jobs across top AI-driven organizations. Discover your future in tech today!
694