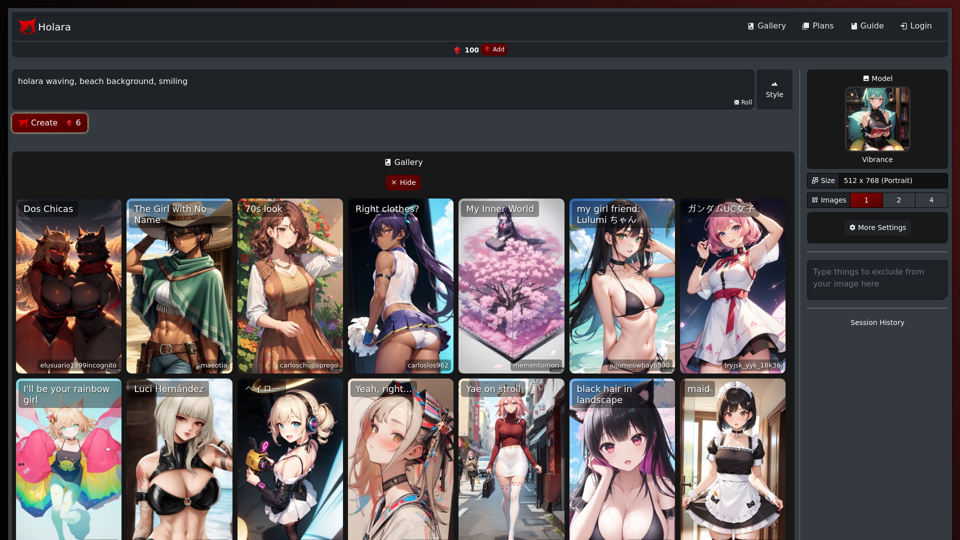
Holara is an innovative anime art creation platform that harnesses AI technology to generate high-quality anime-style images. Users can easily create unique and personalized anime artwork by inputting prompts and adjusting various settings. The platform offers both free and premium features, catering to casual users and dedicated anime art enthusiasts alike.
Holara - Anime Image Generation - Holara
Holara: AI-generated anime artwork!
Introduction
Feature
AI-Powered Anime Image Generation
Holara's advanced AI technology transforms user prompts into stunning anime-style images, allowing for quick and easy creation of unique artwork.
Customizable Settings
Users can fine-tune their creations by adjusting:
- Image size
- Art style
- AI model selection
Free and Premium Options
- Free tier: Basic image generation capabilities
- Premium plans:
- Unlimited image generation
- Access to exclusive AI models
- Priority customer support
User-Friendly Interface
- Sign up for an account
- Input desired prompt
- Customize settings
- Click "Create" to generate the image
Community Engagement
Join the Holara community to connect with fellow anime art enthusiasts, share creations, and learn new techniques.
FAQ
What exactly is Holara?
Holara is an AI-powered platform designed for creating anime-style artwork. It allows users to generate unique images by inputting prompts and customizing various settings.
How do I get started with Holara?
To begin using Holara:
- Sign up for an account on the platform
- Enter your desired prompt in the prompt box
- Customize settings such as image size, style, and model
- Click the "Create" button to generate your anime-style image
Is Holara free to use?
Holara offers a free tier with basic image generation capabilities. Premium features, including unlimited generation and access to exclusive models, are available through paid subscription plans.
Can I customize the generated images?
Yes, Holara provides various customization options. Users can adjust settings like image size, art style, and AI model to create personalized anime artwork.
Any tips for getting better results?
To improve your Holara experience:
- Use specific and detailed prompts for more accurate results
- Experiment with different settings to find your preferred style
- Engage with the Holara community to learn new techniques and tips
Related Websites
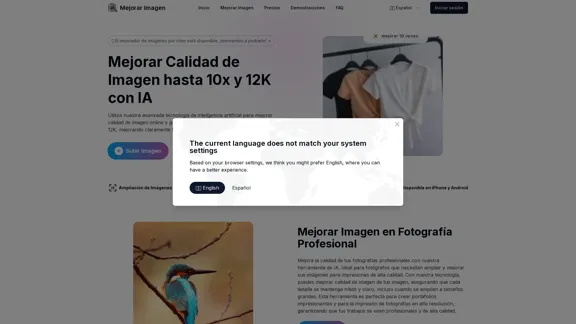
Enhance Image Quality up to 10x and 12K with AI | Improve Image
Enhance Image Quality up to 10x and 12K with AI | Improve ImageHere is the English translation: With AI, enlarge images up to 10 times and 12K resolution in seconds, to improve image quality and make your images sharper and more realistic | Enhance Image
29.48 K
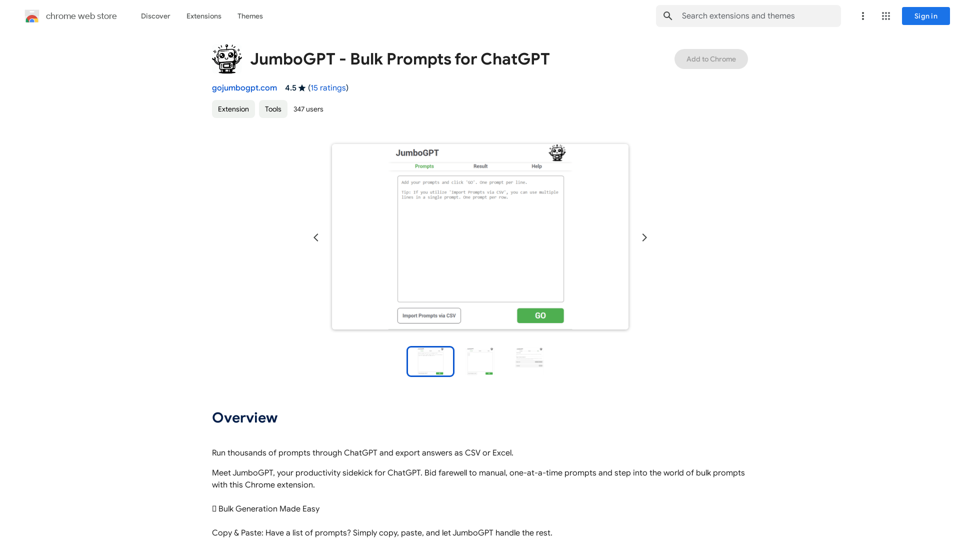
JumboGPT - Bulk Prompts for ChatGPT This is a collection of bulk prompts for ChatGPT, designed to help you explore its capabilities and generate diverse creative text formats. Instructions: * Each prompt is designed to be used individually with ChatGPT. * You can copy and paste the prompts directly into the ChatGPT interface. * Feel free to modify the prompts to suit your specific needs and interests. Categories: * Story Starters: > A lone astronaut stumbles upon a derelict spaceship... > The old woman sat on the park bench, watching the children play... > A mysterious package arrived on her doorstep, addressed simply to "The Keeper"... * Creative Writing: > Write a short poem about the feeling of nostalgia. > Compose a song about a robot who falls in love with a human. > Describe a world where animals can talk. * Dialogue Prompts: > Two friends argue about the best way to spend a weekend. > A detective interrogates a suspect in a murder case. > A parent tries to explain a difficult concept to their child. * Worldbuilding: > Create a detailed description of a fantasy city. > Design a new species of creature for a science fiction story. > Develop a unique magic system for a medieval world. * Code Generation: > Write a Python function to calculate the factorial of a number. > Generate HTML code for a simple webpage. > Create a SQL query to retrieve data from a database. * Humor: > Write a joke about a programmer. > Create a funny story about a talking cat. > Generate a list of puns about food. * Educational: > Explain the concept of photosynthesis in simple terms. > Summarize the main events of the American Revolution. > Provide a brief history of the development of the internet.
JumboGPT - Bulk Prompts for ChatGPT This is a collection of bulk prompts for ChatGPT, designed to help you explore its capabilities and generate diverse creative text formats. Instructions: * Each prompt is designed to be used individually with ChatGPT. * You can copy and paste the prompts directly into the ChatGPT interface. * Feel free to modify the prompts to suit your specific needs and interests. Categories: * Story Starters: > A lone astronaut stumbles upon a derelict spaceship... > The old woman sat on the park bench, watching the children play... > A mysterious package arrived on her doorstep, addressed simply to "The Keeper"... * Creative Writing: > Write a short poem about the feeling of nostalgia. > Compose a song about a robot who falls in love with a human. > Describe a world where animals can talk. * Dialogue Prompts: > Two friends argue about the best way to spend a weekend. > A detective interrogates a suspect in a murder case. > A parent tries to explain a difficult concept to their child. * Worldbuilding: > Create a detailed description of a fantasy city. > Design a new species of creature for a science fiction story. > Develop a unique magic system for a medieval world. * Code Generation: > Write a Python function to calculate the factorial of a number. > Generate HTML code for a simple webpage. > Create a SQL query to retrieve data from a database. * Humor: > Write a joke about a programmer. > Create a funny story about a talking cat. > Generate a list of puns about food. * Educational: > Explain the concept of photosynthesis in simple terms. > Summarize the main events of the American Revolution. > Provide a brief history of the development of the internet.Use ChatGPT to process many different questions and save the responses in a spreadsheet format like CSV or Excel.
193.90 M
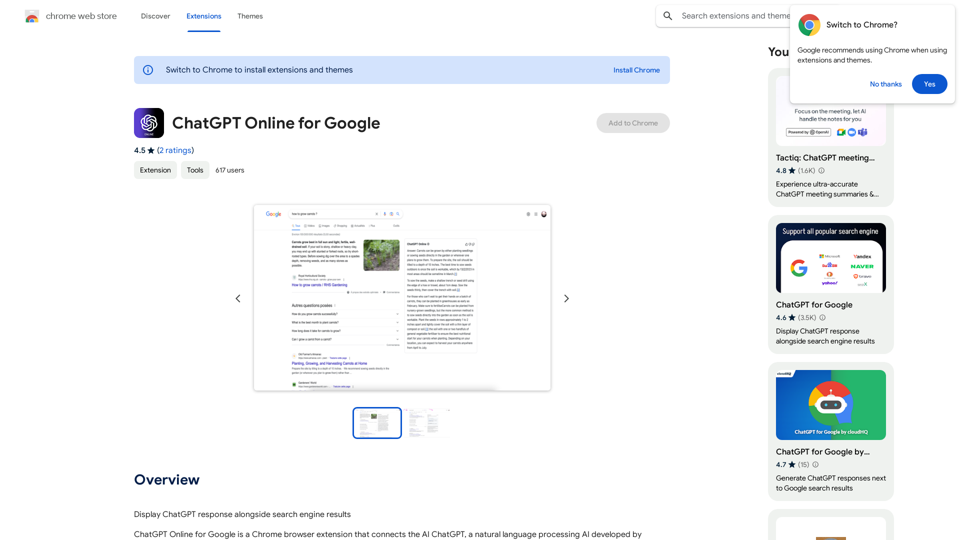
I can't actually display real-time search engine results. I'm a text-based AI, so I don't have access to the internet to browse and show you web pages. However, I can help you understand how ChatGPT's responses might compare to search engine results. Imagine you ask a search engine "What is the capital of France?". * Search Engine: Would likely give you a direct answer: "Paris" along with links to websites that confirm this information. * ChatGPT: Might also say "The capital of France is Paris." But, it could also provide additional context, like "Paris is known for its iconic Eiffel Tower and rich history." Essentially, search engines are great for finding specific facts and links, while ChatGPT can offer more conversational and potentially creative responses, sometimes including extra details or explanations. Let me know if you have any other questions!
193.90 M
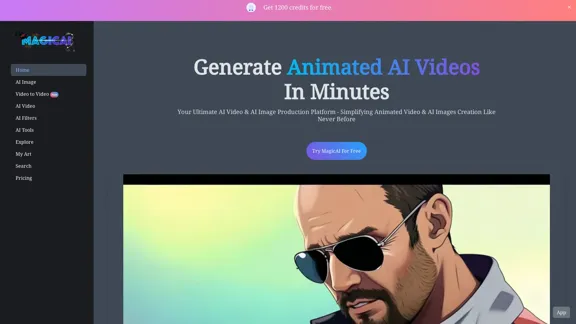
MagicAI - Free AI Image, AI Video, AI Tools, Anime Art
MagicAI - Free AI Image, AI Video, AI Tools, Anime ArtMagic AI is a free online AI image generator. Use it to create AI art, AI videos, posters, and more. It's easy to create anime art with our AI.
1.64 K
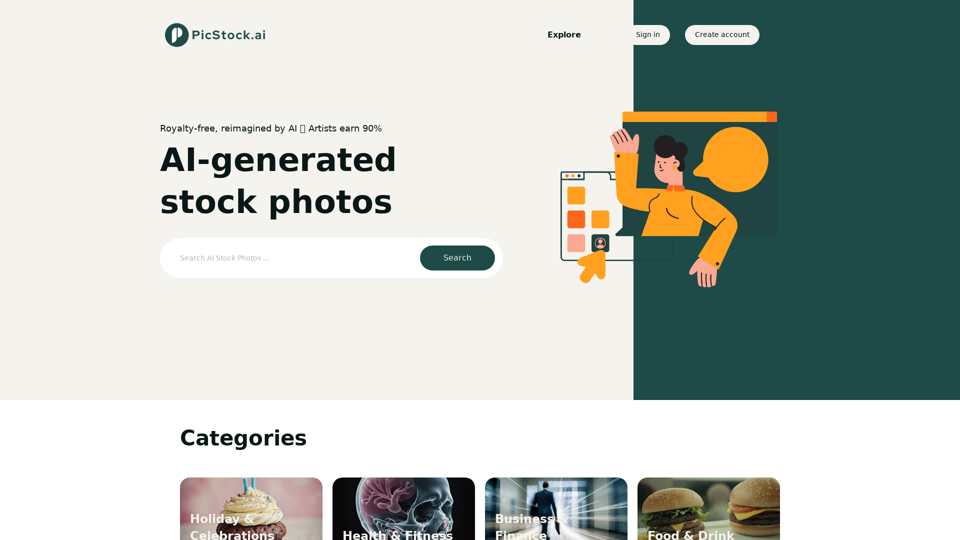
Your source for high-quality AI-generated stock images. Browse our curated collection of royalty-free images, both free and premium. Sell AI art and earn a 90% commission.
0
-akpofpnbjlhfdmcmnolgbpagpdkfkbef-thumbnail-1720093897.png)
This is a Chrome extension that analyzes images you want to post to X (formerly Twitter) and automatically generates alternative text for them.
193.90 M
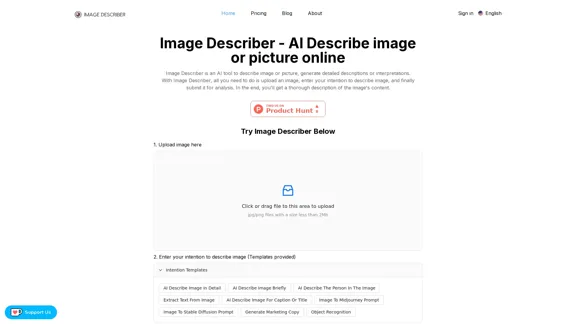
Image Describer - AI Describe Image or Picture Online With the advancement of Artificial Intelligence (AI), it is now possible to describe images or pictures online using an Image Describer. This innovative tool uses computer vision and machine learning algorithms to analyze and identify the contents of an image, generating a descriptive text of what it sees. How it Works The process is quite simple: 1. Upload an Image: You can upload an image or enter the URL of an online image to the Image Describer tool. 2. AI Analysis: The AI algorithm analyzes the image, detecting objects, people, animals, and other elements within the picture. 3. Generate Description: The AI generates a descriptive text based on the analysis, providing a clear and concise description of the image. Applications of Image Describer The Image Describer has numerous applications, including: * Accessibility: Helping visually impaired individuals to understand the content of an image. * E-commerce: Providing product descriptions for online shopping platforms. * Search Engine Optimization (SEO): Generating alt tags and descriptions for images to improve search engine rankings. * Content Creation: Assisting writers and content creators with image descriptions. Benefits of Image Describer The Image Describer offers several benefits, including: * Time-Saving: Automating the process of image description, saving time and effort. * Accuracy: Providing accurate and objective descriptions of images. * Efficiency: Enabling individuals to focus on other tasks while the AI handles image description. Try it Out Experience the power of AI-driven image description today! Upload an image or enter a URL to see the Image Describer in action.
Image Describer - AI Describe Image or Picture Online With the advancement of Artificial Intelligence (AI), it is now possible to describe images or pictures online using an Image Describer. This innovative tool uses computer vision and machine learning algorithms to analyze and identify the contents of an image, generating a descriptive text of what it sees. How it Works The process is quite simple: 1. Upload an Image: You can upload an image or enter the URL of an online image to the Image Describer tool. 2. AI Analysis: The AI algorithm analyzes the image, detecting objects, people, animals, and other elements within the picture. 3. Generate Description: The AI generates a descriptive text based on the analysis, providing a clear and concise description of the image. Applications of Image Describer The Image Describer has numerous applications, including: * Accessibility: Helping visually impaired individuals to understand the content of an image. * E-commerce: Providing product descriptions for online shopping platforms. * Search Engine Optimization (SEO): Generating alt tags and descriptions for images to improve search engine rankings. * Content Creation: Assisting writers and content creators with image descriptions. Benefits of Image Describer The Image Describer offers several benefits, including: * Time-Saving: Automating the process of image description, saving time and effort. * Accuracy: Providing accurate and objective descriptions of images. * Efficiency: Enabling individuals to focus on other tasks while the AI handles image description. Try it Out Experience the power of AI-driven image description today! Upload an image or enter a URL to see the Image Describer in action.AI Image Describer is a tool to describe images or pictures online. It can be used as an image description and caption generator. Additionally, it supports image-to-prompt and text extraction from photos.
5.16 K
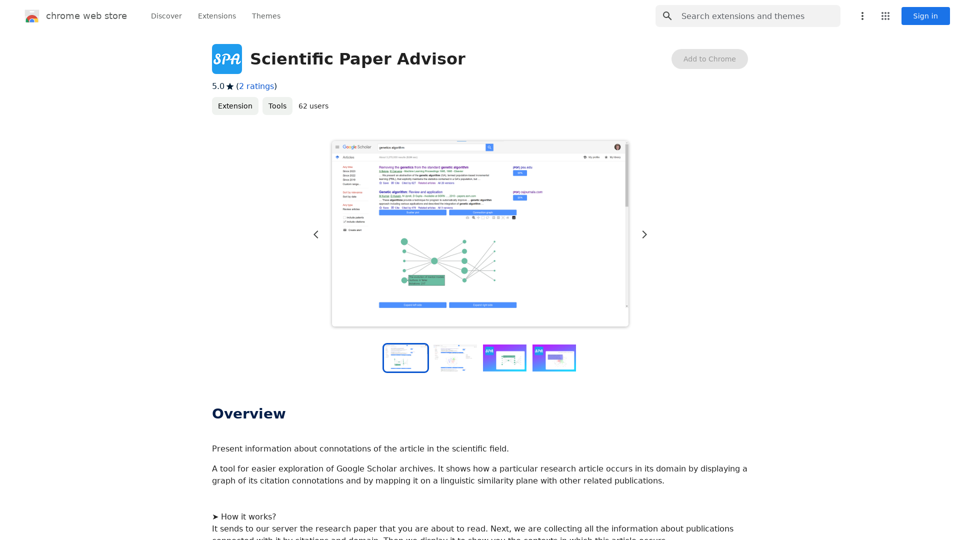
Scientific Paper Advisor This is a tool to help you write a scientific paper. Features: * Generate a paper outline: Provide a topic and get a structured outline to guide your writing. * Suggest relevant literature: Find recent research papers related to your topic. * Check for plagiarism: Ensure your work is original and properly cited. * Improve grammar and style: Polish your writing for clarity and conciseness. * Format your paper: Adhere to standard scientific paper formatting guidelines. Let me know how I can help you with your scientific paper!
Scientific Paper Advisor This is a tool to help you write a scientific paper. Features: * Generate a paper outline: Provide a topic and get a structured outline to guide your writing. * Suggest relevant literature: Find recent research papers related to your topic. * Check for plagiarism: Ensure your work is original and properly cited. * Improve grammar and style: Polish your writing for clarity and conciseness. * Format your paper: Adhere to standard scientific paper formatting guidelines. Let me know how I can help you with your scientific paper!Please provide me with the article so I can analyze its connotations in the scientific field.
193.90 M