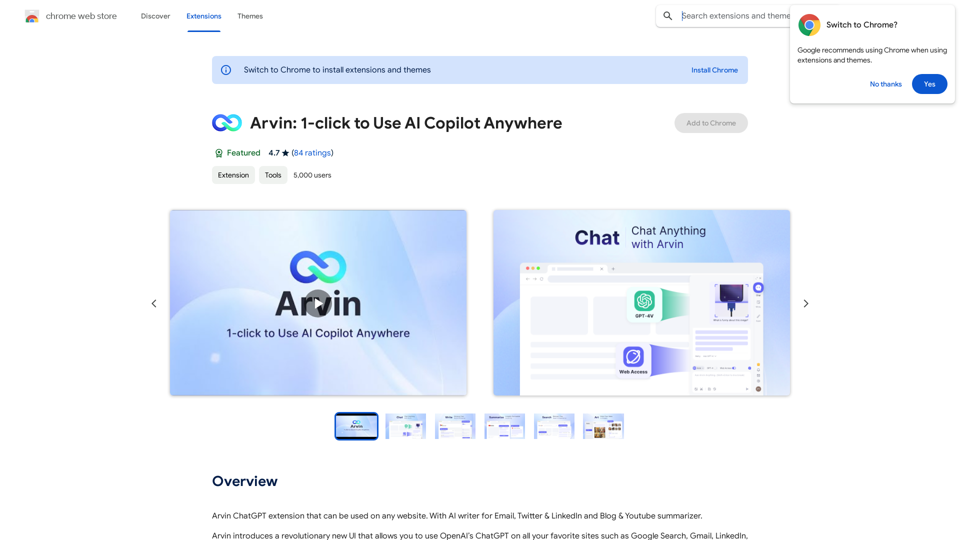
Arvin is a revolutionary AI Copilot extension that integrates OpenAI's ChatGPT into any website. It offers a user-friendly interface for seamless online searching and writing. Arvin introduces a novel approach to utilizing ChatGPT, enhancing accessibility and safety while leveraging AI capabilities.
Arvin: 1-Click to Use AI Copilot Anywhere
The Arvin ChatGPT extension is a versatile tool that can be used on any website, offering a range of features to enhance your online experience. These features include an AI writer for crafting emails, Twitter posts, and LinkedIn updates, as well as a summarizer for blogs and YouTube videos.
Introduction
Feature
AI Writer
Generate professional email replies, summaries, and various content with Arvin's AI writer feature.
Chat with Arvin
Engage in friendly conversations with the AI, ask questions, share ideas, or simply chat about your day.
Save & Reuse Prompts
Streamline your content creation process by saving and reusing frequently used prompts.
Slash Commands
Access a menu of available prompts within the server by typing a slash symbol "/", introducing a new approach to using ChatGPT.
Cross-Platform Compatibility
Seamlessly integrate with OpenAI's ChatGPT on any website, enhancing your online experience.
Productivity Boost
Generate content and respond to questions quickly and efficiently, increasing overall productivity.
Enhanced Accuracy
Ensure professional and accurate responses with Arvin's AI writer and chat features.
Creativity Enhancement
Brainstorm and generate ideas through engaging conversations with the AI.
FAQ
What are the system requirements for Arvin?
Arvin is compatible with Chrome browsers and requires a minimum of 7.24MB of free space. A stable internet connection is necessary for proper functionality.
What are the pricing options for Arvin?
Arvin offers two pricing tiers:
| Plan | Features |
|---|---|
| Free | Limited features, including 20 free uses of GPT-4o per day |
| Paid | Unlimited uses of GPT-4o, priority support, and additional features |
How can I get started with Arvin?
To begin using Arvin:
- Install the extension from the Chrome Web Store
- Follow the prompts to set up your account
- Once logged in, start using Arvin's features to generate content and chat with the AI
What do users say about Arvin?
Arvin has received positive feedback from users, with an average rating of 4.7 out of 5 stars. Users praise its ease of use, accuracy, and creativity-enhancing features.
Related Websites
A super assistant based on Wenxin Yiyan, providing companion-style large model services. It can parse complex questions, execute quick commands, and assist with knowledge applications. It knows everything, can do everything, and is everywhere.
193.90 M
GPT Stats * Parameters: 175 Billion * Trainers: * Dataset: Massive dataset of text and code * Method: Supervised fine-tuning * Capabilities: * Text Generation * Text Summarization * Language Translation * Code Generation * Question Answering * Dialogue Generation * Limitations: * Can sometimes generate incorrect or biased information * Lacks real-world knowledge and common sense * Can be fooled by adversarial examples
GPT Stats * Parameters: 175 Billion * Trainers: * Dataset: Massive dataset of text and code * Method: Supervised fine-tuning * Capabilities: * Text Generation * Text Summarization * Language Translation * Code Generation * Question Answering * Dialogue Generation * Limitations: * Can sometimes generate incorrect or biased information * Lacks real-world knowledge and common sense * Can be fooled by adversarial examplesSearch for conversations with GPT and other content.
193.90 M
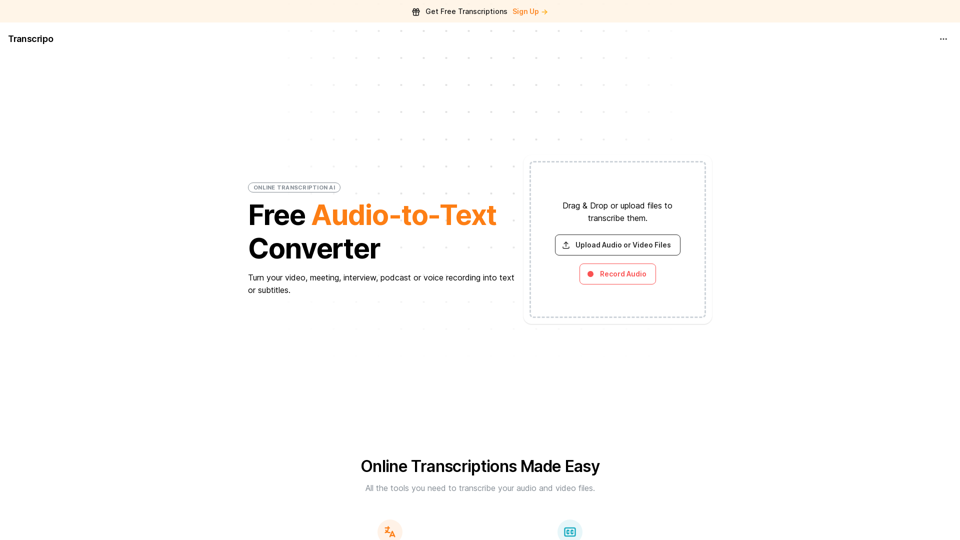
Transcription AI that turns your audio and video files into text or subtitles. It is fast, easy to use, and free to try. Easily summarize your files with our AI.
6.49 K
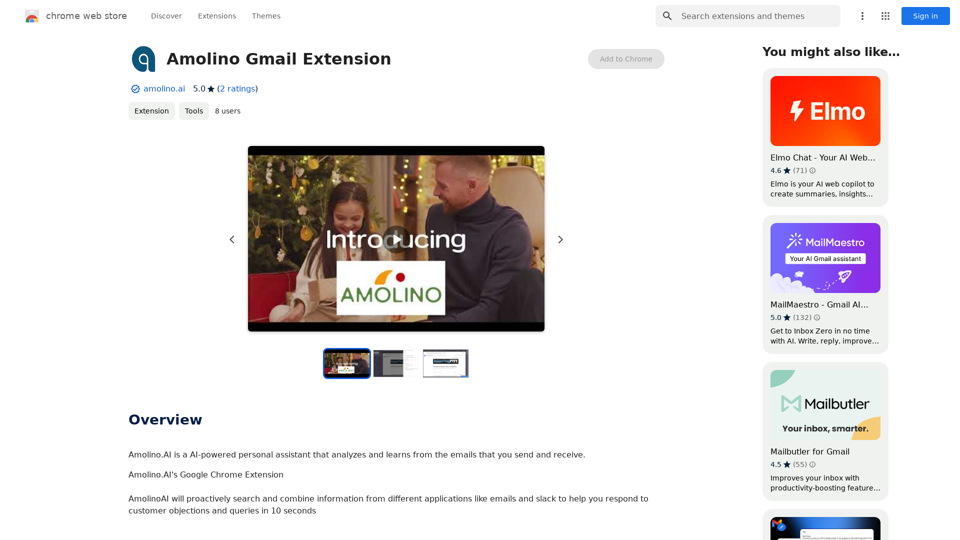
Amolino.AI is an AI-powered personal assistant that analyzes and learns from the emails you send and receive.
193.90 M

Audimee - Unlimited Vocals, Unlimited Creative Freedom
Audimee - Unlimited Vocals, Unlimited Creative FreedomConvert your vocals with our royalty-free voices, train your own voices, create copyright-free cover vocals, and much more.
489.79 K
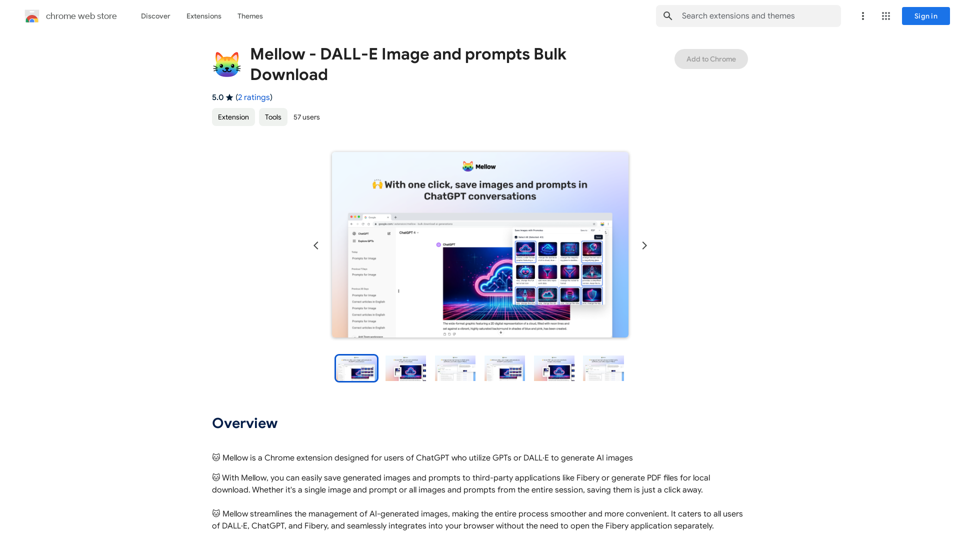
Mellow - DALL-E Image and Prompts Bulk Download This is a tool to download images and prompts from Mellow, a platform for creating and sharing DALL-E images.
Mellow - DALL-E Image and Prompts Bulk Download This is a tool to download images and prompts from Mellow, a platform for creating and sharing DALL-E images.🐱 Mellow is a Chrome extension designed for users of ChatGPT who use GPTs or DALL·E to create AI images.
193.90 M
