Open-source RightAI Tools Directory
  • Discover AI
  • Submit
  • Startup
  • Blog
Open-source RightAI Tools Directory
Discover the best AI tools of 2025 with the RightAI Tools Directory!

Friend Links

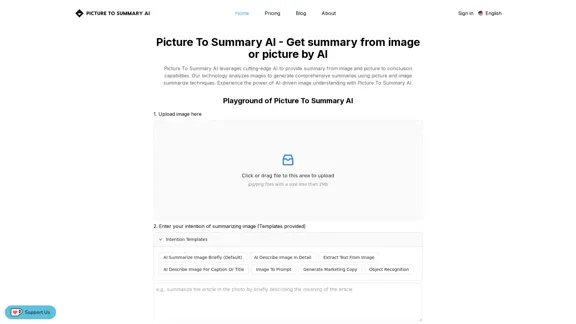
AI Anime GeneratorToolsApp AI

Support

Tap4
Privacy policyTerms & ConditionsContact Us
Loading...
loading...

CodeMoss

CodeMoss - AI-Powered Code Search
Visit Website
CodeMoss
Visit Website

Introduction

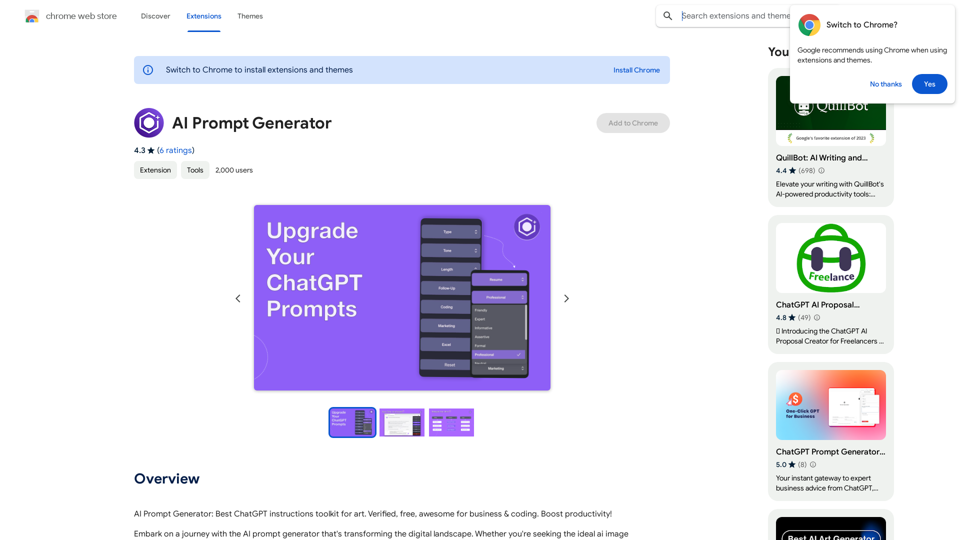
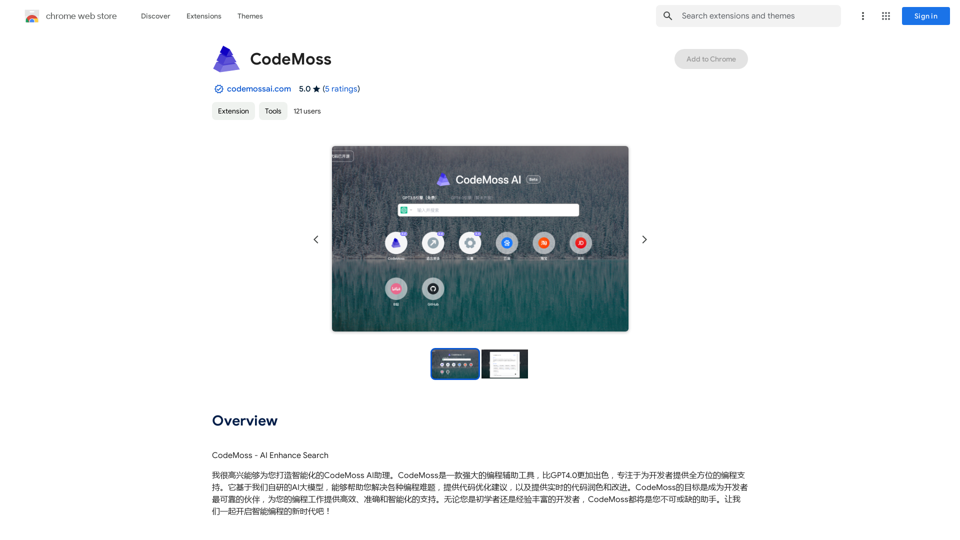
CodeMoss is an AI-powered coding assistant designed to enhance developers' productivity and code quality. Built on a self-developed AI model, it offers comprehensive programming support, including real-time assistance, code optimization, refactoring, and beautification. CodeMoss aims to streamline the coding process and help developers solve various programming challenges efficiently.

Feature

AI-Powered Coding Assistant

CodeMoss leverages advanced AI technology to provide real-time coding assistance, including code completion, refactoring, and beautification. This feature helps developers write better code faster and more efficiently.

Code Optimization

The platform offers code optimization capabilities, improving performance, efficiency, and scalability of your code. This feature is crucial for developing high-quality, maintainable software.

Real-Time Code Refactoring

CodeMoss can refactor your code in real-time, making it easier to maintain and update. This feature helps developers improve code structure and readability without interrupting their workflow.

Code Beautification

The code beautification feature enhances code readability and understanding by formatting and structuring the code according to best practices and style guidelines.

Browser Extension

CodeMoss offers a browser extension, allowing users to access the AI-powered coding assistant directly from their preferred development environment.

Flexible Pricing Model

CodeMoss provides both a free version with limited features and a paid subscription with additional benefits, catering to different user needs and budgets.

FAQ

What is CodeMoss?

CodeMoss is an AI-powered coding assistant that helps developers with various programming tasks. It uses a self-developed AI model to provide real-time coding assistance, code optimization, refactoring, and beautification.

How does CodeMoss work?

CodeMoss utilizes a self-developed AI model to analyze code and provide real-time assistance and suggestions. Users can access its features through a browser extension, which integrates seamlessly with their development environment.

How can I get started with CodeMoss?

To start using CodeMoss:

  1. Sign up for a CodeMoss account
  2. Install the CodeMoss browser extension
  3. Begin coding with the AI-powered assistant providing real-time support

What are some helpful tips for using CodeMoss?

  1. Start with basic features like code completion and refactoring
  2. Experiment with advanced features such as code optimization and beautification
  3. Leverage the AI-powered assistant for real-time coding assistance and suggestions

Latest Traffic Insights

  • Monthly Visits

    205.80 M

  • Bounce Rate

    55.76%

  • Pages Per Visit

    2.73

  • Time on Site(s)

    117.23

  • Global Rank

    -

  • Country Rank

    -

Recent Visits

Traffic Sources

  • Social Media:
    0.48%
  • Paid Referrals:
    0.54%
  • Email:
    0.16%
  • Referrals:
    12.91%
  • Search Engines:
    17.01%
  • Direct:
    68.90%
More Data

Related Websites

Image to SVG Converter
View Detail

Image to SVG Converter

Image to SVG Converter

Help me convert images to vector graphics (SVG).

205.80 M
Home of AI Stock Images
View Detail

Home of AI Stock Images

Home of AI Stock Images

Your source for high-quality AI-generated stock images. Browse our curated collection of royalty-free images, both free and premium. Sell AI art and earn a 90% commission.

0
Krea
View Detail

Krea

Krea

Krea makes generative AI intuitive. Generate, edit, and enhance images and videos using powerful AI for free.

5.83 M
AI Professional Headshot Pro on the App Store
View Detail

AI Professional Headshot Pro on the App Store

AI Professional Headshot Pro on the App Store

Introducing AI Professional Headshot Pro, the ultimate AI headshot generator designed to create stunning AI headshots and business photos effortlessly.

119.90 M
Video Editor 2024 and Other Cool Programs from Movavi – Download for Free
View Detail

Video Editor 2024 and Other Cool Programs from Movavi – Download for Free

Video Editor 2024 and Other Cool Programs from Movavi – Download for Free

Movavi offers fast and easy-to-use photo and video editing software that is safe and trusted worldwide. Try it all out for free!

3.73 M
Image Describer - Free AI Image Description Tool, Allowing Every Image to Communicate
View Detail

Image Describer - Free AI Image Description Tool, Allowing Every Image to Communicate

Image Describer - Free AI Image Description Tool, Allowing Every Image to Communicate

Image Descriptor is a free AI tool that identifies and describes the contents of images. Generate accurate, detailed image descriptions effortlessly.

9.31 K
Flux AI Image Generator: The Future of Creative Visualization
View Detail

Flux AI Image Generator: The Future of Creative Visualization

Flux AI Image Generator: The Future of Creative Visualization

Explore the boundless possibilities of Flux AI, the leading AI image generator that converts your textual descriptions into breathtaking, one-of-a-kind visuals.

677
Batch Save ChatGPT to Notion

This is a guide on how to save multiple ChatGPT responses to Notion in a batch. 

Tools You'll Need:

* ChatGPT: An AI chatbot that can generate text.
* Notion: A note-taking and project management tool.
* Python: A programming language.
* Requests Library: A Python library for making HTTP requests.

Steps:

1. Get Your Notion API Token:
   - Go to your Notion workspace settings.
   - Navigate to the "Integrations" tab.
   - Click "Create new integration" and choose "API Token".
   - Copy your API token.

2. Install Python Libraries:
   - Open your terminal or command prompt.
   - Type `pip install requests` and press Enter.

3. Write Python Script:
   - Create a new Python file (e.g., `save_chatgpt_to_notion.py`).
   - Paste the following code into the file, replacing `YOUR_NOTION_API_TOKEN` with your actual token:

```python
import requests

def save_chatgpt_response_to_notion(response, page_id, token):
  """Saves a ChatGPT response to a Notion page."""
  url = f"https://api.notion.com/v1/pages/{page_id}/children"
  headers = {"Authorization": f"Bearer {token}"}
  data = {
    "parent": {
      "page_id": page_id
    },
    "properties": {
      "title": {
        "title": [
          {
            "text": {
              "content": "ChatGPT Response"
            }
          }
        ]
      },
      "content": {
        "rich_text": [
          {
            "text": {
              "content": response
            }
          }
        ]
      }
    }
  }
  response = requests.post(url, headers=headers, json=data)
  print(response.status_code)

Example usage
page_id = "YOUR_NOTION_PAGE_ID"
token = "YOUR_NOTION_API_TOKEN"

Get ChatGPT responses (replace with your actual ChatGPT interaction)
chatgpt_responses = [
  "This is the first ChatGPT response.",
  "This is the second ChatGPT response.",
  "This is the third ChatGPT response."
]

Save each response to Notion
for response in chatgpt_responses:
  save_chatgpt_response_to_notion(response, page_id, token)
```

4. Run the Script:
   - In your terminal, navigate to the directory where you saved the Python file.
   - Type `python save_chatgpt_to_notion.py` and press Enter.

5. Check Notion:
   - Open your Notion workspace and go to the page specified by `page_id`.
   - You should see your ChatGPT responses saved as separate blocks.
View Detail

Batch Save ChatGPT to Notion This is a guide on how to save multiple ChatGPT responses to Notion in a batch. Tools You'll Need: * ChatGPT: An AI chatbot that can generate text. * Notion: A note-taking and project management tool. * Python: A programming language. * Requests Library: A Python library for making HTTP requests. Steps: 1. Get Your Notion API Token: - Go to your Notion workspace settings. - Navigate to the "Integrations" tab. - Click "Create new integration" and choose "API Token". - Copy your API token. 2. Install Python Libraries: - Open your terminal or command prompt. - Type `pip install requests` and press Enter. 3. Write Python Script: - Create a new Python file (e.g., `save_chatgpt_to_notion.py`). - Paste the following code into the file, replacing `YOUR_NOTION_API_TOKEN` with your actual token: ```python import requests def save_chatgpt_response_to_notion(response, page_id, token): """Saves a ChatGPT response to a Notion page.""" url = f"https://api.notion.com/v1/pages/{page_id}/children" headers = {"Authorization": f"Bearer {token}"} data = { "parent": { "page_id": page_id }, "properties": { "title": { "title": [ { "text": { "content": "ChatGPT Response" } } ] }, "content": { "rich_text": [ { "text": { "content": response } } ] } } } response = requests.post(url, headers=headers, json=data) print(response.status_code) Example usage page_id = "YOUR_NOTION_PAGE_ID" token = "YOUR_NOTION_API_TOKEN" Get ChatGPT responses (replace with your actual ChatGPT interaction) chatgpt_responses = [ "This is the first ChatGPT response.", "This is the second ChatGPT response.", "This is the third ChatGPT response." ] Save each response to Notion for response in chatgpt_responses: save_chatgpt_response_to_notion(response, page_id, token) ``` 4. Run the Script: - In your terminal, navigate to the directory where you saved the Python file. - Type `python save_chatgpt_to_notion.py` and press Enter. 5. Check Notion: - Open your Notion workspace and go to the page specified by `page_id`. - You should see your ChatGPT responses saved as separate blocks.

Batch Save ChatGPT to Notion This is a guide on how to save multiple ChatGPT responses to Notion in a batch. Tools You'll Need: * ChatGPT: An AI chatbot that can generate text. * Notion: A note-taking and project management tool. * Python: A programming language. * Requests Library: A Python library for making HTTP requests. Steps: 1. Get Your Notion API Token: - Go to your Notion workspace settings. - Navigate to the "Integrations" tab. - Click "Create new integration" and choose "API Token". - Copy your API token. 2. Install Python Libraries: - Open your terminal or command prompt. - Type `pip install requests` and press Enter. 3. Write Python Script: - Create a new Python file (e.g., `save_chatgpt_to_notion.py`). - Paste the following code into the file, replacing `YOUR_NOTION_API_TOKEN` with your actual token: ```python import requests def save_chatgpt_response_to_notion(response, page_id, token): """Saves a ChatGPT response to a Notion page.""" url = f"https://api.notion.com/v1/pages/{page_id}/children" headers = {"Authorization": f"Bearer {token}"} data = { "parent": { "page_id": page_id }, "properties": { "title": { "title": [ { "text": { "content": "ChatGPT Response" } } ] }, "content": { "rich_text": [ { "text": { "content": response } } ] } } } response = requests.post(url, headers=headers, json=data) print(response.status_code) Example usage page_id = "YOUR_NOTION_PAGE_ID" token = "YOUR_NOTION_API_TOKEN" Get ChatGPT responses (replace with your actual ChatGPT interaction) chatgpt_responses = [ "This is the first ChatGPT response.", "This is the second ChatGPT response.", "This is the third ChatGPT response." ] Save each response to Notion for response in chatgpt_responses: save_chatgpt_response_to_notion(response, page_id, token) ``` 4. Run the Script: - In your terminal, navigate to the directory where you saved the Python file. - Type `python save_chatgpt_to_notion.py` and press Enter. 5. Check Notion: - Open your Notion workspace and go to the page specified by `page_id`. - You should see your ChatGPT responses saved as separate blocks.

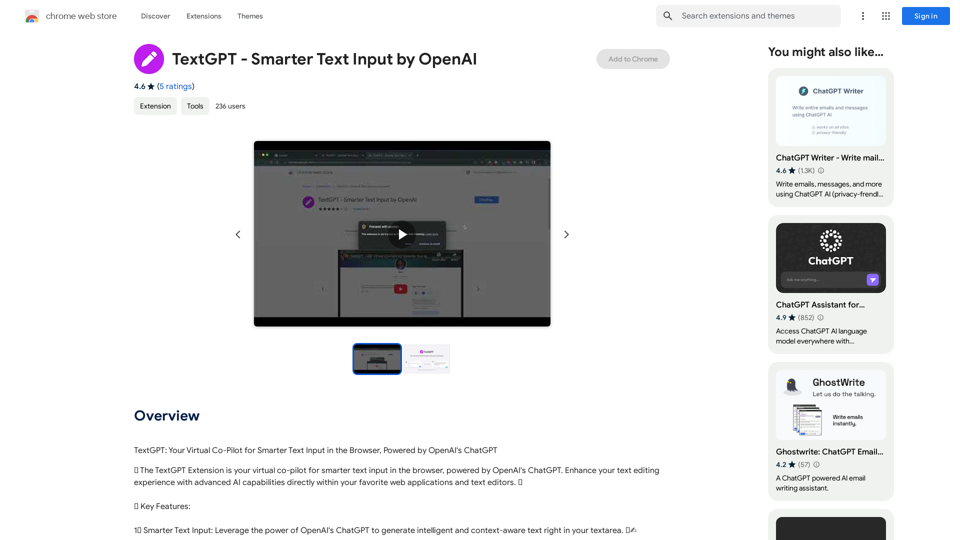
Save ChatGPT Conversations to Notion with One Click Export your ChatGPT conversations directly to Notion with a single click.

205.80 M