Open-source RightAI Tools Directory
  • Discover AI
  • Submit
  • Startup
  • Blog
Open-source RightAI Tools Directory
Discover the best AI tools of 2025 with the RightAI Tools Directory!

Friend Links

AI Anime GeneratorToolsApp AI

Support

Tap4
Privacy policyTerms & ConditionsContact Us
Loading...
loading...

jKeywording | Stock Photo Keyword Generator

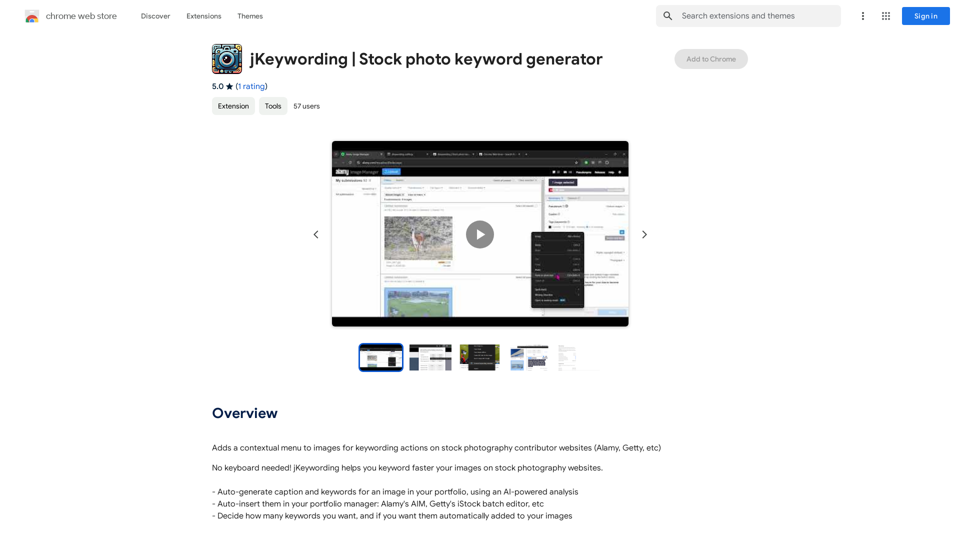
Adds a right-click menu to images, allowing users to easily add keywords to stock photos on websites like Alamy and Getty.
Visit Website
jKeywording | Stock Photo Keyword Generator
Visit Website

Introduction

Keywording is a Chrome extension designed to streamline the process of adding keywords to images on stock photography websites like Alamy and Getty. This AI-powered tool automatically generates captions and keywords for images, allowing users to quickly insert them into their portfolio managers. It's a free, user-friendly solution that aims to increase efficiency for photographers and stock image contributors.

Feature

AI-Powered Caption and Keyword Generation

Keywording utilizes advanced AI technology to analyze images and automatically generate relevant captions and keywords. This feature saves time and enhances the quality of image descriptions.

Auto-Insert Functionality

The extension can automatically insert the generated keywords into popular portfolio managers, such as Alamy's AIM and Getty's iStock batch editor. This streamlines the workflow for stock photographers.

Customizable Keyword Generation

Users can specify the number of keywords they want to generate for each image. This flexibility allows for tailored results based on individual needs or platform requirements.

Free to Use

Keywording is completely free, with no subscription fees or usage limitations. This makes it accessible to all photographers, regardless of their budget or volume of work.

Compatible with Major Stock Photography Platforms

The extension is designed to work seamlessly with popular stock photography websites, including Alamy and Getty, making it a versatile tool for contributors to multiple platforms.

User-Friendly Interface

With a simple installation process and intuitive operation, Keywording is easy to use for both beginners and experienced stock photographers.

Editable Results

While the AI generates keywords automatically, users have the ability to review and edit the suggestions, ensuring accuracy and relevance to their specific images.

FAQ

How does Keywording work?

Keywording uses AI-powered analysis to automatically generate captions and keywords for your images. After installation, you select the images you want to keyword, and the extension processes them to provide relevant descriptions and tags.

Is Keywording really free to use?

Yes, Keywording is entirely free. There are no subscription fees, hidden costs, or usage limitations. You can use the extension as much as you need without any charges.

Can I customize the keywords generated by Keywording?

Absolutely. While Keywording automatically generates keywords, you have full control to review and edit them. This ensures that the final keywords accurately represent your images and meet your specific requirements.

Which stock photography platforms does Keywording support?

Keywording is designed to work with major stock photography websites, including Alamy and Getty. It's compatible with portfolio managers like Alamy's AIM and Getty's iStock batch editor.

How can Keywording improve my workflow as a stock photographer?

Keywording can significantly speed up your image tagging process by automatically generating relevant keywords and captions. This saves time, increases efficiency, and potentially improves the discoverability of your images on stock photography platforms.

Latest Traffic Insights

  • Monthly Visits

    193.90 M

  • Bounce Rate

    56.27%

  • Pages Per Visit

    2.71

  • Time on Site(s)

    115.91

  • Global Rank

    -

  • Country Rank

    -

Recent Visits

Traffic Sources

  • Social Media:
    0.48%
  • Paid Referrals:
    0.55%
  • Email:
    0.15%
  • Referrals:
    12.81%
  • Search Engines:
    16.21%
  • Direct:
    69.81%
More Data

Related Websites

Grimo - Cursor for Writing
View Detail

Grimo - Cursor for Writing

Grimo - Cursor for Writing

The most powerful AI text editor. Coherent editing. Customized styling. Collaborate seamlessly.

1.36 K
Show GPT Chats and More
View Detail

Show GPT Chats and More

Show GPT Chats and More

See GPT's conversations and extra details when you visit the GPT store.

193.90 M
Make AI Text More Human
View Detail

Make AI Text More Human

Make AI Text More Human

Meet Humanize.io, the best AI tool to make your AI content sound more human. Try our AI humanizer for free now!

164.25 K
Shift-Ctrl-F: Semantic Search for the Browser
View Detail

Shift-Ctrl-F: Semantic Search for the Browser

Shift-Ctrl-F: Semantic Search for the Browser

Find information on a webpage using everyday words.

193.90 M
AIDU
View Detail

AIDU

AIDU

This application helps users find and implement ideas based on advanced AI platforms with daily updated information...

193.90 M
French Fry AI
View Detail

French Fry AI

French Fry AI

French Fry AI

193.90 M
Get ChatGPT for Free with Google

You can now access ChatGPT, a powerful language model, for free with Google. Here's how:

Method 1: Google Colab

* Open Google Colab ([colab.research.google.com](http://colab.research.google.com))
* Create a new notebook
* Install the `transformers` library by running `!pip install transformers`
* Import the `transformers` library and load the ChatGPT model using `from transformers import AutoModelForCausalLM, AutoTokenizer; model = AutoModelForCausalLM.from_pretrained('chatgpt'); tokenizer = AutoTokenizer.from_pretrained('chatgpt')`
* Use the model to generate text using `input_text = "Your input here"; inputs = tokenizer.encode_plus(input_text, return_tensors='pt', max_length=1024, padding='max_length', truncation=True); output = model(inputs['input_ids'], attention_mask=inputs['attention_mask']); print(tokenizer.decode(output.logits[0], skip_special_tokens=True))`

Method 2: Google Apps Script

* Open Google Apps Script ([script.google.com](http://script.google.com))
* Create a new project
* Install the `transformers` library by running `npm install transformers`
* Import the `transformers` library and load the ChatGPT model using `const { AutoModelForCausalLM, AutoTokenizer } = require('transformers'); const model = new AutoModelForCausalLM('chatgpt'); const tokenizer = new AutoTokenizer('chatgpt');`
* Use the model to generate text using `const inputText = "Your input here"; const inputs = tokenizer.encodePlus(inputText, { return_tensors: 'pt', max_length: 1024, padding: 'max_length', truncation: true }); const output = model(inputs.inputIds, inputs.attentionMask); console.log(tokenizer.decode(output.logits[0], { skipSpecialTokens: true }));`

Note: These methods require some technical knowledge and may have limitations compared to the original ChatGPT model.
View Detail

Get ChatGPT for Free with Google You can now access ChatGPT, a powerful language model, for free with Google. Here's how: Method 1: Google Colab * Open Google Colab ([colab.research.google.com](http://colab.research.google.com)) * Create a new notebook * Install the `transformers` library by running `!pip install transformers` * Import the `transformers` library and load the ChatGPT model using `from transformers import AutoModelForCausalLM, AutoTokenizer; model = AutoModelForCausalLM.from_pretrained('chatgpt'); tokenizer = AutoTokenizer.from_pretrained('chatgpt')` * Use the model to generate text using `input_text = "Your input here"; inputs = tokenizer.encode_plus(input_text, return_tensors='pt', max_length=1024, padding='max_length', truncation=True); output = model(inputs['input_ids'], attention_mask=inputs['attention_mask']); print(tokenizer.decode(output.logits[0], skip_special_tokens=True))` Method 2: Google Apps Script * Open Google Apps Script ([script.google.com](http://script.google.com)) * Create a new project * Install the `transformers` library by running `npm install transformers` * Import the `transformers` library and load the ChatGPT model using `const { AutoModelForCausalLM, AutoTokenizer } = require('transformers'); const model = new AutoModelForCausalLM('chatgpt'); const tokenizer = new AutoTokenizer('chatgpt');` * Use the model to generate text using `const inputText = "Your input here"; const inputs = tokenizer.encodePlus(inputText, { return_tensors: 'pt', max_length: 1024, padding: 'max_length', truncation: true }); const output = model(inputs.inputIds, inputs.attentionMask); console.log(tokenizer.decode(output.logits[0], { skipSpecialTokens: true }));` Note: These methods require some technical knowledge and may have limitations compared to the original ChatGPT model.

Get ChatGPT for Free with Google You can now access ChatGPT, a powerful language model, for free with Google. Here's how: Method 1: Google Colab * Open Google Colab ([colab.research.google.com](http://colab.research.google.com)) * Create a new notebook * Install the `transformers` library by running `!pip install transformers` * Import the `transformers` library and load the ChatGPT model using `from transformers import AutoModelForCausalLM, AutoTokenizer; model = AutoModelForCausalLM.from_pretrained('chatgpt'); tokenizer = AutoTokenizer.from_pretrained('chatgpt')` * Use the model to generate text using `input_text = "Your input here"; inputs = tokenizer.encode_plus(input_text, return_tensors='pt', max_length=1024, padding='max_length', truncation=True); output = model(inputs['input_ids'], attention_mask=inputs['attention_mask']); print(tokenizer.decode(output.logits[0], skip_special_tokens=True))` Method 2: Google Apps Script * Open Google Apps Script ([script.google.com](http://script.google.com)) * Create a new project * Install the `transformers` library by running `npm install transformers` * Import the `transformers` library and load the ChatGPT model using `const { AutoModelForCausalLM, AutoTokenizer } = require('transformers'); const model = new AutoModelForCausalLM('chatgpt'); const tokenizer = new AutoTokenizer('chatgpt');` * Use the model to generate text using `const inputText = "Your input here"; const inputs = tokenizer.encodePlus(inputText, { return_tensors: 'pt', max_length: 1024, padding: 'max_length', truncation: true }); const output = model(inputs.inputIds, inputs.attentionMask); console.log(tokenizer.decode(output.logits[0], { skipSpecialTokens: true }));` Note: These methods require some technical knowledge and may have limitations compared to the original ChatGPT model.

How to Add ChatGPT to All Google Searches ===================================================== Step 1: Create a Custom Search Engine -------------------------------------- * Go to the [Google Custom Search Engine](https://cse.google.com/) website and sign in with your Google account. * Click on the "New Search Engine" button. * Fill in the required information, such as the name and description of your search engine. * Click on the "Create" button. Step 2: Add ChatGPT to the Search Engine ----------------------------------------- * In the "Setup" tab, click on the "Add" button next to "Sites to search". * Enter the following URL: `https://chat.openai.com/` * Click on the "Add" button. Step 3: Configure the Search Engine -------------------------------------- * In the "Setup" tab, click on the "Edit" button next to "Search engine keywords". * Add the following keywords: `ChatGPT` * Click on the "Save" button. Step 4: Get the Search Engine Code ------------------------------------- * In the "Setup" tab, click on the "Get code" button. * Copy the HTML code provided. Step 5: Add the Search Engine to Your Browser ------------------------------------------------ * Open your browser and go to the "Settings" or "Options" page. * Look for the "Search engine" or "Default search engine" option. * Click on the "Add" or "Manage search engines" button. * Paste the HTML code you copied earlier. * Click on the "Add" or "Save" button. You're Done! =============== Now, whenever you search on Google, ChatGPT will be included in the search results. You can also use the custom search engine URL provided by Google to search directly.

193.90 M
Xiaoqiu Search - Tab Page
View Detail

Xiaoqiu Search - Tab Page

Xiaoqiu Search - Tab Page

Xiaoqiu Search provides multiple types of aggregated searches, enabling more precise resource searching and saving cross-platform search time. Simultaneously, the [Xiaoqiu Search - Tab Page] mimics a mobile desktop, allowing for multi-desktop switching and setting quick menus for each website, making it a very useful browser homepage as well.

193.90 M