Orbitt Pro AI is a Chrome extension that revolutionizes cryptocurrency trading by combining artificial intelligence with a user-friendly interface. It offers AI-driven market analysis, educational resources, and decision support tools to help traders navigate the complex world of cryptocurrency markets. Designed for both novice and experienced traders, Orbitt Pro AI aims to enhance trading strategies and knowledge through its advanced features and comprehensive insights.
Orbitt Pro AI
Orbitt PRO uniquely combines the power of artificial intelligence and a convenient Chrome Extension, redefining the cryptocurrency trading experience.
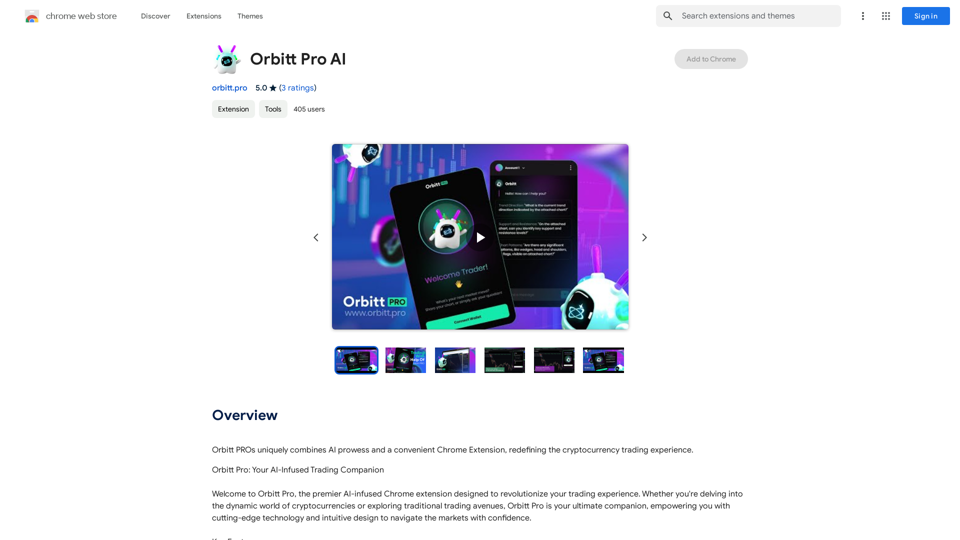
Introduction
Feature
AI-Driven Market Analysis
Orbitt Pro AI utilizes advanced algorithms to:
- Identify significant chart patterns and trends
- Provide deep insights into market dynamics
- Offer valuable analysis in volatile trading environments
Educational Content
The extension offers:
- Extensive learning resources for all skill levels
- Continuous knowledge enhancement with each interaction
- Materials covering various aspects of trading
Support for Informed Decisions
Orbitt Pro AI empowers traders with:
- Comprehensive market analytics
- Real-time updates on market conditions
- Tools for strategic decision-making in trading
Subscription Model
- Free version with limited usage
- Paid subscription for extended access and additional benefits
User-Friendly Interface
- Convenient Chrome extension format
- Intuitive design for easy navigation and use
FAQ
What is Orbitt Pro AI?
Orbitt Pro AI is a Chrome extension that combines AI technology with a user-friendly interface to enhance cryptocurrency trading. It provides AI-driven market analysis, educational content, and support for informed trading decisions.
What are the main features of Orbitt Pro AI?
The main features include:
- AI-driven market analysis
- Educational content for traders of all levels
- Support for informed decision-making
- Real-time market insights and updates
How do I use Orbitt Pro AI?
Users can access Orbitt Pro AI's features through the Chrome extension. The AI-driven market analysis and educational content are available to all users, while subscribers gain additional benefits and extended access beyond free usage limits.
What are the benefits of using Orbitt Pro AI?
Benefits include:
- Insightful market analysis powered by AI
- Expansion of trading knowledge through educational resources
- Strategic support for making informed trading decisions
- Access to real-time market data and trends
How much does Orbitt Pro AI cost?
Orbitt Pro AI offers:
- A free version with limited usage
- A subscription-based model with extended access and additional benefits (specific pricing not provided in the given content)
Related Websites
Stock Photos, Vectors and Royalty Free Images from 123RF
Stock Photos, Vectors and Royalty Free Images from 123RFSearch and download from millions of HD stock photos, royalty-free images, clipart, vectors, and illustrations
9.66 M
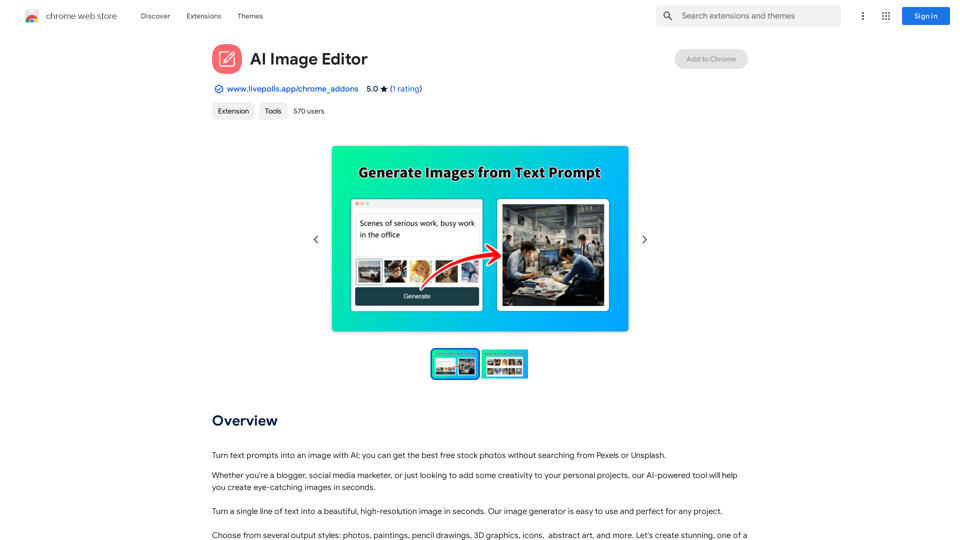
Use AI to create images from text descriptions; find high-quality free stock photos without using Pexels or Unsplash.
193.90 M

BasedLabs is your go-to source for AI video and tools. Join our community of thousands of AI enthusiasts and creators.
771.42 K

Picsart is the biggest comprehensive creative platform offering photo and video editing tools along with design capabilities. It provides an ecosystem of freely available content and inspiration drawn from other creators.
13.31 M
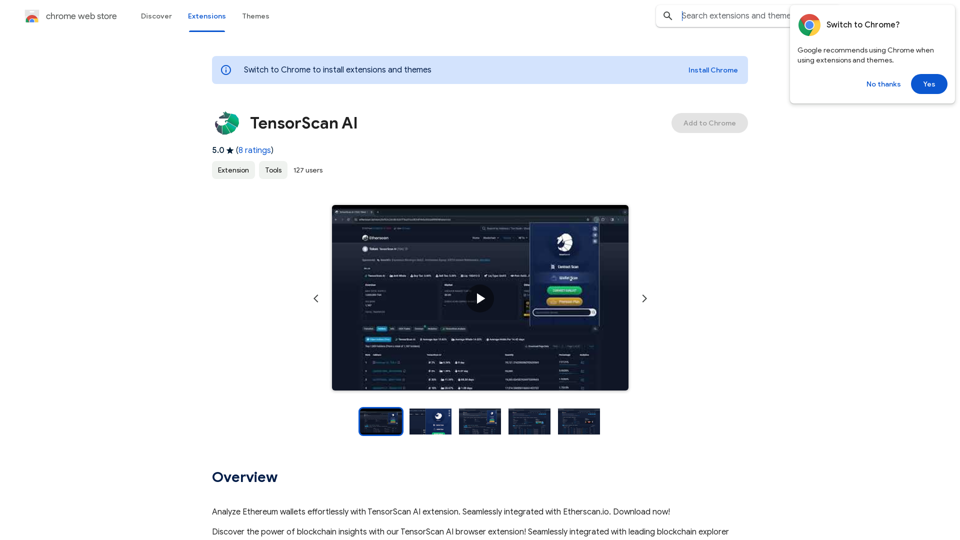
Analyze Ethereum wallets easily with the TensorScan AI extension. It works perfectly with Etherscan.io. Download it now!
193.90 M

Image Describer - AI Describe Image or Picture Online With the advancement of Artificial Intelligence (AI), it is now possible to describe images or pictures online using an Image Describer. This innovative tool uses computer vision and machine learning algorithms to analyze and identify the contents of an image, generating a descriptive text of what it sees. How it Works The process is quite simple: 1. Upload an Image: You can upload an image or enter the URL of an online image to the Image Describer tool. 2. AI Analysis: The AI algorithm analyzes the image, detecting objects, people, animals, and other elements within the picture. 3. Generate Description: The AI generates a descriptive text based on the analysis, providing a clear and concise description of the image. Applications of Image Describer The Image Describer has numerous applications, including: * Accessibility: Helping visually impaired individuals to understand the content of an image. * E-commerce: Providing product descriptions for online shopping platforms. * Search Engine Optimization (SEO): Generating alt tags and descriptions for images to improve search engine rankings. * Content Creation: Assisting writers and content creators with image descriptions. Benefits of Image Describer The Image Describer offers several benefits, including: * Time-Saving: Automating the process of image description, saving time and effort. * Accuracy: Providing accurate and objective descriptions of images. * Efficiency: Enabling individuals to focus on other tasks while the AI handles image description. Try it Out Experience the power of AI-driven image description today! Upload an image or enter a URL to see the Image Describer in action.
Image Describer - AI Describe Image or Picture Online With the advancement of Artificial Intelligence (AI), it is now possible to describe images or pictures online using an Image Describer. This innovative tool uses computer vision and machine learning algorithms to analyze and identify the contents of an image, generating a descriptive text of what it sees. How it Works The process is quite simple: 1. Upload an Image: You can upload an image or enter the URL of an online image to the Image Describer tool. 2. AI Analysis: The AI algorithm analyzes the image, detecting objects, people, animals, and other elements within the picture. 3. Generate Description: The AI generates a descriptive text based on the analysis, providing a clear and concise description of the image. Applications of Image Describer The Image Describer has numerous applications, including: * Accessibility: Helping visually impaired individuals to understand the content of an image. * E-commerce: Providing product descriptions for online shopping platforms. * Search Engine Optimization (SEO): Generating alt tags and descriptions for images to improve search engine rankings. * Content Creation: Assisting writers and content creators with image descriptions. Benefits of Image Describer The Image Describer offers several benefits, including: * Time-Saving: Automating the process of image description, saving time and effort. * Accuracy: Providing accurate and objective descriptions of images. * Efficiency: Enabling individuals to focus on other tasks while the AI handles image description. Try it Out Experience the power of AI-driven image description today! Upload an image or enter a URL to see the Image Describer in action.AI Image Describer is a tool to describe images or pictures online. It can be used as an image description and caption generator. Additionally, it supports image-to-prompt and text extraction from photos.
5.16 K

Opulli | AI Fashion Model Platform for Clothing Brands
Opulli | AI Fashion Model Platform for Clothing BrandsCreate captivating AI-generated fashion models, cutting photoshoot costs dramatically. Enhance audience engagement, accelerate market debut, and lead fashion trends with unparalleled speed and precision.
0

Flux Image AI Generator Online Free | FluxImage.co
Flux Image AI Generator Online Free | FluxImage.coCreate captivating images and videos with Flux Image AI Generator, the state-of-the-art AI image generation tool available for free online
2.35 K