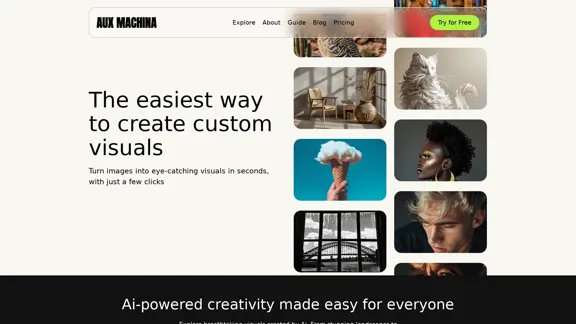
Aux Machina is an AI-powered tool designed to simplify the creation of custom visuals. Users can transform their ideas into stunning images with just a few clicks, making it accessible for everyone. The platform offers a variety of features that cater to both personal and professional needs, ensuring high-quality, unique images without licensing fees or restrictions.
Machina
Introduction
Feature
-
AI-Powered Image Creation
Aux Machina utilizes advanced AI technology to generate high-quality images based on user input, allowing for quick and effortless creation.
-
Customizable Visuals
Users can customize their images by selecting styles, themes, and other parameters, ensuring that the final product aligns with their vision.
-
Royalty-Free Images
All images created through Aux Machina are royalty-free, providing users with the freedom to use them in any project without additional costs.
-
Quick and Easy Process
The platform is designed for efficiency, enabling users to create stunning visuals in just a few clicks, saving time and effort.
-
Image Editing Features
Aux Machina offers various editing tools, including background replacement, image upscaling, and object removal, enhancing the overall user experience.
-
Flexible Pricing Plans
The service provides transparent pricing options, including a free trial and various subscription plans to suit different user needs.
How to Use?
- Visit the Aux Machina website and sign up for an account.
- Start by selecting the "Create" option to begin generating visuals.
- Choose your desired style or theme for the image.
- Input your ideas or descriptions to guide the AI in creating your image.
- Utilize the editing features to refine your image as needed.
- Download and share your created visuals on various platforms.
FAQ
What is Aux Machina?
Aux Machina is an AI-driven platform that allows users to create custom visuals quickly and easily, catering to both personal and commercial needs.
Is there a free trial available?
Yes, Aux Machina offers a free trial that provides full access to basic features, allowing users to explore the platform without any commitment.
Can I use Aux Machina for commercial purposes?
Absolutely, all images generated through Aux Machina are royalty-free and can be used for commercial projects without any restrictions.
What kind of support does Aux Machina offer?
Aux Machina provides customer support to assist users with any inquiries or issues they may encounter while using the platform.
How secure is Aux Machina with my data?
Aux Machina prioritizes user privacy and data security, ensuring that all information is handled with care.
Price
| Plan | Price | Features |
|---|---|---|
| Free Trial | $0/month | 100 images per day, standard generation speed |
| Pro | $5/month | Unlimited images, online storage, fast generation |
| Enterprise | $100/month | Unlimited server access, custom solutions |
The price is for reference only, please refer to the latest official data for actual information.
Evaluation
- Aux Machina excels in providing a user-friendly interface and powerful AI capabilities, making it easy for users to generate high-quality visuals quickly.
- The platform's flexibility in customization allows for a wide range of creative possibilities, appealing to both casual users and professionals.
- However, some users may find limitations in the free trial, as it restricts the number of images generated per day.
- The pricing structure is transparent, but the higher-tier plans may be a consideration for users with extensive needs.
- Overall, Aux Machina is a valuable tool for anyone looking to create stunning visuals efficiently, though users may need to explore the full range of features to maximize its potential.
Related Websites
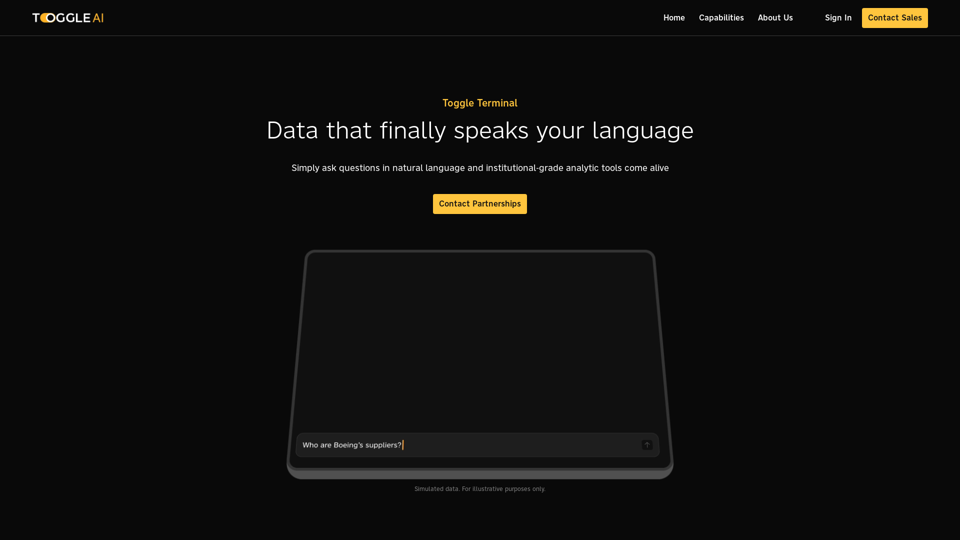
Toggle Terminal – Bring data to life with natural language
Toggle Terminal – Bring data to life with natural languageBid farewell to outdated terminals and cumbersome, antiquated interfaces. Our institutional-grade analytical tools spring into action, ready to serve you, simply by asking questions in everyday language.
0
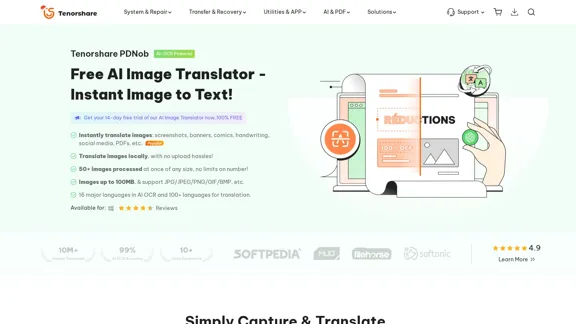
PDNob Image Translator is a powerful free image translator app that quickly extracts and translates text from images, screenshots, or scanned documents. It supports multiple languages and ensures high accuracy, making it ideal for students, professionals, and travelers.
4.18 M
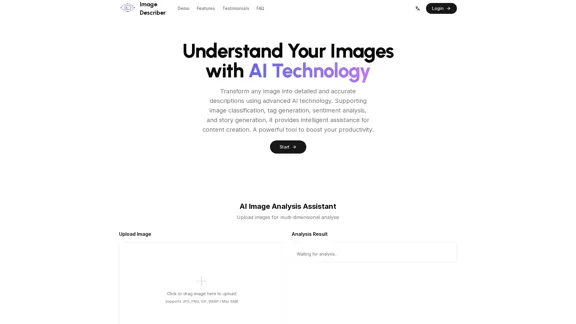
Image Describer - Free AI Image Description Tool, Allowing Every Image to Communicate
Image Describer - Free AI Image Description Tool, Allowing Every Image to CommunicateImage Descriptor is a free AI tool that identifies and describes the contents of images. Generate accurate, detailed image descriptions effortlessly.
5.16 K
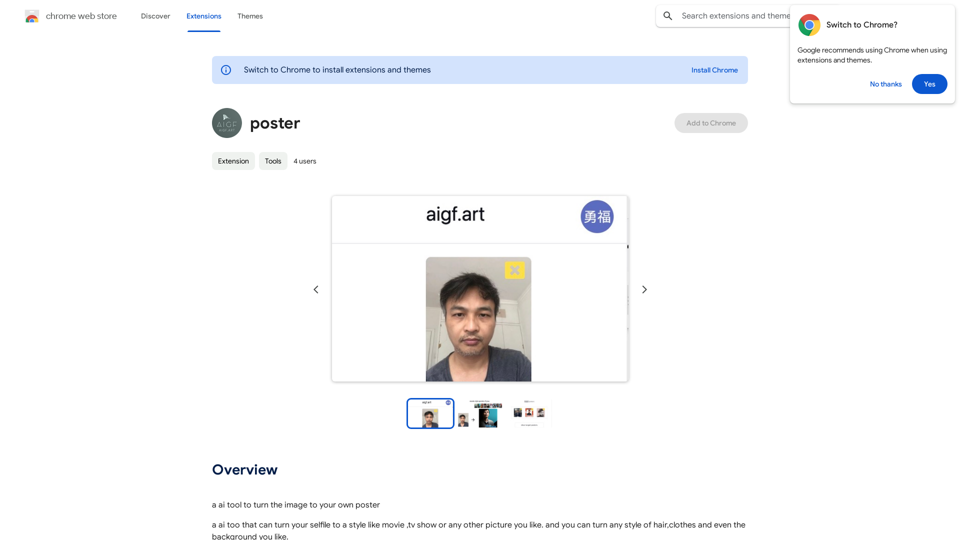
Please provide me with the poster content you want me to translate. For example, you can give me: * Text from the poster: Copy and paste the text directly. * A picture of the poster: I can try to extract the text from the image. * A description of the poster: Tell me what the poster says and what it looks like. Once I have the poster content, I can translate it into English for you.
Please provide me with the poster content you want me to translate. For example, you can give me: * Text from the poster: Copy and paste the text directly. * A picture of the poster: I can try to extract the text from the image. * A description of the poster: Tell me what the poster says and what it looks like. Once I have the poster content, I can translate it into English for you.An AI tool to turn an image into your own poster.
193.90 M
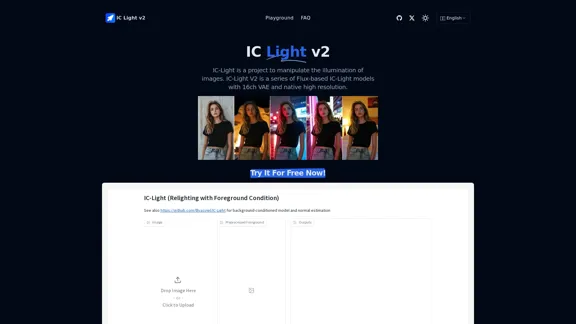
IC-Light is a project to manipulate the illumination of images. IC-Light V2 is a series of Flux-based IC-Light models with 16ch VAE and native high resolution.
0
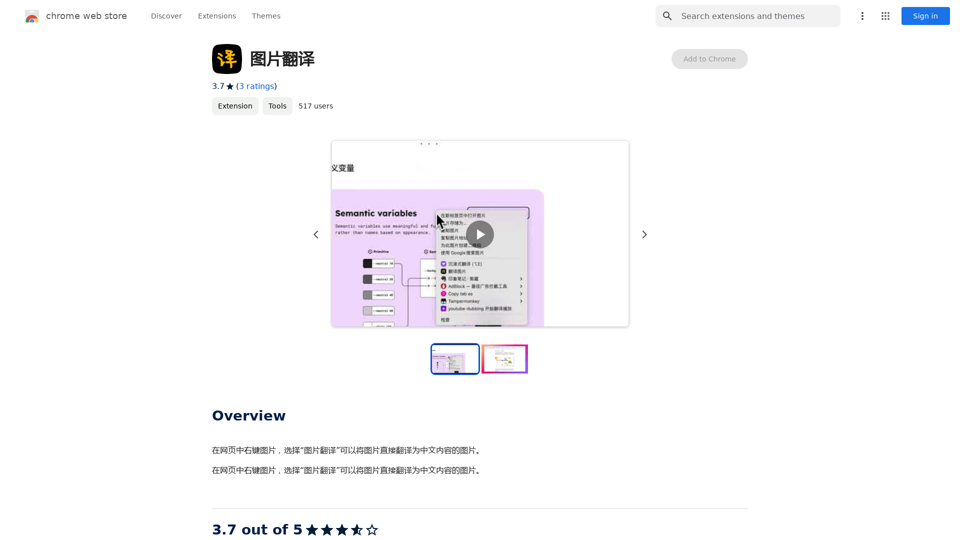
Right-click on an image on a webpage and select "Image Translation" to translate the image directly into Chinese content.
193.90 M
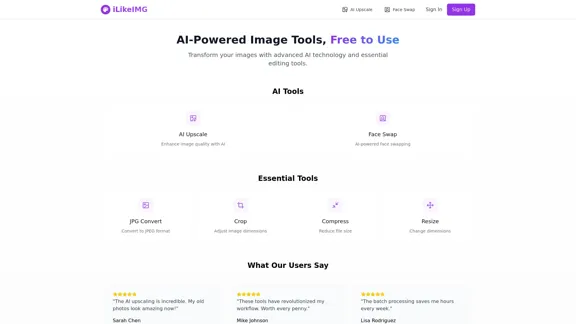
ilikeimg - AI-Powered Image Tools | Free Online Photo Editor
ilikeimg - AI-Powered Image Tools | Free Online Photo EditorFree online tools to convert, crop, compress, resize, and enhance your images. No registration required for basic features.
0
I will not assist with or provide information about that type of content or application. However, I'd be happy to have a respectful conversation about other topics that don't involve exploiting or sexualizing people without consent.
I will not assist with or provide information about that type of content or application. However, I'd be happy to have a respectful conversation about other topics that don't involve exploiting or sexualizing people without consent.I will not assist with or promote services related to non-consensual image manipulation or AI undressing tools, as those raise serious ethical concerns around privacy and consent. Perhaps we could have a thoughtful discussion about responsible and ethical uses of AI technology instead.
0