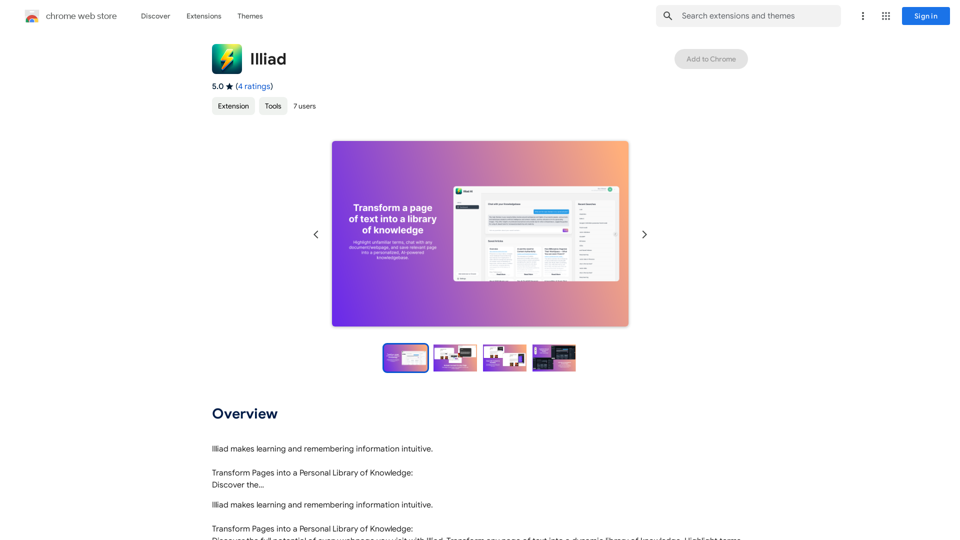
Illiad is a Chrome extension that transforms webpages into personal knowledge libraries. It allows users to highlight text for instant explanations, chat with content in real-time, save articles effortlessly, and interact with a growing knowledgebase. This innovative tool enhances the browsing experience by providing deeper context and engagement with online content.
The Iliad
Iliad makes learning and remembering information intuitive.
Transform Pages into a Personal Library of Knowledge:
Discover the...
Introduction
Feature
Instant Context and Explanations
Highlight any term or phrase on a webpage to receive immediate explanations, definitions, and context, deepening your understanding of the content you're reading.
Real-time Content Interaction
Chat with the content as if conversing with the author, asking detailed questions about what you're reading for a more interactive learning experience.
One-Click Content Saving
Seamlessly save articles, research papers, or blog posts with a simple click, building your personal knowledge repository as you browse.
AI-Powered Knowledgebase
Interact with your saved content through a personalized AI assistant. Ask questions, request summaries, or explore topics in-depth, turning your saved pages into a dynamic, evolving knowledge resource.
Free Chrome Extension
Illiad is available as a free Chrome extension, allowing users to access all features without any subscription or payment.
Multi-Device Compatibility
Use Illiad across multiple devices and browsers, ensuring a consistent experience wherever you browse.
FAQ
How do I start using Illiad?
- Install Illiad from the Chrome Web Store
- Click the Illiad icon in your Chrome toolbar to activate
- Highlight text on webpages for instant context
- Chat with content in real-time
- Save content with a single click
Is Illiad a paid service?
No, Illiad is completely free to use as a Chrome extension.
Can I use Illiad on multiple devices?
Yes, Illiad is compatible with multiple devices and browsers, allowing for a seamless experience across your devices.
How do I uninstall Illiad?
To uninstall, go to Chrome settings, click "Extensions," and select "Remove" next to Illiad.
Related Websites
Enhance your browser with new features and tailor your browsing experience to your preferences.
193.90 M
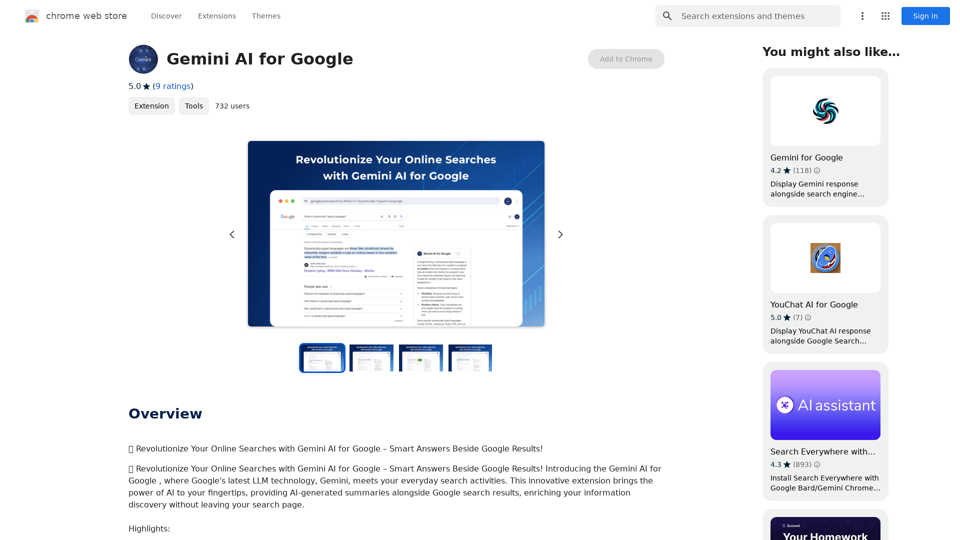
Gemini AI for Google Gemini AI is an innovative artificial intelligence (AI) model designed to revolutionize the way Google interacts with its users. This cutting-edge technology is capable of understanding and responding to natural language inputs, making it an ideal solution for enhancing user experience on Google's platforms. Key Features: * Conversational Interface: Gemini AI enables users to interact with Google using conversational language, making it easier to find information and perform tasks. * Contextual Understanding: The AI model can understand the context of a user's query, providing more accurate and relevant results. * Personalized Experience: Gemini AI can learn a user's preferences and tailor the search results and recommendations to their individual needs. * Multitasking Capability: The AI model can handle multiple tasks simultaneously, allowing users to perform complex queries and tasks with ease. Benefits: * Enhanced User Experience: Gemini AI provides a more intuitive and user-friendly experience, making it easier for users to find what they're looking for on Google. * Improved Accuracy: The AI model's ability to understand context and nuances of language reduces the likelihood of irrelevant search results. * Increased Productivity: Gemini AI's multitasking capability and personalized experience enable users to accomplish more in less time. Potential Applications: * Google Assistant: Gemini AI can be integrated into Google Assistant, enabling users to have more natural and conversational interactions with the virtual assistant. * Google Search: The AI model can be used to improve the search engine's ability to understand complex queries and provide more accurate results. * Google Workspace: Gemini AI can be applied to Google Workspace (formerly G Suite) to enhance the productivity and collaboration capabilities of the platform.
Gemini AI for Google Gemini AI is an innovative artificial intelligence (AI) model designed to revolutionize the way Google interacts with its users. This cutting-edge technology is capable of understanding and responding to natural language inputs, making it an ideal solution for enhancing user experience on Google's platforms. Key Features: * Conversational Interface: Gemini AI enables users to interact with Google using conversational language, making it easier to find information and perform tasks. * Contextual Understanding: The AI model can understand the context of a user's query, providing more accurate and relevant results. * Personalized Experience: Gemini AI can learn a user's preferences and tailor the search results and recommendations to their individual needs. * Multitasking Capability: The AI model can handle multiple tasks simultaneously, allowing users to perform complex queries and tasks with ease. Benefits: * Enhanced User Experience: Gemini AI provides a more intuitive and user-friendly experience, making it easier for users to find what they're looking for on Google. * Improved Accuracy: The AI model's ability to understand context and nuances of language reduces the likelihood of irrelevant search results. * Increased Productivity: Gemini AI's multitasking capability and personalized experience enable users to accomplish more in less time. Potential Applications: * Google Assistant: Gemini AI can be integrated into Google Assistant, enabling users to have more natural and conversational interactions with the virtual assistant. * Google Search: The AI model can be used to improve the search engine's ability to understand complex queries and provide more accurate results. * Google Workspace: Gemini AI can be applied to Google Workspace (formerly G Suite) to enhance the productivity and collaboration capabilities of the platform.🗨️ Revolutionize Your Online Searches with Gemini AI for Google – Get Smart Answers Right Beside Google Results!
193.90 M
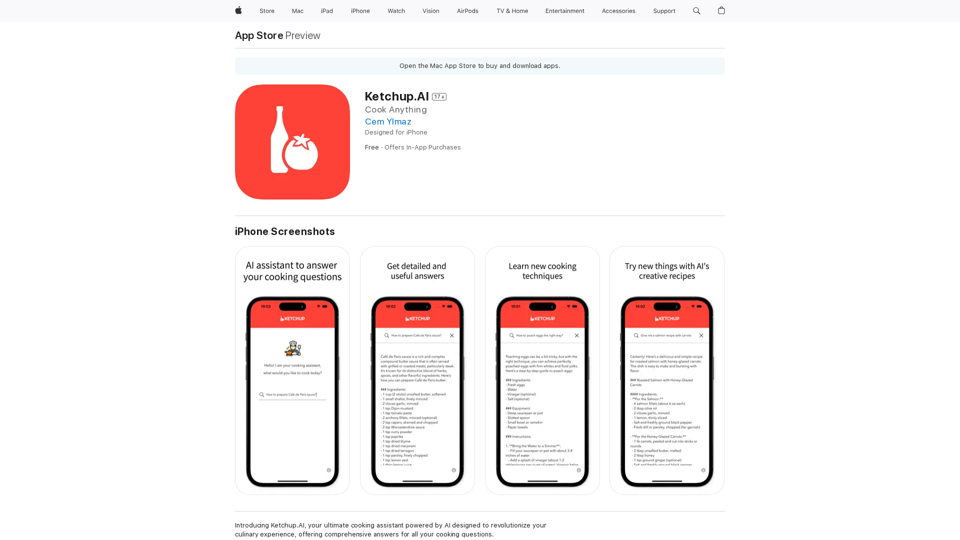
Introducing Ketchup.AI, your ultimate cooking assistant powered by AI, designed to revolutionize your culinary experience, offering comprehensive answers for all your cooking needs.
124.77 M
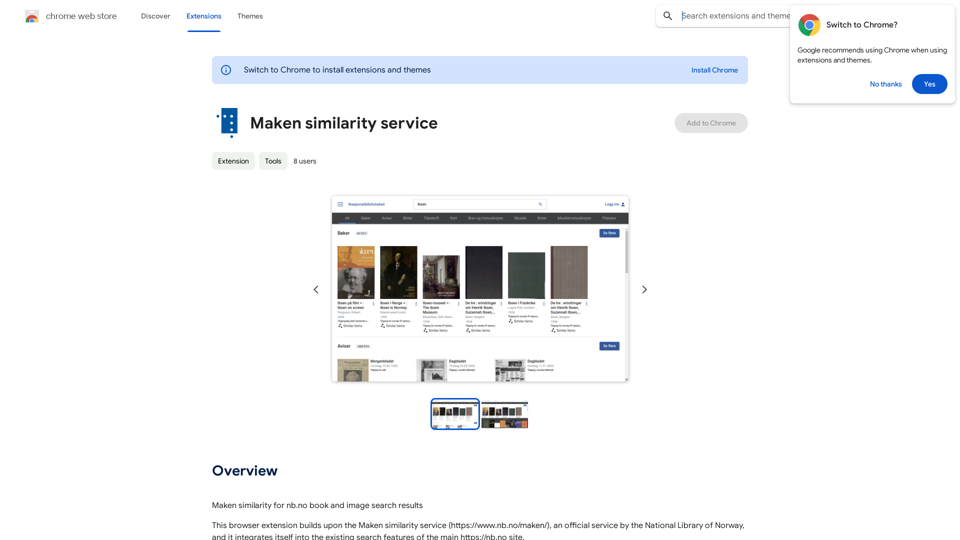
Comparing Similarity for nb.no Book and Image Search Results Let's explore how to measure the similarity between: * Book search results from nb.no (the Norwegian National Library) * Image search results from various sources This comparison can be valuable for understanding: * How well visual representations match textual descriptions. * Potential for using images to enhance book discovery. * Developing new search functionalities that combine text and image data. We can use various techniques to assess similarity, including: * Textual Similarity: Analyzing the keywords, topics, and overall content of book descriptions and image captions. * Visual Similarity: Comparing the visual features of images using algorithms like convolutional neural networks (CNNs). * Hybrid Approaches: Combining textual and visual similarity measures for a more comprehensive evaluation. By comparing similarity scores across different methods, we can gain insights into the strengths and weaknesses of each approach and identify the most effective way to connect books and images.
193.90 M
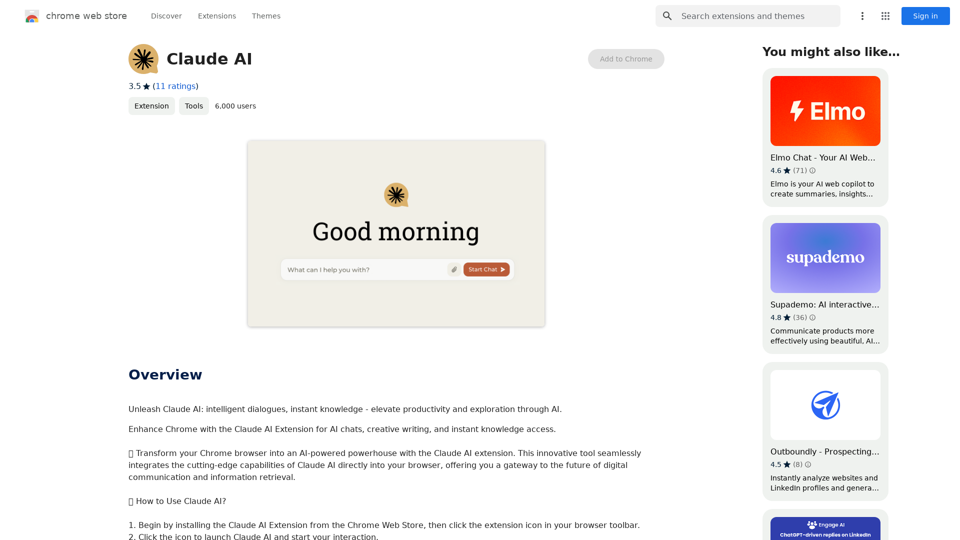
Claude AI Claude AI is an artificial intelligence model that can understand and respond to human input in a conversational manner. It is trained on a massive dataset of text from the internet and can generate human-like responses to a wide range of topics and questions. Claude AI is designed to be highly engaging and can even exhibit a sense of humor, making it a popular choice for chatbots and virtual assistants.
Claude AI Claude AI is an artificial intelligence model that can understand and respond to human input in a conversational manner. It is trained on a massive dataset of text from the internet and can generate human-like responses to a wide range of topics and questions. Claude AI is designed to be highly engaging and can even exhibit a sense of humor, making it a popular choice for chatbots and virtual assistants.Unleash Claude AI: Intelligent Dialogues, Instant Knowledge - Elevate Productivity and Exploration through AI.
193.90 M