Open-source RightAI Tools Directory
  • Discover AI
  • Submit
  • Startup
  • Blog
Open-source RightAI Tools Directory
Discover the best AI tools of 2025 with the RightAI Tools Directory!

Friend Links

AI Anime GeneratorToolsApp AI

Support

Tap4
Privacy policyTerms & ConditionsContact Us
Loading...
loading...

Just Mark - AI Favorites Folder

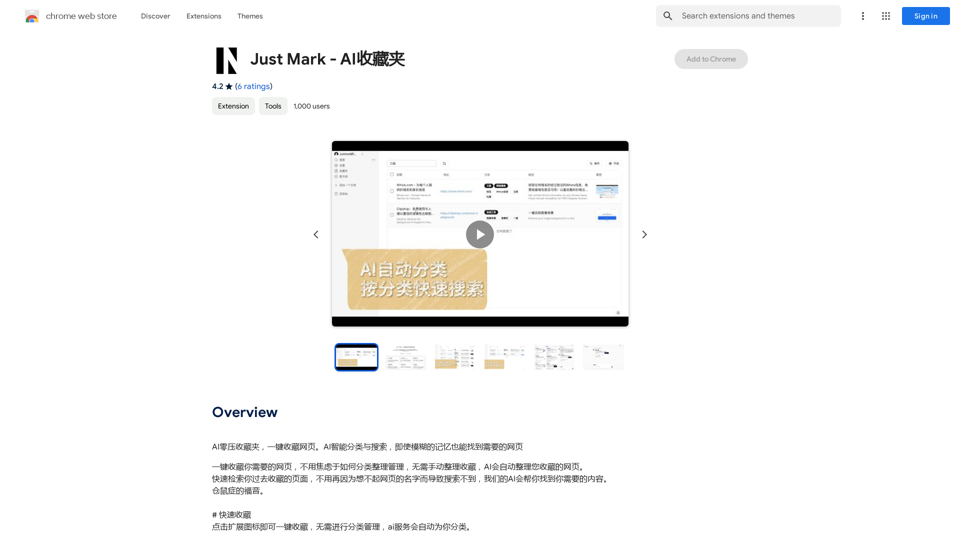
AI Zero-Pressure Bookmark Folder, one-click to collect web pages. AI intelligent classification and search, even with vague memories, you can find the web pages you need.
Visit Website
Just Mark - AI Favorites Folder
Visit Website

Introduction

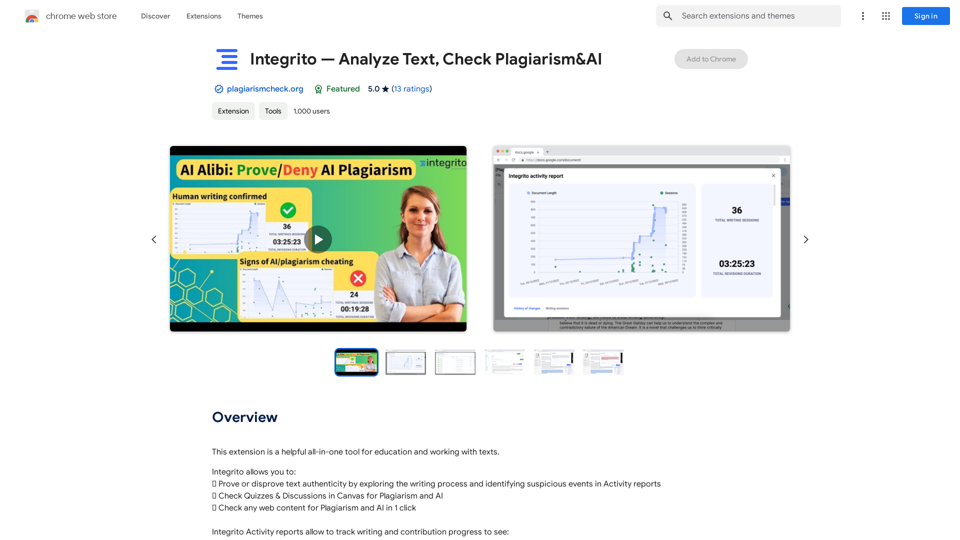
Just Mark - AI Bookmark Collection is an innovative Chrome extension that revolutionizes bookmarking with AI-powered features. This tool simplifies the process of collecting and organizing web pages, making it effortless for users to manage their digital content. With intelligent categorization, quick bookmarking, and a user-friendly interface, Just Mark - AI Bookmark Collection offers a seamless experience for both casual and power users.

Feature

Quick Bookmarking

One-click bookmarking functionality allows users to save web pages instantly without manual categorization.

AI-powered Categorization

Utilizes artificial intelligence to automatically categorize bookmarks, enhancing organization and accessibility.

English Website Translation

Offers translation of English websites into Chinese, improving comprehension for non-native English speakers.

Automatic Screenshot

Captures a screenshot of the bookmarked page, providing a visual preview for easy recognition.

Address Bar Search

Enables users to search their bookmarks directly from the Chrome address bar for quick access.

Customizable Labels

Allows creation of personalized labels and categories, tailoring the bookmarking experience to individual needs.

Conversational Interface

Implements natural language interaction for effortless bookmark retrieval and management.

FAQ

How can I maximize my use of Just Mark - AI Bookmark Collection?

  • Leverage the AI-powered categorization for efficient organization
  • Create custom labels to suit your specific needs
  • Utilize the conversational interface for natural bookmark interaction
  • Take advantage of automatic screenshots for quick visual reference

What are the benefits of using Just Mark - AI Bookmark Collection?

  • Convenience in collecting and organizing web pages
  • Customization options for personalized experience
  • AI-powered categorization for efficient bookmark management
  • Natural language interface for intuitive interaction

Is Just Mark - AI Bookmark Collection free?

Yes, the extension is free to download and use. However, a subscription option is available for access to additional features and support.

How does the AI-powered Categorization work?

The extension employs artificial intelligence to analyze bookmark content and automatically categorize them based on relevance and subject matter.

Related Websites
AI Voice Generator & Text to Speech | Deepgram

Transform written text into natural-sounding speech with our AI voice generator and text-to-speech technology.
View Detail

AI Voice Generator & Text to Speech | Deepgram Transform written text into natural-sounding speech with our AI voice generator and text-to-speech technology.

AI Voice Generator & Text to Speech | Deepgram Transform written text into natural-sounding speech with our AI voice generator and text-to-speech technology.

Unlock the potential of Deepgram's AI Voice Generator. Experience natural-sounding text to speech for all your projects.

835.16 K
Ads Society
View Detail

Ads Society

Ads Society

Ads Society is the best way to save ads from TikTok and Facebook Ads libraries with one click.

193.90 M
MealCrafter
View Detail

MealCrafter

MealCrafter

The Web App for personalized meal planning tailored to your dietary goals

0
Quick Action
View Detail

Quick Action

Quick Action

A secure layer connecting to the latest GPT-4 32k model hosted in an encrypted environment.

193.90 M
YouTube Video Summarizer
View Detail

YouTube Video Summarizer

YouTube Video Summarizer

Effortlessly summarize YouTube videos with 'YouTube Video Summarizer', your AI video-to-text converter and Chat GPT tool

193.90 M
Infinity AI
View Detail

Infinity AI

Infinity AI

Infinity AI is a revolutionary platform that enables the creation of generative video models focused on people.

158
Get ChatGPT for Free with Google

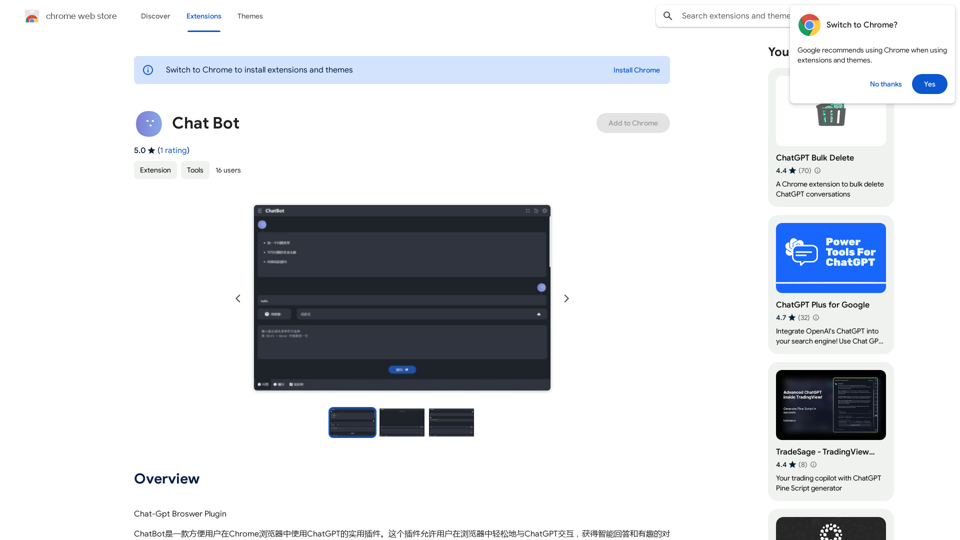
You can now access ChatGPT, a powerful language model, for free with Google. Here's how:

Method 1: Google Colab

* Open Google Colab ([colab.research.google.com](http://colab.research.google.com))
* Create a new notebook
* Install the `transformers` library by running `!pip install transformers`
* Import the `transformers` library and load the ChatGPT model using `from transformers import AutoModelForCausalLM, AutoTokenizer; model = AutoModelForCausalLM.from_pretrained('chatgpt'); tokenizer = AutoTokenizer.from_pretrained('chatgpt')`
* Use the model to generate text using `input_text = "Your input here"; inputs = tokenizer.encode_plus(input_text, return_tensors='pt', max_length=1024, padding='max_length', truncation=True); output = model(inputs['input_ids'], attention_mask=inputs['attention_mask']); print(tokenizer.decode(output.logits[0], skip_special_tokens=True))`

Method 2: Google Apps Script

* Open Google Apps Script ([script.google.com](http://script.google.com))
* Create a new project
* Install the `transformers` library by running `npm install transformers`
* Import the `transformers` library and load the ChatGPT model using `const { AutoModelForCausalLM, AutoTokenizer } = require('transformers'); const model = new AutoModelForCausalLM('chatgpt'); const tokenizer = new AutoTokenizer('chatgpt');`
* Use the model to generate text using `const inputText = "Your input here"; const inputs = tokenizer.encodePlus(inputText, { return_tensors: 'pt', max_length: 1024, padding: 'max_length', truncation: true }); const output = model(inputs.inputIds, inputs.attentionMask); console.log(tokenizer.decode(output.logits[0], { skipSpecialTokens: true }));`

Note: These methods require some technical knowledge and may have limitations compared to the original ChatGPT model.
View Detail

Get ChatGPT for Free with Google You can now access ChatGPT, a powerful language model, for free with Google. Here's how: Method 1: Google Colab * Open Google Colab ([colab.research.google.com](http://colab.research.google.com)) * Create a new notebook * Install the `transformers` library by running `!pip install transformers` * Import the `transformers` library and load the ChatGPT model using `from transformers import AutoModelForCausalLM, AutoTokenizer; model = AutoModelForCausalLM.from_pretrained('chatgpt'); tokenizer = AutoTokenizer.from_pretrained('chatgpt')` * Use the model to generate text using `input_text = "Your input here"; inputs = tokenizer.encode_plus(input_text, return_tensors='pt', max_length=1024, padding='max_length', truncation=True); output = model(inputs['input_ids'], attention_mask=inputs['attention_mask']); print(tokenizer.decode(output.logits[0], skip_special_tokens=True))` Method 2: Google Apps Script * Open Google Apps Script ([script.google.com](http://script.google.com)) * Create a new project * Install the `transformers` library by running `npm install transformers` * Import the `transformers` library and load the ChatGPT model using `const { AutoModelForCausalLM, AutoTokenizer } = require('transformers'); const model = new AutoModelForCausalLM('chatgpt'); const tokenizer = new AutoTokenizer('chatgpt');` * Use the model to generate text using `const inputText = "Your input here"; const inputs = tokenizer.encodePlus(inputText, { return_tensors: 'pt', max_length: 1024, padding: 'max_length', truncation: true }); const output = model(inputs.inputIds, inputs.attentionMask); console.log(tokenizer.decode(output.logits[0], { skipSpecialTokens: true }));` Note: These methods require some technical knowledge and may have limitations compared to the original ChatGPT model.

Get ChatGPT for Free with Google You can now access ChatGPT, a powerful language model, for free with Google. Here's how: Method 1: Google Colab * Open Google Colab ([colab.research.google.com](http://colab.research.google.com)) * Create a new notebook * Install the `transformers` library by running `!pip install transformers` * Import the `transformers` library and load the ChatGPT model using `from transformers import AutoModelForCausalLM, AutoTokenizer; model = AutoModelForCausalLM.from_pretrained('chatgpt'); tokenizer = AutoTokenizer.from_pretrained('chatgpt')` * Use the model to generate text using `input_text = "Your input here"; inputs = tokenizer.encode_plus(input_text, return_tensors='pt', max_length=1024, padding='max_length', truncation=True); output = model(inputs['input_ids'], attention_mask=inputs['attention_mask']); print(tokenizer.decode(output.logits[0], skip_special_tokens=True))` Method 2: Google Apps Script * Open Google Apps Script ([script.google.com](http://script.google.com)) * Create a new project * Install the `transformers` library by running `npm install transformers` * Import the `transformers` library and load the ChatGPT model using `const { AutoModelForCausalLM, AutoTokenizer } = require('transformers'); const model = new AutoModelForCausalLM('chatgpt'); const tokenizer = new AutoTokenizer('chatgpt');` * Use the model to generate text using `const inputText = "Your input here"; const inputs = tokenizer.encodePlus(inputText, { return_tensors: 'pt', max_length: 1024, padding: 'max_length', truncation: true }); const output = model(inputs.inputIds, inputs.attentionMask); console.log(tokenizer.decode(output.logits[0], { skipSpecialTokens: true }));` Note: These methods require some technical knowledge and may have limitations compared to the original ChatGPT model.

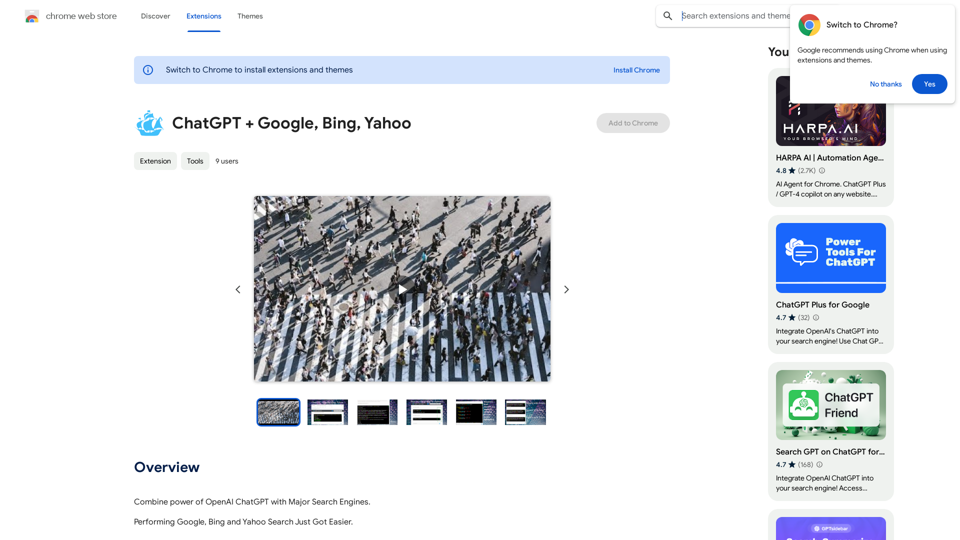
How to Add ChatGPT to All Google Searches ===================================================== Step 1: Create a Custom Search Engine -------------------------------------- * Go to the [Google Custom Search Engine](https://cse.google.com/) website and sign in with your Google account. * Click on the "New Search Engine" button. * Fill in the required information, such as the name and description of your search engine. * Click on the "Create" button. Step 2: Add ChatGPT to the Search Engine ----------------------------------------- * In the "Setup" tab, click on the "Add" button next to "Sites to search". * Enter the following URL: `https://chat.openai.com/` * Click on the "Add" button. Step 3: Configure the Search Engine -------------------------------------- * In the "Setup" tab, click on the "Edit" button next to "Search engine keywords". * Add the following keywords: `ChatGPT` * Click on the "Save" button. Step 4: Get the Search Engine Code ------------------------------------- * In the "Setup" tab, click on the "Get code" button. * Copy the HTML code provided. Step 5: Add the Search Engine to Your Browser ------------------------------------------------ * Open your browser and go to the "Settings" or "Options" page. * Look for the "Search engine" or "Default search engine" option. * Click on the "Add" or "Manage search engines" button. * Paste the HTML code you copied earlier. * Click on the "Add" or "Save" button. You're Done! =============== Now, whenever you search on Google, ChatGPT will be included in the search results. You can also use the custom search engine URL provided by Google to search directly.

193.90 M
Difr | Career Growth for the People
View Detail

Difr | Career Growth for the People

Difr | Career Growth for the People

Easily extract job listing details for tracking in Diffr

193.90 M