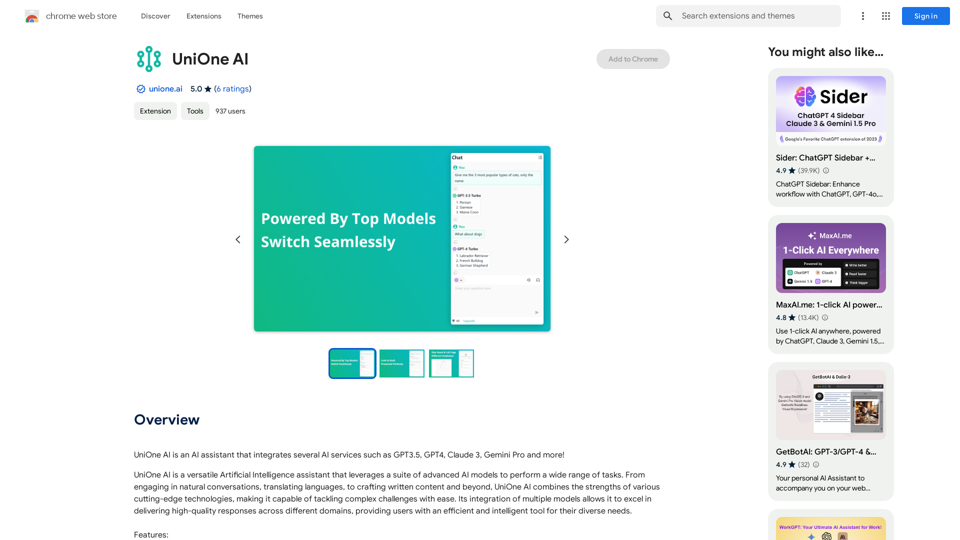
UniOne AI is a versatile AI assistant that integrates multiple advanced AI models, including GPT3.5, GPT4, Claude 3, and Gemini Pro. It offers a wide range of features and capabilities, making it a powerful tool for various tasks such as natural conversations, content creation, and more. UniOne AI is designed to be user-friendly, efficient, and accessible to everyone.
UniOne AI
UniOne AI is an AI assistant that integrates several AI services such as GPT3.5, GPT4, Claude 3, Gemini Pro and more!
Introduction
Feature
Free Access with Daily Quota
- 30 fast query quota per day
- Quick sign-up using cell phone or email
Optimized Performance
- Fast and stable responses
- Available from any location
Flexible Model Switching
- Seamless switching between AI models
- Automatic context retention during switches
Conversation Management
- Start new conversations anytime
- Resume from historical conversations
User Interface Options
- Sidebar for multitasking
- Full-page mode for focused work
Web Content Access
- Real-time answers from web content
Text-to-Image Generation
- Create images from text descriptions
Translation Interface
- Independent two-column interface
- Efficient translation workflow
Code and Math Support
- Code highlighting for better readability
- LaTeX formula support for academic content
Usability Features
- One-click copy for code blocks and messages
- Markdown format copying available
Multilingual Support
- Currently supports English and Simplified Chinese
- Plans for more language additions
Customizable Display
- Dark mode option
- Automatic theme switching based on system settings
Quick Access Tools
- Hoverball for sidebar access and settings
- Cross-word dialog and translation on any webpage
FAQ
How can I start using UniOne AI?
Sign up for free using your cell phone or email address to enjoy 30 fast query quota per day. Subscription options are available for extended access and benefits.
What upcoming features are planned for UniOne AI?
Prompt Management
- Built-in rich prompts
- Support for user-defined prompts
Chat with Documents
- Upload and interact with various document types (PDF, Word, PPT, etc.)
Is UniOne AI free to use permanently?
Yes, free credits are provided permanently. Paid packages are available for users with greater needs.
Are there plans for other platforms besides browser plugins?
Yes, development is underway for mobile, desktop, and web applications, covering all platforms at no extra charge.
How does UniOne AI ensure privacy and security?
- User information is used only for necessary functions like login
- Conversation history is stored locally by default
- Server-stored private information is encrypted and professionally maintained
How can I contact UniOne AI for support or suggestions?
You can reach out to [email protected] for any questions or feedback.
Latest Traffic Insights
Monthly Visits
193.90 M
Bounce Rate
56.27%
Pages Per Visit
2.71
Time on Site(s)
115.91
Global Rank
-
Country Rank
-
Recent Visits
Traffic Sources
- Social Media:0.48%
- Paid Referrals:0.55%
- Email:0.15%
- Referrals:12.81%
- Search Engines:16.21%
- Direct:69.81%
Related Websites
Musick.ai: Free AI Music Generator & AI Song Maker Online
Musick.ai: Free AI Music Generator & AI Song Maker OnlineExplore Musick.ai as an innovative AI Music Generator, including music theory and music plaza. Create songs with AI and make AI music now!
57.04 K
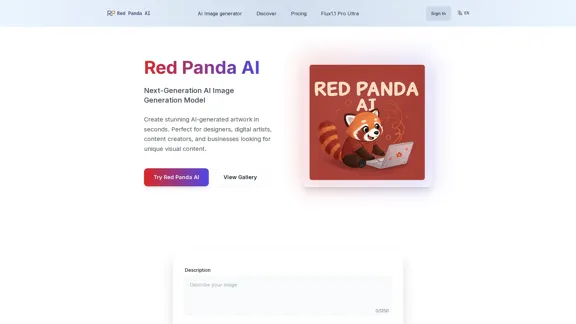
Red Panda AI | A New Future of AI Image Generation
Red Panda AI | A New Future of AI Image GenerationTransform your designs with our professional AI red panda image generator. Create stunning artwork with perfect text placement, vector support, and consistent style. Start creating for free.
688
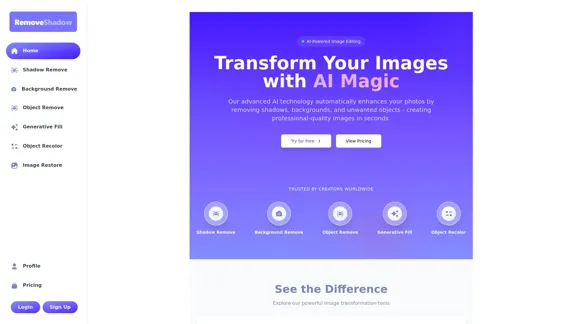
Transform your images with AI-powered technology. Remove shadows, backgrounds, and unwanted objects to create professional-quality photos in seconds.
0
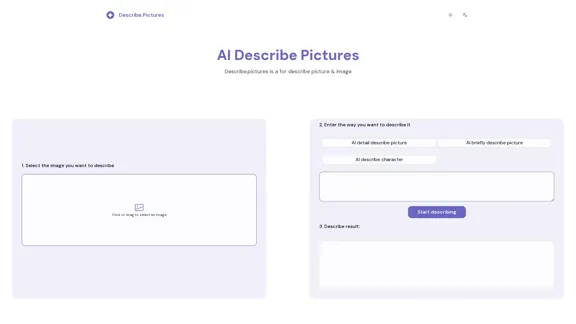
AI Describe Picture & Image | Free AI-generated image description
AI Describe Picture & Image | Free AI-generated image descriptionAI picture & image description generator, helping you quickly generate image descriptions.
7.04 K
![Midjourney API - Automate Midjourney AI Image Generation
This document outlines how to use the Midjourney API to automate the generation of AI images.
What is the Midjourney API?
The Midjourney API allows developers to programmatically interact with the powerful Midjourney AI model. This means you can generate images, control various parameters, and integrate Midjourney into your own applications and workflows.
Why Use the Midjourney API?
* Automation: Automate the creation of images for various purposes, such as marketing materials, website content, or research projects.
* Customization: Fine-tune image generation by controlling parameters like aspect ratio, style, and seed values.
* Integration: Seamlessly integrate Midjourney's capabilities into your existing tools and platforms.
Getting Started
1. Sign Up for a Midjourney Account: You'll need a Midjourney account to access the API.
2. Obtain an API Key: Once you have an account, you can generate an API key from your account settings.
3. Choose a Programming Language: The Midjourney API supports various programming languages, including Python, JavaScript, and Go.
4. Install the API Client: Install the appropriate API client library for your chosen language.
5. Start Generating Images: Use the API client to send image generation requests to the Midjourney server.
Example (Python):
```python
import midjourney
Replace with your actual API key
api_key = "YOUR_API_KEY"
Create a Midjourney client
client = midjourney.Client(api_key=api_key)
Generate an image
response = client.create_image(prompt="A cat wearing a hat", num_images=1)
Print the image URL
print(response.images[0].url)
```
Documentation and Resources
For detailed information about the Midjourney API, including available endpoints, parameters, and examples, please refer to the official documentation: [https://docs.midjourney.com/](https://docs.midjourney.com/)
Midjourney API - Automate Midjourney AI Image Generation
This document outlines how to use the Midjourney API to automate the generation of AI images.
What is the Midjourney API?
The Midjourney API allows developers to programmatically interact with the powerful Midjourney AI model. This means you can generate images, control various parameters, and integrate Midjourney into your own applications and workflows.
Why Use the Midjourney API?
* Automation: Automate the creation of images for various purposes, such as marketing materials, website content, or research projects.
* Customization: Fine-tune image generation by controlling parameters like aspect ratio, style, and seed values.
* Integration: Seamlessly integrate Midjourney's capabilities into your existing tools and platforms.
Getting Started
1. Sign Up for a Midjourney Account: You'll need a Midjourney account to access the API.
2. Obtain an API Key: Once you have an account, you can generate an API key from your account settings.
3. Choose a Programming Language: The Midjourney API supports various programming languages, including Python, JavaScript, and Go.
4. Install the API Client: Install the appropriate API client library for your chosen language.
5. Start Generating Images: Use the API client to send image generation requests to the Midjourney server.
Example (Python):
```python
import midjourney
Replace with your actual API key
api_key = "YOUR_API_KEY"
Create a Midjourney client
client = midjourney.Client(api_key=api_key)
Generate an image
response = client.create_image(prompt="A cat wearing a hat", num_images=1)
Print the image URL
print(response.images[0].url)
```
Documentation and Resources
For detailed information about the Midjourney API, including available endpoints, parameters, and examples, please refer to the official documentation: [https://docs.midjourney.com/](https://docs.midjourney.com/)](https://static.right-ai.com/tools/2024/7/10/apiframe-pro-thumbnail-1720625482.png)
Midjourney API - Automate Midjourney AI Image Generation This document outlines how to use the Midjourney API to automate the generation of AI images. What is the Midjourney API? The Midjourney API allows developers to programmatically interact with the powerful Midjourney AI model. This means you can generate images, control various parameters, and integrate Midjourney into your own applications and workflows. Why Use the Midjourney API? * Automation: Automate the creation of images for various purposes, such as marketing materials, website content, or research projects. * Customization: Fine-tune image generation by controlling parameters like aspect ratio, style, and seed values. * Integration: Seamlessly integrate Midjourney's capabilities into your existing tools and platforms. Getting Started 1. Sign Up for a Midjourney Account: You'll need a Midjourney account to access the API. 2. Obtain an API Key: Once you have an account, you can generate an API key from your account settings. 3. Choose a Programming Language: The Midjourney API supports various programming languages, including Python, JavaScript, and Go. 4. Install the API Client: Install the appropriate API client library for your chosen language. 5. Start Generating Images: Use the API client to send image generation requests to the Midjourney server. Example (Python): ```python import midjourney Replace with your actual API key api_key = "YOUR_API_KEY" Create a Midjourney client client = midjourney.Client(api_key=api_key) Generate an image response = client.create_image(prompt="A cat wearing a hat", num_images=1) Print the image URL print(response.images[0].url) ``` Documentation and Resources For detailed information about the Midjourney API, including available endpoints, parameters, and examples, please refer to the official documentation: [https://docs.midjourney.com/](https://docs.midjourney.com/)
Midjourney API - Automate Midjourney AI Image Generation This document outlines how to use the Midjourney API to automate the generation of AI images. What is the Midjourney API? The Midjourney API allows developers to programmatically interact with the powerful Midjourney AI model. This means you can generate images, control various parameters, and integrate Midjourney into your own applications and workflows. Why Use the Midjourney API? * Automation: Automate the creation of images for various purposes, such as marketing materials, website content, or research projects. * Customization: Fine-tune image generation by controlling parameters like aspect ratio, style, and seed values. * Integration: Seamlessly integrate Midjourney's capabilities into your existing tools and platforms. Getting Started 1. Sign Up for a Midjourney Account: You'll need a Midjourney account to access the API. 2. Obtain an API Key: Once you have an account, you can generate an API key from your account settings. 3. Choose a Programming Language: The Midjourney API supports various programming languages, including Python, JavaScript, and Go. 4. Install the API Client: Install the appropriate API client library for your chosen language. 5. Start Generating Images: Use the API client to send image generation requests to the Midjourney server. Example (Python): ```python import midjourney Replace with your actual API key api_key = "YOUR_API_KEY" Create a Midjourney client client = midjourney.Client(api_key=api_key) Generate an image response = client.create_image(prompt="A cat wearing a hat", num_images=1) Print the image URL print(response.images[0].url) ``` Documentation and Resources For detailed information about the Midjourney API, including available endpoints, parameters, and examples, please refer to the official documentation: [https://docs.midjourney.com/](https://docs.midjourney.com/)Easily integrate Midjourney AI into your apps using the Midjourney API. Start creating AI images automatically today!
0
