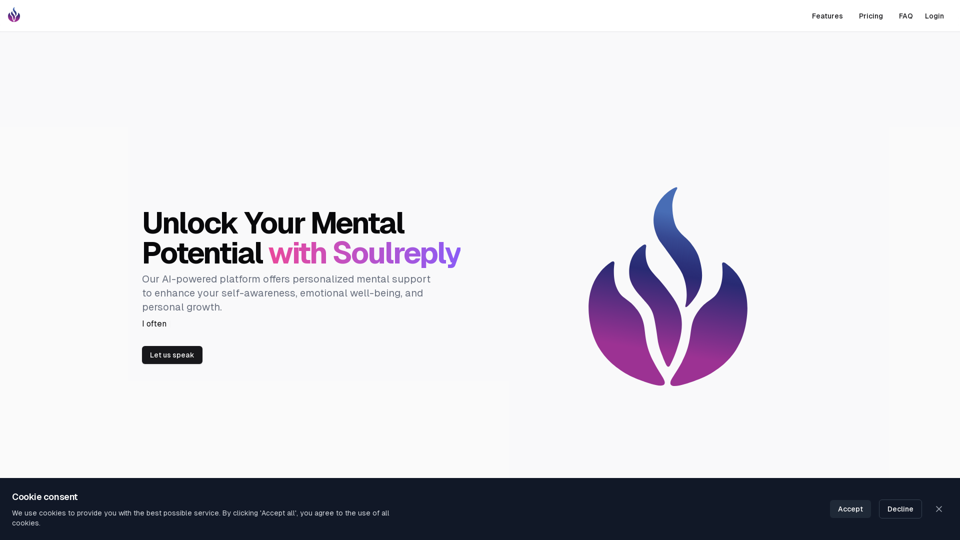
Soulreply is an AI-powered mental health assistant designed to enhance self-awareness, emotional well-being, and personal growth. It offers personalized support with 24/7 availability, providing an affordable and accessible alternative to traditional mental health services. While not a replacement for professional therapy, Soulreply serves as a complementary tool to improve mental well-being.
Soulreply - Your mental health assistant
Discover a supportive and understanding mental health bot designed to help you manage stress, anxiety, and everyday emotional challenges. Accessible anytime to provide guidance, resources, and comfort, ensuring you never feel alone in your journey towards mental wellness.
Introduction
Feature
Low Entry Barrier
- Start with minimal effort
- No appointment needed
- Improve over time
- Eliminates hesitation to seek mental health support
24/7 Availability
- AI-powered platform accessible around the clock
- Provides psychological support at any time
Affordable and Effective
- Cost-effective solution
- Efficient mental well-being improvement
Customized AI Models
- Free tier: GPT 3.5 Turbo
- Pro tier: GPT-4 & GPT-4o
Pricing Options
Free Tier
- 10 messages per day
- Single chat interface
- Limited chat history
- Yearly subscription
Pro Tier
- Unlimited messages
- Single chat interface
- Unlimited chat history
- Pro features
- Yearly subscription with 20% discount
FAQ
Is my data secure?
Yes, Soulreply takes data security seriously and ensures all information is protected.
Can AI agents replace human therapists?
No, Soulreply's AI agents are designed to complement human therapists, not replace them.
Are your AI agents available 24/7?
Yes, Soulreply's AI agents provide support around the clock.
Is there a cost associated with using your service?
Soulreply offers both free and paid options. The free tier has limitations, while the paid option provides more features and unlimited usage.
Can I trust the AI agents with sensitive personal information?
Yes, Soulreply's AI agents are trained to handle sensitive personal information with care and confidentiality.
What makes your service different from other mental health apps?
Soulreply uses AI-powered technology to provide personalized support, available 24/7, at an affordable cost.
How were you specifically trained to provide mental health advice?
Soulreply's AI agents were trained using a combination of machine learning algorithms and human expertise to provide accurate and helpful advice.
What happens when my free questions are all used?
Users can upgrade to the paid option to continue using the service.
What's the advantage of using this service versus the normal ChatGPT interface?
Soulreply provides personalized mental health support, 24/7 availability, and affordable access, making it a more comprehensive solution than general-purpose AI chatbots.
Is my data used for retraining, albeit anonymously?
No, Soulreply does not use user data for retraining purposes, and all data is kept anonymous.
Related Websites
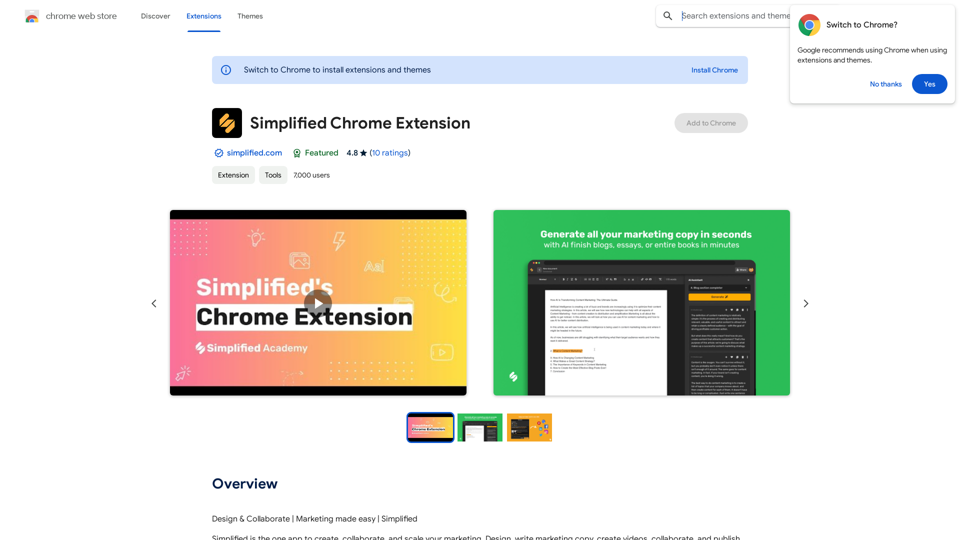
Simplified Chrome Extension This is a basic Chrome extension designed to be easy to understand and modify. Manifest File (manifest.json): ```json { "manifest_version": 3, "name": "Simplified Extension", "version": "1.0", "description": "A simple Chrome extension example.", "permissions": [ "activeTab" ], "action": { "default_popup": "popup.html" } } ``` Popup HTML (popup.html): ```html <!DOCTYPE html> <html> <head> <title>Simplified Extension</title> </head> <body> <h1>Hello from the extension!</h1> <p>This is a simple popup.</p> </body> </html> ``` Explanation: * manifest.json: This file tells Chrome what your extension does. * `manifest_version`: Specifies the version of the manifest file format. * `name`: The name of your extension. * `version`: The current version of your extension. * `description`: A brief description of your extension. * `permissions`: Lists the permissions your extension needs to function. Here, it needs access to the active tab. * `action`: Defines the popup that appears when the extension icon is clicked. * popup.html: This file contains the HTML code for the popup window. How it works: 1. When you install the extension, Chrome reads the `manifest.json` file. 2. When you click the extension icon, Chrome opens the `popup.html` file in a new window. 3. The popup displays the "Hello from the extension!" message.
Simplified Chrome Extension This is a basic Chrome extension designed to be easy to understand and modify. Manifest File (manifest.json): ```json { "manifest_version": 3, "name": "Simplified Extension", "version": "1.0", "description": "A simple Chrome extension example.", "permissions": [ "activeTab" ], "action": { "default_popup": "popup.html" } } ``` Popup HTML (popup.html): ```html <!DOCTYPE html> <html> <head> <title>Simplified Extension</title> </head> <body> <h1>Hello from the extension!</h1> <p>This is a simple popup.</p> </body> </html> ``` Explanation: * manifest.json: This file tells Chrome what your extension does. * `manifest_version`: Specifies the version of the manifest file format. * `name`: The name of your extension. * `version`: The current version of your extension. * `description`: A brief description of your extension. * `permissions`: Lists the permissions your extension needs to function. Here, it needs access to the active tab. * `action`: Defines the popup that appears when the extension icon is clicked. * popup.html: This file contains the HTML code for the popup window. How it works: 1. When you install the extension, Chrome reads the `manifest.json` file. 2. When you click the extension icon, Chrome opens the `popup.html` file in a new window. 3. The popup displays the "Hello from the extension!" message.Design & Collaborate Marketing made easy #Simplified
193.90 M
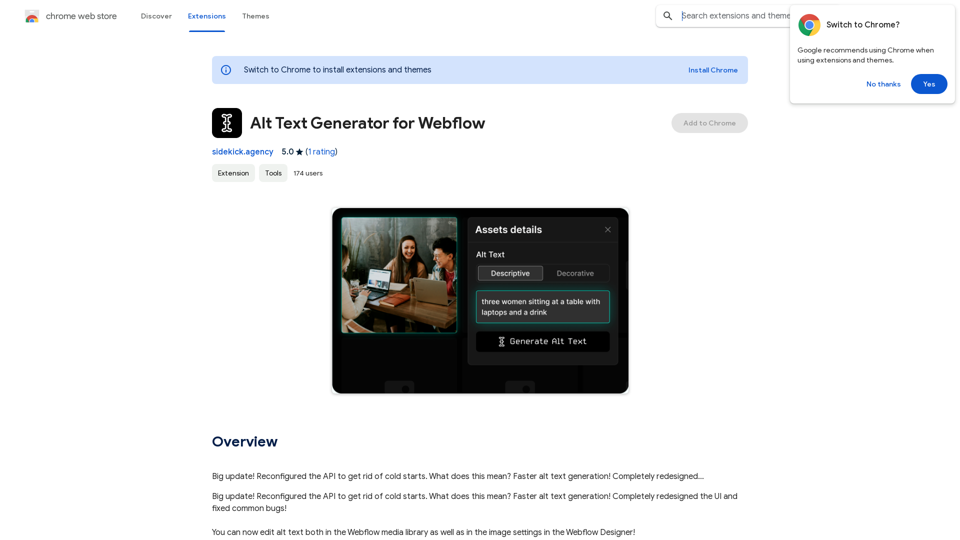
Alt Text Generator for Webflow This tool helps you generate descriptive alt text for your Webflow images. Why is Alt Text Important? * Accessibility: Alt text allows screen readers to describe images to visually impaired users. * SEO: Search engines use alt text to understand the content of your images, improving your website's ranking. How to Use: 1. Paste your image URL: Enter the URL of the image you want to generate alt text for. 2. Click "Generate Alt Text": The tool will analyze the image and suggest relevant alt text. 3. Review and Edit: Read the generated alt text and make any necessary changes to ensure it accurately describes the image. Example: Image URL: https://www.example.com/image.jpg Generated Alt Text: A photo of a smiling woman holding a cup of coffee. Remember: * Keep alt text concise and descriptive. * Use keywords that accurately reflect the image content. * Avoid using generic phrases like "image" or "picture."
Alt Text Generator for Webflow This tool helps you generate descriptive alt text for your Webflow images. Why is Alt Text Important? * Accessibility: Alt text allows screen readers to describe images to visually impaired users. * SEO: Search engines use alt text to understand the content of your images, improving your website's ranking. How to Use: 1. Paste your image URL: Enter the URL of the image you want to generate alt text for. 2. Click "Generate Alt Text": The tool will analyze the image and suggest relevant alt text. 3. Review and Edit: Read the generated alt text and make any necessary changes to ensure it accurately describes the image. Example: Image URL: https://www.example.com/image.jpg Generated Alt Text: A photo of a smiling woman holding a cup of coffee. Remember: * Keep alt text concise and descriptive. * Use keywords that accurately reflect the image content. * Avoid using generic phrases like "image" or "picture."Big update! Reconfigured the API to get rid of cold starts. What does this mean? Faster alt text generation! Completely redesigned...
193.90 M
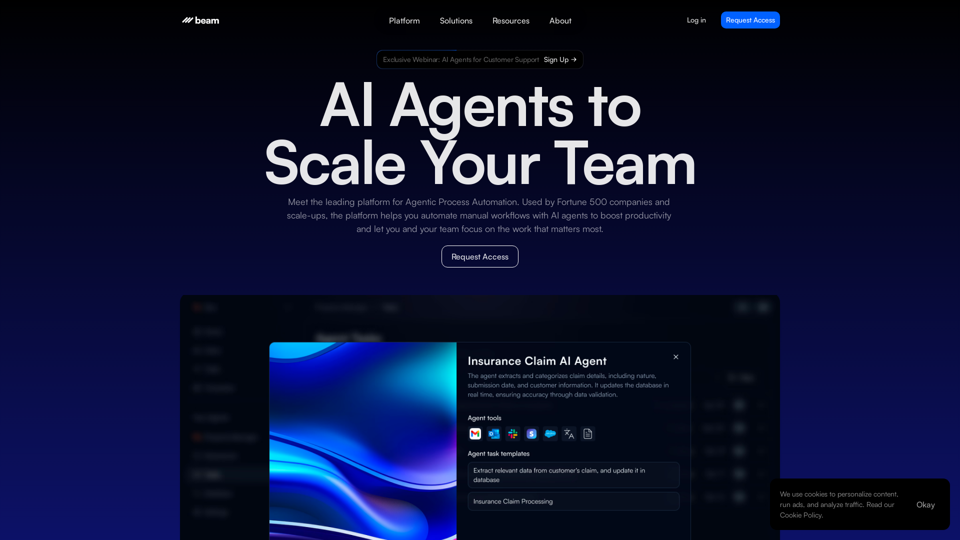
Leading Platform for Autonomous Automation & Artificial Intelligence Agents
Leading Platform for Autonomous Automation & Artificial Intelligence AgentsAutonomous AI Agents to automate processes. Used by Fortune 500 companies and startups, our AI agent platform helps organizations build and deploy agents in minutes.
164.60 K
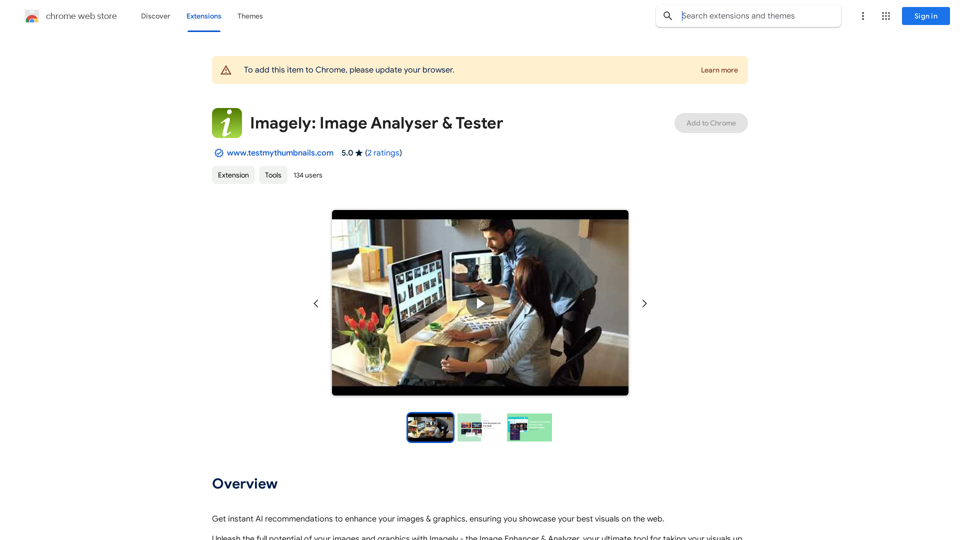
Get instant AI-powered recommendations to improve your images and graphics, so you can display your best visuals online.
193.90 M
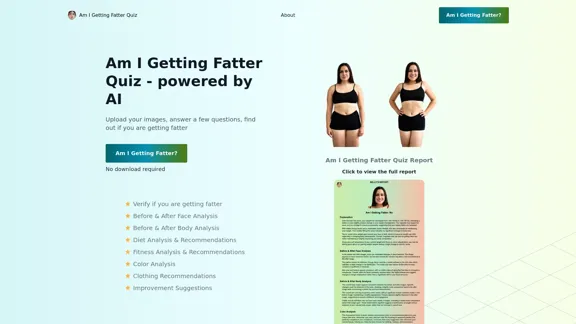
Take our AI 'Am I Getting Fatter Quiz' to discover if you're fatter than you think. Find out if you need to lose weight, change your lifestyle or if you're on the right track.
1.25 K
](https://static.right-ai.com/tools/2024/7/10/apiframe-pro-thumbnail-1720625482.png "Midjourney API - Automate Midjourney AI Image Generation
This document outlines how to use the Midjourney API to automate the generation of AI images.
What is the Midjourney API?
The Midjourney API allows developers to programmatically interact with the powerful Midjourney AI model. This means you can generate images, control various parameters, and integrate Midjourney into your own applications and workflows.
Why Use the Midjourney API?
* Automation: Automate the creation of images for various purposes, such as marketing materials, website content, or research projects.
* Customization: Fine-tune image generation by controlling parameters like aspect ratio, style, and seed values.
* Integration: Seamlessly integrate Midjourney's capabilities into your existing tools and platforms.
Getting Started
1. Sign Up for a Midjourney Account: You'll need a Midjourney account to access the API.
2. Obtain an API Key: Once you have an account, you can generate an API key from your account settings.
3. Choose a Programming Language: The Midjourney API supports various programming languages, including Python, JavaScript, and Go.
4. Install the API Client: Install the appropriate API client library for your chosen language.
5. Start Generating Images: Use the API client to send image generation requests to the Midjourney server.
Example (Python):
```python
import midjourney
Replace with your actual API key
api_key = \"YOUR_API_KEY\"
Create a Midjourney client
client = midjourney.Client(api_key=api_key)
Generate an image
response = client.create_image(prompt=\"A cat wearing a hat\", num_images=1)
Print the image URL
print(response.images[0].url)
```
Documentation and Resources
For detailed information about the Midjourney API, including available endpoints, parameters, and examples, please refer to the official documentation: [https://docs.midjourney.com/](https://docs.midjourney.com/)")
Midjourney API - Automate Midjourney AI Image Generation This document outlines how to use the Midjourney API to automate the generation of AI images. What is the Midjourney API? The Midjourney API allows developers to programmatically interact with the powerful Midjourney AI model. This means you can generate images, control various parameters, and integrate Midjourney into your own applications and workflows. Why Use the Midjourney API? * Automation: Automate the creation of images for various purposes, such as marketing materials, website content, or research projects. * Customization: Fine-tune image generation by controlling parameters like aspect ratio, style, and seed values. * Integration: Seamlessly integrate Midjourney's capabilities into your existing tools and platforms. Getting Started 1. Sign Up for a Midjourney Account: You'll need a Midjourney account to access the API. 2. Obtain an API Key: Once you have an account, you can generate an API key from your account settings. 3. Choose a Programming Language: The Midjourney API supports various programming languages, including Python, JavaScript, and Go. 4. Install the API Client: Install the appropriate API client library for your chosen language. 5. Start Generating Images: Use the API client to send image generation requests to the Midjourney server. Example (Python): ```python import midjourney Replace with your actual API key api_key = "YOUR_API_KEY" Create a Midjourney client client = midjourney.Client(api_key=api_key) Generate an image response = client.create_image(prompt="A cat wearing a hat", num_images=1) Print the image URL print(response.images[0].url) ``` Documentation and Resources For detailed information about the Midjourney API, including available endpoints, parameters, and examples, please refer to the official documentation: [https://docs.midjourney.com/](https://docs.midjourney.com/)
Midjourney API - Automate Midjourney AI Image Generation This document outlines how to use the Midjourney API to automate the generation of AI images. What is the Midjourney API? The Midjourney API allows developers to programmatically interact with the powerful Midjourney AI model. This means you can generate images, control various parameters, and integrate Midjourney into your own applications and workflows. Why Use the Midjourney API? * Automation: Automate the creation of images for various purposes, such as marketing materials, website content, or research projects. * Customization: Fine-tune image generation by controlling parameters like aspect ratio, style, and seed values. * Integration: Seamlessly integrate Midjourney's capabilities into your existing tools and platforms. Getting Started 1. Sign Up for a Midjourney Account: You'll need a Midjourney account to access the API. 2. Obtain an API Key: Once you have an account, you can generate an API key from your account settings. 3. Choose a Programming Language: The Midjourney API supports various programming languages, including Python, JavaScript, and Go. 4. Install the API Client: Install the appropriate API client library for your chosen language. 5. Start Generating Images: Use the API client to send image generation requests to the Midjourney server. Example (Python): ```python import midjourney Replace with your actual API key api_key = "YOUR_API_KEY" Create a Midjourney client client = midjourney.Client(api_key=api_key) Generate an image response = client.create_image(prompt="A cat wearing a hat", num_images=1) Print the image URL print(response.images[0].url) ``` Documentation and Resources For detailed information about the Midjourney API, including available endpoints, parameters, and examples, please refer to the official documentation: [https://docs.midjourney.com/](https://docs.midjourney.com/)Easily integrate Midjourney AI into your apps using the Midjourney API. Start creating AI images automatically today!
0
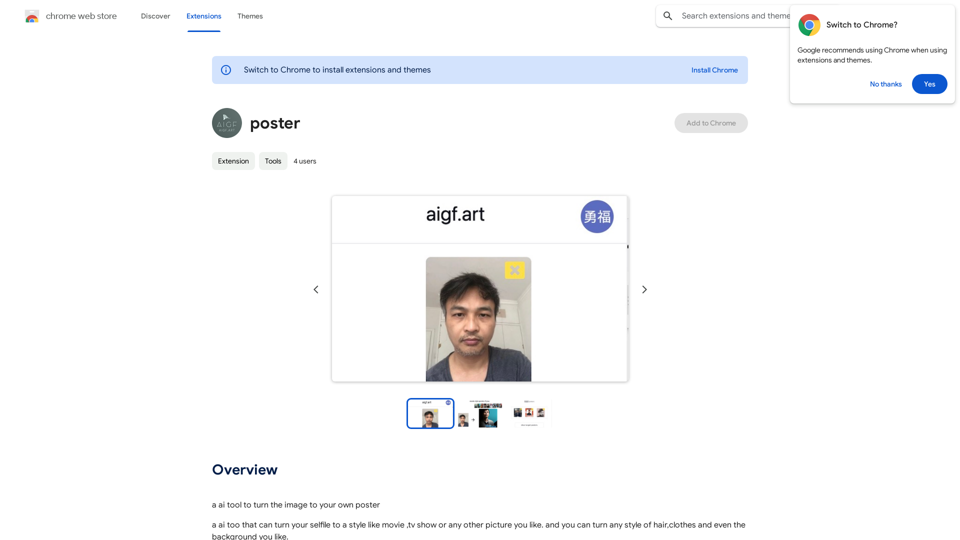
Please provide me with the poster content you want me to translate. For example, you can give me: * Text from the poster: Copy and paste the text directly. * A picture of the poster: I can try to extract the text from the image. * A description of the poster: Tell me what the poster says and what it looks like. Once I have the poster content, I can translate it into English for you.
Please provide me with the poster content you want me to translate. For example, you can give me: * Text from the poster: Copy and paste the text directly. * A picture of the poster: I can try to extract the text from the image. * A description of the poster: Tell me what the poster says and what it looks like. Once I have the poster content, I can translate it into English for you.An AI tool to turn an image into your own poster.
193.90 M