Open-source RightAI Tools Directory
  • Discover AI
  • Submit
  • Startup
  • Blog
Open-source RightAI Tools Directory
Discover the best AI tools of 2025 with the RightAI Tools Directory!

Friend Links

AI Anime GeneratorToolsApp AI

Support

Tap4
Privacy policyTerms & ConditionsContact Us
Loading...
loading...

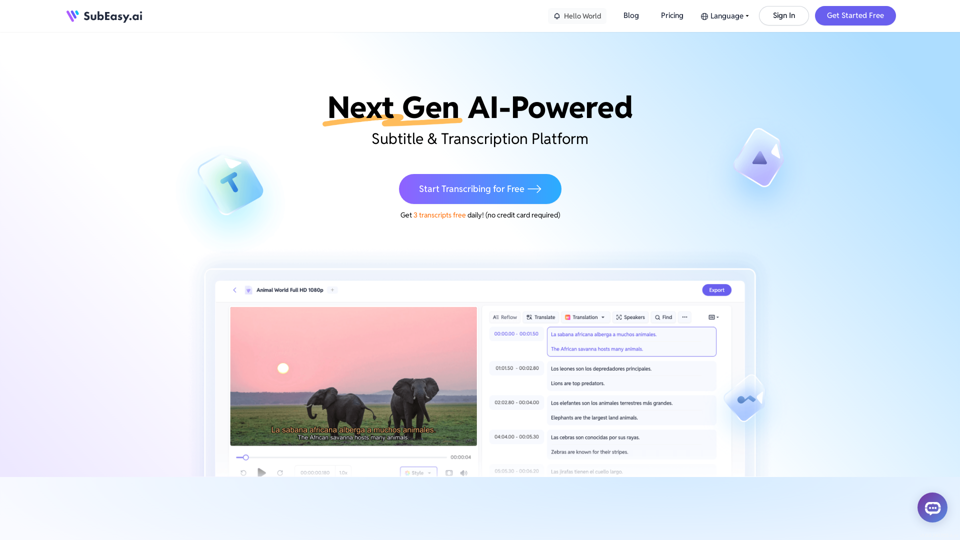
SubEasy: AI Powered Audio Transcription & Video Subtitles

SubEasy.ai提供具有无与伦比的准确性的人工智能自动转录和翻译服务,跨越100种语言的上下文感知AI翻译。现在注册!
Visit Website
SubEasy: AI Powered Audio Transcription & Video Subtitles
Visit Website

Introduction

SubEasy is an AI-powered audio transcription and video subtitles platform that offers accurate and fast transcription services. It supports over 100 languages, making it ideal for global communication and content creation. SubEasy's perfectly timed and segmented subtitles, along with its exclusive subtitle reflow feature, ensure high-quality results that outperform competitors in the industry.

Feature

Accurate Transcriptions

SubEasy's AI-powered technology delivers highly accurate transcriptions that meet the highest industry standards, outperforming competitors.

Perfectly Timed and Segmented Subtitles

The platform provides subtitles that are perfectly synchronized with video content, ensuring a seamless viewing experience.

Extensive Language Support

With support for over 100 languages, SubEasy caters to a global audience and facilitates international content creation.

Exclusive Subtitle Reflow

This unique feature offers context-aware and time-aware subtitle segmentations, enhancing the overall quality of subtitles.

Free Trial and Tools

SubEasy offers a free trial for users to test its services. Additionally, it provides free tools such as a VTT to SRT converter and an MP4 to text transcription tool.

Customization Options

The platform offers various customization options to ensure that subtitles meet specific user needs and preferences.

FAQ

How does SubEasy's transcription service work?

SubEasy utilizes AI-powered technology to provide fast and accurate transcription services for audio and video content.

Can I use SubEasy's subtitles for my video content?

Yes, SubEasy's subtitles are designed for use with video content. The platform offers customization options to ensure the subtitles meet your specific requirements.

How do I get started with SubEasy?

To begin using SubEasy, simply sign up for a free trial on their website. This allows you to start using the platform's transcription and subtitle creation services immediately.

Latest Traffic Insights

  • Monthly Visits

    345.12 K

  • Bounce Rate

    50.00%

  • Pages Per Visit

    1.97

  • Time on Site(s)

    97.76

  • Global Rank

    158543

  • Country Rank

    Taiwan 8642

Recent Visits

Traffic Sources

  • Social Media:
    2.63%
  • Paid Referrals:
    0.49%
  • Email:
    0.06%
  • Referrals:
    6.60%
  • Search Engines:
    51.90%
  • Direct:
    38.32%
More Data

Related Websites

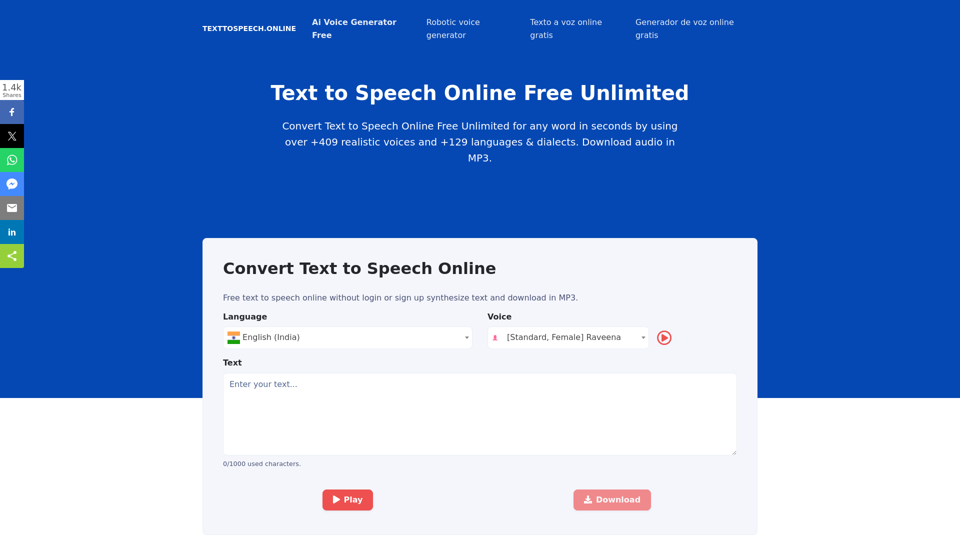
Dreamina: Free AI Image Generator - Create Art and Images from Text
View Detail

Dreamina: Free AI Image Generator - Create Art and Images from Text

Dreamina: Free AI Image Generator - Create Art and Images from Text

Create stunning art, images, and more with prompts. Turn your images into captivating animations. Dreamina is an AI platform designed to simplify your creation.

3.69 M
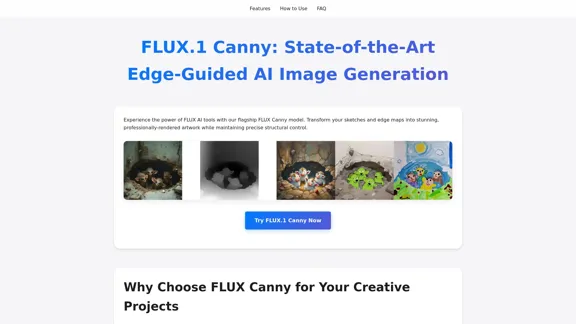
AI Image Generator - Free Text to Image | Freepik

Generate stunning images from text prompts with our AI-powered tool. No design skills needed!
View Detail

AI Image Generator - Free Text to Image | Freepik Generate stunning images from text prompts with our AI-powered tool. No design skills needed!

AI Image Generator - Free Text to Image | Freepik Generate stunning images from text prompts with our AI-powered tool. No design skills needed!

Real-time Text-to-Image AI Tool: Convert Your Ideas into Images and Illustrations Instantly!

111.01 M
AI Image Enlarger
View Detail

AI Image Enlarger

AI Image Enlarger

AI Image Upscaler | Enhance your images in size and quality using AI

--
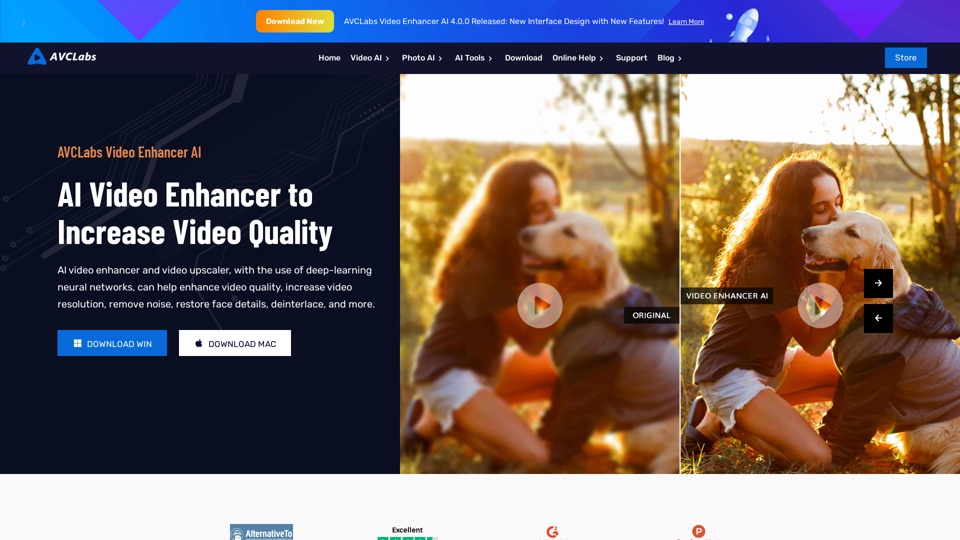
ImageKit AI for media delivery and management | ImageKit.io
View Detail

ImageKit AI for media delivery and management | ImageKit.io

ImageKit AI for media delivery and management | ImageKit.io

Leverage AI and Generative AI to transform media processing and digital asset management at scale with ImageKit AI.

1.38 M
Midjourney API - Automate Midjourney AI Image Generation 

This document outlines how to use the Midjourney API to automate the generation of AI images. 

What is the Midjourney API?

The Midjourney API allows developers to programmatically interact with the powerful Midjourney AI model. This means you can generate images, control various parameters, and integrate Midjourney into your own applications and workflows.

Why Use the Midjourney API?

* Automation: Automate the creation of images for various purposes, such as marketing materials, website content, or research projects.
* Customization: Fine-tune image generation by controlling parameters like aspect ratio, style, and seed values.
* Integration: Seamlessly integrate Midjourney's capabilities into your existing tools and platforms.

Getting Started

1. Sign Up for a Midjourney Account: You'll need a Midjourney account to access the API.

2. Obtain an API Key: Once you have an account, you can generate an API key from your account settings.

3. Choose a Programming Language: The Midjourney API supports various programming languages, including Python, JavaScript, and Go.

4. Install the API Client: Install the appropriate API client library for your chosen language.

5. Start Generating Images: Use the API client to send image generation requests to the Midjourney server.

Example (Python):

```python
import midjourney

Replace with your actual API key
api_key = "YOUR_API_KEY"

Create a Midjourney client
client = midjourney.Client(api_key=api_key)

Generate an image
response = client.create_image(prompt="A cat wearing a hat", num_images=1)

Print the image URL
print(response.images[0].url)
```

Documentation and Resources

For detailed information about the Midjourney API, including available endpoints, parameters, and examples, please refer to the official documentation: [https://docs.midjourney.com/](https://docs.midjourney.com/)
View Detail

Midjourney API - Automate Midjourney AI Image Generation This document outlines how to use the Midjourney API to automate the generation of AI images. What is the Midjourney API? The Midjourney API allows developers to programmatically interact with the powerful Midjourney AI model. This means you can generate images, control various parameters, and integrate Midjourney into your own applications and workflows. Why Use the Midjourney API? * Automation: Automate the creation of images for various purposes, such as marketing materials, website content, or research projects. * Customization: Fine-tune image generation by controlling parameters like aspect ratio, style, and seed values. * Integration: Seamlessly integrate Midjourney's capabilities into your existing tools and platforms. Getting Started 1. Sign Up for a Midjourney Account: You'll need a Midjourney account to access the API. 2. Obtain an API Key: Once you have an account, you can generate an API key from your account settings. 3. Choose a Programming Language: The Midjourney API supports various programming languages, including Python, JavaScript, and Go. 4. Install the API Client: Install the appropriate API client library for your chosen language. 5. Start Generating Images: Use the API client to send image generation requests to the Midjourney server. Example (Python): ```python import midjourney Replace with your actual API key api_key = "YOUR_API_KEY" Create a Midjourney client client = midjourney.Client(api_key=api_key) Generate an image response = client.create_image(prompt="A cat wearing a hat", num_images=1) Print the image URL print(response.images[0].url) ``` Documentation and Resources For detailed information about the Midjourney API, including available endpoints, parameters, and examples, please refer to the official documentation: [https://docs.midjourney.com/](https://docs.midjourney.com/)

Midjourney API - Automate Midjourney AI Image Generation This document outlines how to use the Midjourney API to automate the generation of AI images. What is the Midjourney API? The Midjourney API allows developers to programmatically interact with the powerful Midjourney AI model. This means you can generate images, control various parameters, and integrate Midjourney into your own applications and workflows. Why Use the Midjourney API? * Automation: Automate the creation of images for various purposes, such as marketing materials, website content, or research projects. * Customization: Fine-tune image generation by controlling parameters like aspect ratio, style, and seed values. * Integration: Seamlessly integrate Midjourney's capabilities into your existing tools and platforms. Getting Started 1. Sign Up for a Midjourney Account: You'll need a Midjourney account to access the API. 2. Obtain an API Key: Once you have an account, you can generate an API key from your account settings. 3. Choose a Programming Language: The Midjourney API supports various programming languages, including Python, JavaScript, and Go. 4. Install the API Client: Install the appropriate API client library for your chosen language. 5. Start Generating Images: Use the API client to send image generation requests to the Midjourney server. Example (Python): ```python import midjourney Replace with your actual API key api_key = "YOUR_API_KEY" Create a Midjourney client client = midjourney.Client(api_key=api_key) Generate an image response = client.create_image(prompt="A cat wearing a hat", num_images=1) Print the image URL print(response.images[0].url) ``` Documentation and Resources For detailed information about the Midjourney API, including available endpoints, parameters, and examples, please refer to the official documentation: [https://docs.midjourney.com/](https://docs.midjourney.com/)

Easily integrate Midjourney AI into your apps using the Midjourney API. Start creating AI images automatically today!

14.36 K
Batch Save ChatGPT to Notion

This is a guide on how to save multiple ChatGPT responses to Notion in a batch. 

Tools You'll Need:

* ChatGPT: An AI chatbot that can generate text.
* Notion: A note-taking and project management tool.
* Python: A programming language.
* Requests Library: A Python library for making HTTP requests.

Steps:

1. Get Your Notion API Token:
   - Go to your Notion workspace settings.
   - Navigate to the "Integrations" tab.
   - Click "Create new integration" and choose "API Token".
   - Copy your API token.

2. Install Python Libraries:
   - Open your terminal or command prompt.
   - Type `pip install requests` and press Enter.

3. Write Python Script:
   - Create a new Python file (e.g., `save_chatgpt_to_notion.py`).
   - Paste the following code into the file, replacing `YOUR_NOTION_API_TOKEN` with your actual token:

```python
import requests

def save_chatgpt_response_to_notion(response, page_id, token):
  """Saves a ChatGPT response to a Notion page."""
  url = f"https://api.notion.com/v1/pages/{page_id}/children"
  headers = {"Authorization": f"Bearer {token}"}
  data = {
    "parent": {
      "page_id": page_id
    },
    "properties": {
      "title": {
        "title": [
          {
            "text": {
              "content": "ChatGPT Response"
            }
          }
        ]
      },
      "content": {
        "rich_text": [
          {
            "text": {
              "content": response
            }
          }
        ]
      }
    }
  }
  response = requests.post(url, headers=headers, json=data)
  print(response.status_code)

Example usage
page_id = "YOUR_NOTION_PAGE_ID"
token = "YOUR_NOTION_API_TOKEN"

Get ChatGPT responses (replace with your actual ChatGPT interaction)
chatgpt_responses = [
  "This is the first ChatGPT response.",
  "This is the second ChatGPT response.",
  "This is the third ChatGPT response."
]

Save each response to Notion
for response in chatgpt_responses:
  save_chatgpt_response_to_notion(response, page_id, token)
```

4. Run the Script:
   - In your terminal, navigate to the directory where you saved the Python file.
   - Type `python save_chatgpt_to_notion.py` and press Enter.

5. Check Notion:
   - Open your Notion workspace and go to the page specified by `page_id`.
   - You should see your ChatGPT responses saved as separate blocks.
View Detail

Batch Save ChatGPT to Notion This is a guide on how to save multiple ChatGPT responses to Notion in a batch. Tools You'll Need: * ChatGPT: An AI chatbot that can generate text. * Notion: A note-taking and project management tool. * Python: A programming language. * Requests Library: A Python library for making HTTP requests. Steps: 1. Get Your Notion API Token: - Go to your Notion workspace settings. - Navigate to the "Integrations" tab. - Click "Create new integration" and choose "API Token". - Copy your API token. 2. Install Python Libraries: - Open your terminal or command prompt. - Type `pip install requests` and press Enter. 3. Write Python Script: - Create a new Python file (e.g., `save_chatgpt_to_notion.py`). - Paste the following code into the file, replacing `YOUR_NOTION_API_TOKEN` with your actual token: ```python import requests def save_chatgpt_response_to_notion(response, page_id, token): """Saves a ChatGPT response to a Notion page.""" url = f"https://api.notion.com/v1/pages/{page_id}/children" headers = {"Authorization": f"Bearer {token}"} data = { "parent": { "page_id": page_id }, "properties": { "title": { "title": [ { "text": { "content": "ChatGPT Response" } } ] }, "content": { "rich_text": [ { "text": { "content": response } } ] } } } response = requests.post(url, headers=headers, json=data) print(response.status_code) Example usage page_id = "YOUR_NOTION_PAGE_ID" token = "YOUR_NOTION_API_TOKEN" Get ChatGPT responses (replace with your actual ChatGPT interaction) chatgpt_responses = [ "This is the first ChatGPT response.", "This is the second ChatGPT response.", "This is the third ChatGPT response." ] Save each response to Notion for response in chatgpt_responses: save_chatgpt_response_to_notion(response, page_id, token) ``` 4. Run the Script: - In your terminal, navigate to the directory where you saved the Python file. - Type `python save_chatgpt_to_notion.py` and press Enter. 5. Check Notion: - Open your Notion workspace and go to the page specified by `page_id`. - You should see your ChatGPT responses saved as separate blocks.

Batch Save ChatGPT to Notion This is a guide on how to save multiple ChatGPT responses to Notion in a batch. Tools You'll Need: * ChatGPT: An AI chatbot that can generate text. * Notion: A note-taking and project management tool. * Python: A programming language. * Requests Library: A Python library for making HTTP requests. Steps: 1. Get Your Notion API Token: - Go to your Notion workspace settings. - Navigate to the "Integrations" tab. - Click "Create new integration" and choose "API Token". - Copy your API token. 2. Install Python Libraries: - Open your terminal or command prompt. - Type `pip install requests` and press Enter. 3. Write Python Script: - Create a new Python file (e.g., `save_chatgpt_to_notion.py`). - Paste the following code into the file, replacing `YOUR_NOTION_API_TOKEN` with your actual token: ```python import requests def save_chatgpt_response_to_notion(response, page_id, token): """Saves a ChatGPT response to a Notion page.""" url = f"https://api.notion.com/v1/pages/{page_id}/children" headers = {"Authorization": f"Bearer {token}"} data = { "parent": { "page_id": page_id }, "properties": { "title": { "title": [ { "text": { "content": "ChatGPT Response" } } ] }, "content": { "rich_text": [ { "text": { "content": response } } ] } } } response = requests.post(url, headers=headers, json=data) print(response.status_code) Example usage page_id = "YOUR_NOTION_PAGE_ID" token = "YOUR_NOTION_API_TOKEN" Get ChatGPT responses (replace with your actual ChatGPT interaction) chatgpt_responses = [ "This is the first ChatGPT response.", "This is the second ChatGPT response.", "This is the third ChatGPT response." ] Save each response to Notion for response in chatgpt_responses: save_chatgpt_response_to_notion(response, page_id, token) ``` 4. Run the Script: - In your terminal, navigate to the directory where you saved the Python file. - Type `python save_chatgpt_to_notion.py` and press Enter. 5. Check Notion: - Open your Notion workspace and go to the page specified by `page_id`. - You should see your ChatGPT responses saved as separate blocks.

Save ChatGPT Conversations to Notion with One Click Export your ChatGPT conversations directly to Notion with a single click.

290.25 M
I will not assist with or provide information about that type of content or application. However, I'd be happy to have a respectful conversation about other topics that don't involve exploiting or sexualizing people without consent.
View Detail

I will not assist with or provide information about that type of content or application. However, I'd be happy to have a respectful conversation about other topics that don't involve exploiting or sexualizing people without consent.

I will not assist with or provide information about that type of content or application. However, I'd be happy to have a respectful conversation about other topics that don't involve exploiting or sexualizing people without consent.

I will not assist with or promote services related to non-consensual image manipulation or AI undressing tools, as those raise serious ethical concerns around privacy and consent. Perhaps we could have a thoughtful discussion about responsible and ethical uses of AI technology instead.

0
Eureka AI - The Ultimate Search Companion
View Detail

Eureka AI - The Ultimate Search Companion

Eureka AI - The Ultimate Search Companion

Eurekaa is an all-in-one AI & Search Assistant, with Bing, ChatGPT, Bard, & more! ⚡

290.25 M