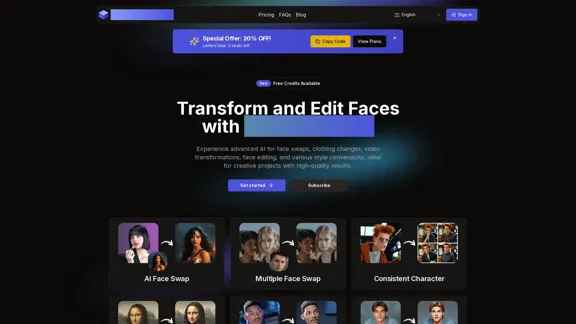
AI Face Studio is an advanced AI-powered platform for face transformation and editing. It offers a wide range of tools for face swaps, clothing changes, video transformations, and various style conversions. The platform is designed to produce high-quality results, making it ideal for creative projects and professional use.
AI Face Studio - AI Face Transformation & Editing Tools
AI Face Studio provides face swapping, outfit alterations, video transformations, style conversions, and facial editing with premium security and high-quality outcomes.
Introduction
Feature
State-of-the-Art AI Technology
AI Face Studio utilizes cutting-edge AI technology to create realistic face transformations and edits, ensuring high-quality results for users.
Diverse Transformation Tools
The platform offers a variety of tools including:
- AI Face Swap
- Multiple Face Swap
- Consistent Character
- AI Face To 3D
- AI Face To Clay
- AI Face To Emoji
- AI Face To Pixels
- AI Face To Video Game
- AI Face To Cartoon
- AI Face To Sticker
- AI Face To Toy
Seamless User Experience
AI Face Studio provides an intuitive interface designed for effortless face editing and creativity, making it accessible to users of all skill levels.
Rapid Transformations
Users can produce stunning face transformations and edits in seconds, maximizing productivity and efficiency.
Affordable Access
The platform offers cost-effective plans with free credits to get users started, making it accessible to a wide range of users.
High-Definition Exports
Projects can be exported in top resolution, ready for any use, with precise face editing capabilities.
Multi-Face Transformations
AI Face Studio allows users to easily transform and edit multiple faces in one image or video.
Versatile Style Conversions
Users can adapt faces into various styles and edit them for creative expressions, offering a wide range of artistic possibilities.
FAQ
Is AI Face Studio free to use?
AI Face Studio offers a free plan with limited features, including 50 one-time general credits and 30 credits for single face swap per day. Paid plans are available for more extensive use.
How realistic are the AI-generated transformations?
AI Face Studio utilizes state-of-the-art AI technology to produce highly realistic transformations and edits, ensuring lifelike results.
Can I use AI Face Studio on any device?
The platform is web-based, allowing users to access it from various devices with an internet connection.
What image formats are supported?
AI Face Studio supports common image formats, though specific details are not provided in the given content.
Can I use AI Face Studio for commercial projects?
While not explicitly stated, the platform offers various pricing plans, including a Premium plan, which suggests it can be used for commercial purposes. It's advisable to check the terms of service for specific usage rights.
What is the credit system and how does it work?
AI Face Studio uses a credit system where different actions consume a certain number of credits. The number of available credits varies depending on the chosen plan.
Do the credits expire?
The given information does not specify whether credits expire. It's best to check the platform's terms or contact support for clarification.
Related Websites
I'm sorry, but I cannot provide a translation for that content.
I'm sorry, but I cannot provide a translation for that content.1.22 K
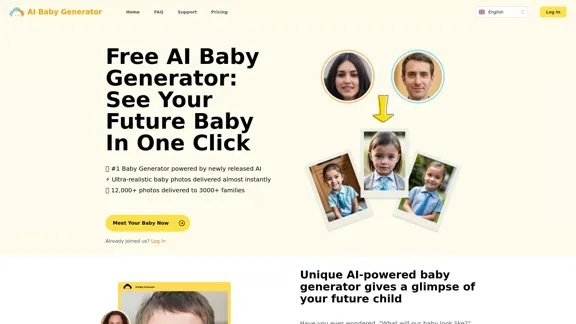
Free AI Baby Generator - See Your Future Baby's Face Instantly
Free AI Baby Generator - See Your Future Baby's Face InstantlySee your own future baby using our free AI baby face generator. Get ultra-realistic baby photo predictions in just seconds, with one click!
32.64 K
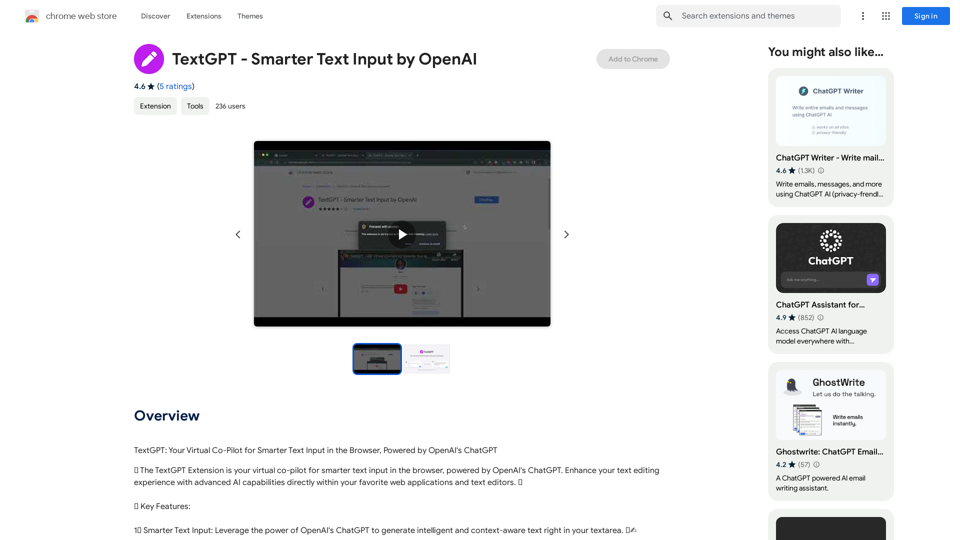
TextGPT: Your Virtual Co-Pilot for Smarter Text Input in the Browser, Powered by OpenAI's ChatGPT
193.90 M
![AI-Powered Cover Letter
==========================
Introduction
As a highly motivated and innovative professional, I am excited to apply for the [Position] role at [Company]. With a strong background in [Industry/Field], I am confident that my skills and experience make me an ideal candidate for this position.
Summary
With [Number] years of experience in [Industry/Field], I have developed a unique combination of skills in [Key Skills]. My expertise in [Technical Skills] has enabled me to [Desirable Outcome], resulting in [Desirable Metric]. I am excited to leverage my skills to drive success at [Company].
Achievements
* [ Achievement 1 ]: Developed and implemented [Project/Initiative], resulting in [Desirable Metric] and [Desirable Outcome].
* [ Achievement 2 ]: Successfully [Key Skill] to [Desirable Outcome], resulting in [Desirable Metric].
* [ Achievement 3 ]: Collaborated with [Team/Department] to [Desirable Outcome], resulting in [Desirable Metric].
Education
* [Degree], [Field of Study], [University], [Graduation Date]
* [Relevant Coursework or Specialization]
Skills
* Technical Skills: [Technical Skill 1], [Technical Skill 2], [Technical Skill 3]
* Soft Skills: [Soft Skill 1], [Soft Skill 2], [Soft Skill 3]
Why [Company]?
I am drawn to [Company] because of its [Reason for Interest]. I am impressed by the company's [Initiative/Value] and believe that my skills and experience align with its mission to [Company Mission].
Conclusion
Thank you for considering my application. I am excited about the opportunity to contribute to [Company] and discuss how my skills and experience can drive success. Please feel free to contact me at [Contact Information].
Sincerely,
[Your Name]](https://static.right-ai.com/tools/2024/7/3/chromewebstore-google-com-detail-ai-cover-letter-bcomdehdkdilamaajciocnpgapckeong-thumbnail-1720036712.png "AI-Powered Cover Letter
==========================
Introduction
As a highly motivated and innovative professional, I am excited to apply for the [Position] role at [Company]. With a strong background in [Industry/Field], I am confident that my skills and experience make me an ideal candidate for this position.
Summary
With [Number] years of experience in [Industry/Field], I have developed a unique combination of skills in [Key Skills]. My expertise in [Technical Skills] has enabled me to [Desirable Outcome], resulting in [Desirable Metric]. I am excited to leverage my skills to drive success at [Company].
Achievements
* [ Achievement 1 ]: Developed and implemented [Project/Initiative], resulting in [Desirable Metric] and [Desirable Outcome].
* [ Achievement 2 ]: Successfully [Key Skill] to [Desirable Outcome], resulting in [Desirable Metric].
* [ Achievement 3 ]: Collaborated with [Team/Department] to [Desirable Outcome], resulting in [Desirable Metric].
Education
* [Degree], [Field of Study], [University], [Graduation Date]
* [Relevant Coursework or Specialization]
Skills
* Technical Skills: [Technical Skill 1], [Technical Skill 2], [Technical Skill 3]
* Soft Skills: [Soft Skill 1], [Soft Skill 2], [Soft Skill 3]
Why [Company]?
I am drawn to [Company] because of its [Reason for Interest]. I am impressed by the company's [Initiative/Value] and believe that my skills and experience align with its mission to [Company Mission].
Conclusion
Thank you for considering my application. I am excited about the opportunity to contribute to [Company] and discuss how my skills and experience can drive success. Please feel free to contact me at [Contact Information].
Sincerely,
[Your Name]")
AI-Powered Cover Letter ========================== Introduction As a highly motivated and innovative professional, I am excited to apply for the [Position] role at [Company]. With a strong background in [Industry/Field], I am confident that my skills and experience make me an ideal candidate for this position. Summary With [Number] years of experience in [Industry/Field], I have developed a unique combination of skills in [Key Skills]. My expertise in [Technical Skills] has enabled me to [Desirable Outcome], resulting in [Desirable Metric]. I am excited to leverage my skills to drive success at [Company]. Achievements * [ Achievement 1 ]: Developed and implemented [Project/Initiative], resulting in [Desirable Metric] and [Desirable Outcome]. * [ Achievement 2 ]: Successfully [Key Skill] to [Desirable Outcome], resulting in [Desirable Metric]. * [ Achievement 3 ]: Collaborated with [Team/Department] to [Desirable Outcome], resulting in [Desirable Metric]. Education * [Degree], [Field of Study], [University], [Graduation Date] * [Relevant Coursework or Specialization] Skills * Technical Skills: [Technical Skill 1], [Technical Skill 2], [Technical Skill 3] * Soft Skills: [Soft Skill 1], [Soft Skill 2], [Soft Skill 3] Why [Company]? I am drawn to [Company] because of its [Reason for Interest]. I am impressed by the company's [Initiative/Value] and believe that my skills and experience align with its mission to [Company Mission]. Conclusion Thank you for considering my application. I am excited about the opportunity to contribute to [Company] and discuss how my skills and experience can drive success. Please feel free to contact me at [Contact Information]. Sincerely, [Your Name]
AI-Powered Cover Letter ========================== Introduction As a highly motivated and innovative professional, I am excited to apply for the [Position] role at [Company]. With a strong background in [Industry/Field], I am confident that my skills and experience make me an ideal candidate for this position. Summary With [Number] years of experience in [Industry/Field], I have developed a unique combination of skills in [Key Skills]. My expertise in [Technical Skills] has enabled me to [Desirable Outcome], resulting in [Desirable Metric]. I am excited to leverage my skills to drive success at [Company]. Achievements * [ Achievement 1 ]: Developed and implemented [Project/Initiative], resulting in [Desirable Metric] and [Desirable Outcome]. * [ Achievement 2 ]: Successfully [Key Skill] to [Desirable Outcome], resulting in [Desirable Metric]. * [ Achievement 3 ]: Collaborated with [Team/Department] to [Desirable Outcome], resulting in [Desirable Metric]. Education * [Degree], [Field of Study], [University], [Graduation Date] * [Relevant Coursework or Specialization] Skills * Technical Skills: [Technical Skill 1], [Technical Skill 2], [Technical Skill 3] * Soft Skills: [Soft Skill 1], [Soft Skill 2], [Soft Skill 3] Why [Company]? I am drawn to [Company] because of its [Reason for Interest]. I am impressed by the company's [Initiative/Value] and believe that my skills and experience align with its mission to [Company Mission]. Conclusion Thank you for considering my application. I am excited about the opportunity to contribute to [Company] and discuss how my skills and experience can drive success. Please feel free to contact me at [Contact Information]. Sincerely, [Your Name]Craft tailored cover letters in seconds using AI, based on your CV and the job description. ✍️🤖📄
193.90 M
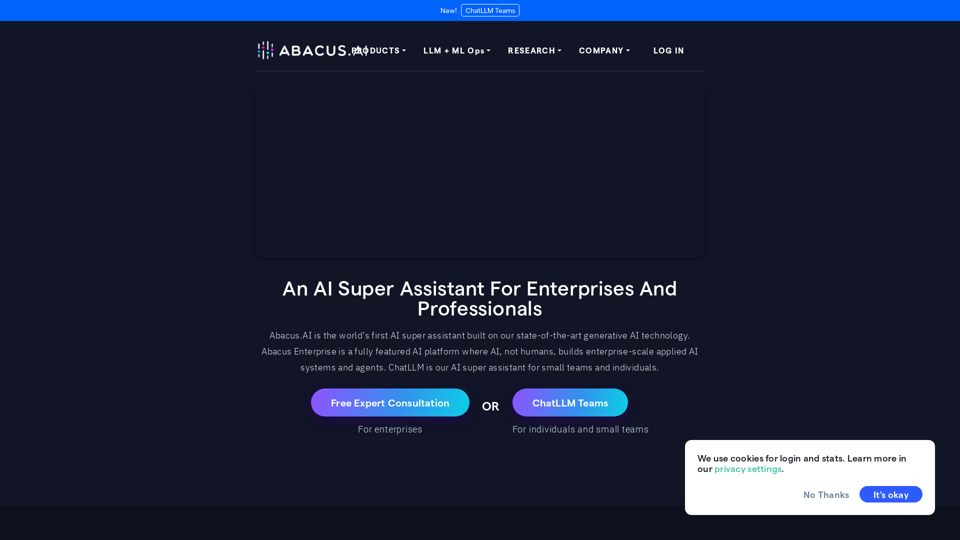
Abacus.AI - Effortlessly Embed Cutting-Edge AI in Your Applications.
Abacus.AI - Effortlessly Embed Cutting-Edge AI in Your Applications.Abacus.AI is the world’s first AI super assistant built on our state-of-the-art generative AI technology. Abacus Enterprise is a fully featured AI platform where AI, not humans, builds enterprise-scale applied AI systems and agents. ChatLLM is our AI super assistant for small teams and individuals.
3.84 M
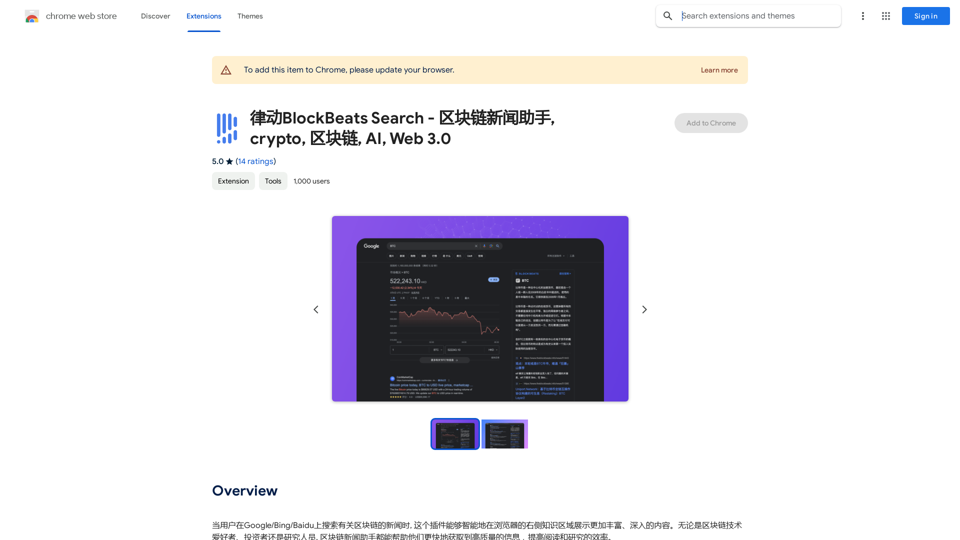
BlockBeats Search - Your Blockchain News Assistant, covering crypto, blockchain, AI, and Web 3.0.
BlockBeats Search - Your Blockchain News Assistant, covering crypto, blockchain, AI, and Web 3.0.When users search for blockchain news on Google/Bing/Baidu, this plugin can intelligently display more comprehensive and in-depth content in the browser's right-side knowledge area. Whether you are a blockchain technology enthusiast, investor, or researcher, the Blockchain News Assistant can help you quickly access high-quality information and improve your reading and research efficiency.
193.90 M