Open-source RightAI Tools Directory
  • Discover AI
  • Submit
  • Startup
  • Blog
Open-source RightAI Tools Directory
Discover the best AI tools of 2025 with the RightAI Tools Directory!

Friend Links

AI Anime GeneratorToolsApp AI

Support

Tap4
Privacy policyTerms & ConditionsContact Us
Loading...
loading...

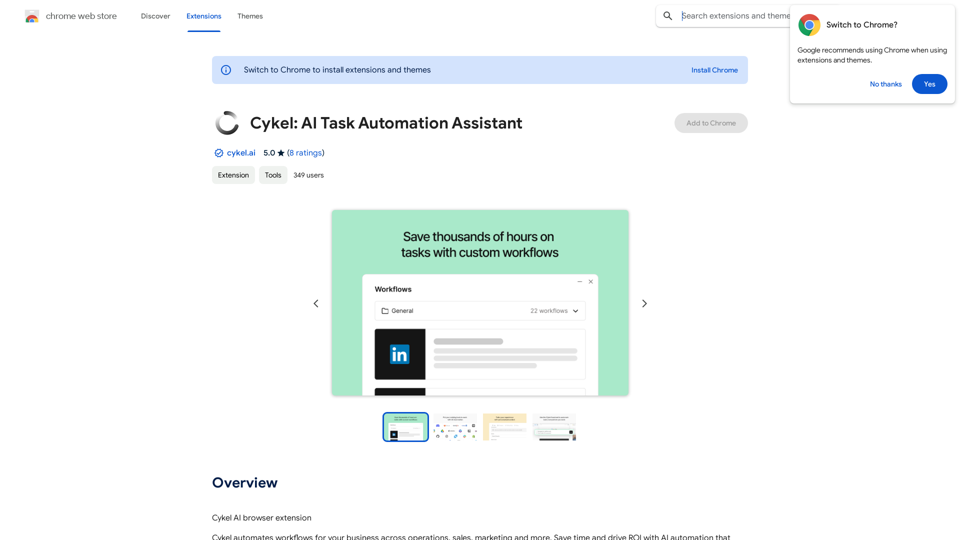
Cykel: AI Task Automation Assistant

Cykel AI Browser Extension
Visit Website
Cykel: AI Task Automation Assistant
Visit Website

Introduction

Cykel: AI Task Automation Assistant is a Chrome extension designed to streamline business workflows across various departments. This powerful tool leverages AI technology to automate tasks, saving time and boosting ROI. Cykel works seamlessly with popular platforms, offering scalable solutions for individuals and enterprises alike.

Feature

Automated Workflow Management

Cykel automates workflows for businesses across operations, sales, marketing, and more. This feature significantly reduces manual work and increases efficiency.

Time-Saving and ROI-Driven

By automating repetitive tasks, Cykel saves valuable time and drives return on investment, allowing users to focus on more critical aspects of their business.

Instant Value Delivery

The AI-powered automation provides immediate benefits, streamlining processes from day one of implementation.

Wide Compatibility

Cykel works across various platforms, from Gmail to Shopify, integrating seamlessly with existing software and websites.

Scalable Solutions

Whether for individual use or enterprise-level needs, Cykel offers scalable automation solutions to fit diverse requirements.

AI-Enhanced Existing Workflows

Users can add a layer of AI automation to their current workflows, enhancing productivity without disrupting established processes.

Privacy and Data Handling

Cykel handles personally identifiable information, web history, user activity, and website content. The developer assures that user data is not sold to third parties or used for unrelated purposes.

FAQ

How do I start using Cykel?

Every user can begin automating their first workflow immediately. Cykel integrates with your existing software and websites, making it easy to implement AI-powered automation into your daily tasks.

Is Cykel capable of generating images?

No, Cykel is not designed for image generation. Its primary function is to automate workflows and tasks across various business operations.

Does Cykel use GPTs?

Cykel does not use GPTs. It is a Chrome extension that utilizes AI technology to automate workflows.

How can I maximize my use of Cykel?

Leverage Cykel's AI automation to explore a wide range of AI-powered tools for various tasks. Use it to automate repetitive tasks in the background while focusing on other important aspects of your work.

When should I consider a Cykel subscription?

If the free version doesn't meet your needs and you heavily rely on its AI automation features, you may want to subscribe to the paid version for additional benefits and extended access.

Related Websites
Youtube Video Summarizer with Mind Map
View Detail

Youtube Video Summarizer with Mind Map

Youtube Video Summarizer with Mind Map

Get YouTube video summaries with visualization mind maps in just one click.

193.90 M
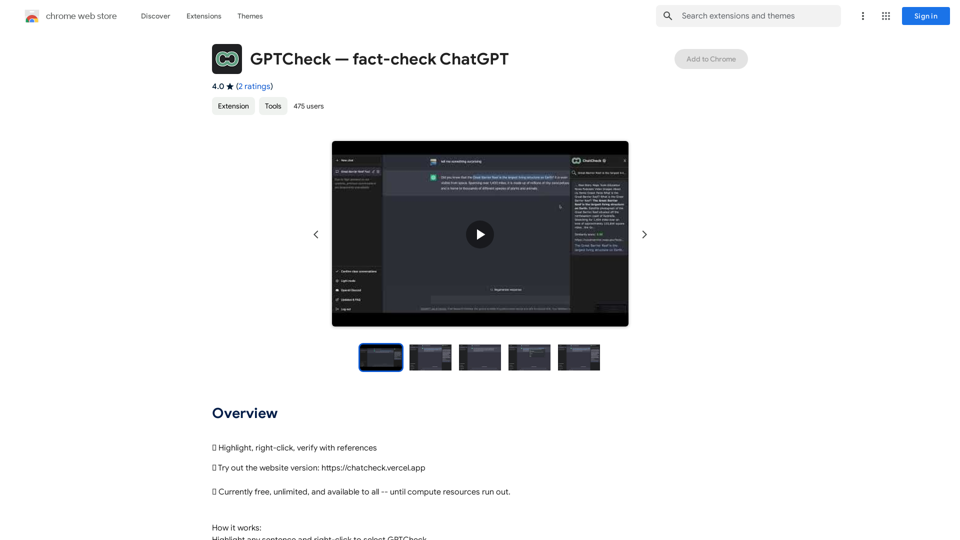
HighlightGPT 

Let me know what you'd like to know about HighlightGPT! 

For example, you could ask:

* What is HighlightGPT?
* How does HighlightGPT work?
* What are the benefits of using HighlightGPT?
* What are some examples of how HighlightGPT can be used?
View Detail

HighlightGPT Let me know what you'd like to know about HighlightGPT! For example, you could ask: * What is HighlightGPT? * How does HighlightGPT work? * What are the benefits of using HighlightGPT? * What are some examples of how HighlightGPT can be used?

HighlightGPT Let me know what you'd like to know about HighlightGPT! For example, you could ask: * What is HighlightGPT? * How does HighlightGPT work? * What are the benefits of using HighlightGPT? * What are some examples of how HighlightGPT can be used?

I can explain a piece of text you select and give you a short summary based on the information on the current page. Just highlight the text you want me to explain and ask!

193.90 M
GoodReply | AI-responder for customer reviews
View Detail

GoodReply | AI-responder for customer reviews

GoodReply | AI-responder for customer reviews

Respond to customer reviews 10x faster with GoodReply!

193.90 M
Converting JPG Images to Text

Converting a JPG image to text is a process known as Optical Character Recognition (OCR). This technology enables you to extract text from images, scanned documents, and photos. Here's how to do it:

Method 1: Online OCR Tools

You can use online OCR tools to convert JPG images to text. Here are the steps:

1. Upload your JPG image: Go to an online OCR tool website, such as Online OCR Tools or OCR.space, and upload your JPG image.
2. Select the language: Choose the language of the text in your image.
3. Click on "Convert": The tool will convert the image to text.
4. Download the text: You can download the extracted text as a Word document, PDF, or plain text file.

Method 2: Google Drive

You can also use Google Drive to convert JPG images to text. Here's how:

1. Upload your JPG image: Upload your JPG image to Google Drive.
2. Right-click on the image: Right-click on the uploaded image and select "Open with" > "Google Docs".
3. The image will be converted: Google Docs will automatically convert the image to text.
4. Edit and download: You can edit the extracted text and download it as a Word document or PDF.

Method 3: Adobe Acrobat

If you have Adobe Acrobat installed on your computer, you can use it to convert JPG images to text. Here's how:

1. Open Adobe Acrobat: Open Adobe Acrobat on your computer.
2. Create a new document: Create a new document and click on "Tools" > "Recognize Text".
3. Select the image: Select the JPG image you want to convert.
4. Click on "Recognize": Adobe Acrobat will convert the image to text.
5. Edit and save: You can edit the extracted text and save it as a Word document or PDF.

These are the three methods to convert JPG images to text. Choose the method that works best for you!
View Detail

Converting JPG Images to Text Converting a JPG image to text is a process known as Optical Character Recognition (OCR). This technology enables you to extract text from images, scanned documents, and photos. Here's how to do it: Method 1: Online OCR Tools You can use online OCR tools to convert JPG images to text. Here are the steps: 1. Upload your JPG image: Go to an online OCR tool website, such as Online OCR Tools or OCR.space, and upload your JPG image. 2. Select the language: Choose the language of the text in your image. 3. Click on "Convert": The tool will convert the image to text. 4. Download the text: You can download the extracted text as a Word document, PDF, or plain text file. Method 2: Google Drive You can also use Google Drive to convert JPG images to text. Here's how: 1. Upload your JPG image: Upload your JPG image to Google Drive. 2. Right-click on the image: Right-click on the uploaded image and select "Open with" > "Google Docs". 3. The image will be converted: Google Docs will automatically convert the image to text. 4. Edit and download: You can edit the extracted text and download it as a Word document or PDF. Method 3: Adobe Acrobat If you have Adobe Acrobat installed on your computer, you can use it to convert JPG images to text. Here's how: 1. Open Adobe Acrobat: Open Adobe Acrobat on your computer. 2. Create a new document: Create a new document and click on "Tools" > "Recognize Text". 3. Select the image: Select the JPG image you want to convert. 4. Click on "Recognize": Adobe Acrobat will convert the image to text. 5. Edit and save: You can edit the extracted text and save it as a Word document or PDF. These are the three methods to convert JPG images to text. Choose the method that works best for you!

Converting JPG Images to Text Converting a JPG image to text is a process known as Optical Character Recognition (OCR). This technology enables you to extract text from images, scanned documents, and photos. Here's how to do it: Method 1: Online OCR Tools You can use online OCR tools to convert JPG images to text. Here are the steps: 1. Upload your JPG image: Go to an online OCR tool website, such as Online OCR Tools or OCR.space, and upload your JPG image. 2. Select the language: Choose the language of the text in your image. 3. Click on "Convert": The tool will convert the image to text. 4. Download the text: You can download the extracted text as a Word document, PDF, or plain text file. Method 2: Google Drive You can also use Google Drive to convert JPG images to text. Here's how: 1. Upload your JPG image: Upload your JPG image to Google Drive. 2. Right-click on the image: Right-click on the uploaded image and select "Open with" > "Google Docs". 3. The image will be converted: Google Docs will automatically convert the image to text. 4. Edit and download: You can edit the extracted text and download it as a Word document or PDF. Method 3: Adobe Acrobat If you have Adobe Acrobat installed on your computer, you can use it to convert JPG images to text. Here's how: 1. Open Adobe Acrobat: Open Adobe Acrobat on your computer. 2. Create a new document: Create a new document and click on "Tools" > "Recognize Text". 3. Select the image: Select the JPG image you want to convert. 4. Click on "Recognize": Adobe Acrobat will convert the image to text. 5. Edit and save: You can edit the extracted text and save it as a Word document or PDF. These are the three methods to convert JPG images to text. Choose the method that works best for you!

It is an online tool that uses Optical Character Recognition (OCR) to make it possible to extract text from images in JPG format.

193.90 M
Happy Sales
View Detail

Happy Sales

Happy Sales

Happysales Chrome Extension 🔥 Unleash the Power of Personalized Email Engagement 🔥 Supercharge your email outreach by crafting...

193.90 M
Get ChatGPT for Free with Google

You can now access ChatGPT, a powerful language model, for free with Google. Here's how:

Method 1: Google Colab

* Open Google Colab ([colab.research.google.com](http://colab.research.google.com))
* Create a new notebook
* Install the `transformers` library by running `!pip install transformers`
* Import the `transformers` library and load the ChatGPT model using `from transformers import AutoModelForCausalLM, AutoTokenizer; model = AutoModelForCausalLM.from_pretrained('chatgpt'); tokenizer = AutoTokenizer.from_pretrained('chatgpt')`
* Use the model to generate text using `input_text = "Your input here"; inputs = tokenizer.encode_plus(input_text, return_tensors='pt', max_length=1024, padding='max_length', truncation=True); output = model(inputs['input_ids'], attention_mask=inputs['attention_mask']); print(tokenizer.decode(output.logits[0], skip_special_tokens=True))`

Method 2: Google Apps Script

* Open Google Apps Script ([script.google.com](http://script.google.com))
* Create a new project
* Install the `transformers` library by running `npm install transformers`
* Import the `transformers` library and load the ChatGPT model using `const { AutoModelForCausalLM, AutoTokenizer } = require('transformers'); const model = new AutoModelForCausalLM('chatgpt'); const tokenizer = new AutoTokenizer('chatgpt');`
* Use the model to generate text using `const inputText = "Your input here"; const inputs = tokenizer.encodePlus(inputText, { return_tensors: 'pt', max_length: 1024, padding: 'max_length', truncation: true }); const output = model(inputs.inputIds, inputs.attentionMask); console.log(tokenizer.decode(output.logits[0], { skipSpecialTokens: true }));`

Note: These methods require some technical knowledge and may have limitations compared to the original ChatGPT model.
View Detail

Get ChatGPT for Free with Google You can now access ChatGPT, a powerful language model, for free with Google. Here's how: Method 1: Google Colab * Open Google Colab ([colab.research.google.com](http://colab.research.google.com)) * Create a new notebook * Install the `transformers` library by running `!pip install transformers` * Import the `transformers` library and load the ChatGPT model using `from transformers import AutoModelForCausalLM, AutoTokenizer; model = AutoModelForCausalLM.from_pretrained('chatgpt'); tokenizer = AutoTokenizer.from_pretrained('chatgpt')` * Use the model to generate text using `input_text = "Your input here"; inputs = tokenizer.encode_plus(input_text, return_tensors='pt', max_length=1024, padding='max_length', truncation=True); output = model(inputs['input_ids'], attention_mask=inputs['attention_mask']); print(tokenizer.decode(output.logits[0], skip_special_tokens=True))` Method 2: Google Apps Script * Open Google Apps Script ([script.google.com](http://script.google.com)) * Create a new project * Install the `transformers` library by running `npm install transformers` * Import the `transformers` library and load the ChatGPT model using `const { AutoModelForCausalLM, AutoTokenizer } = require('transformers'); const model = new AutoModelForCausalLM('chatgpt'); const tokenizer = new AutoTokenizer('chatgpt');` * Use the model to generate text using `const inputText = "Your input here"; const inputs = tokenizer.encodePlus(inputText, { return_tensors: 'pt', max_length: 1024, padding: 'max_length', truncation: true }); const output = model(inputs.inputIds, inputs.attentionMask); console.log(tokenizer.decode(output.logits[0], { skipSpecialTokens: true }));` Note: These methods require some technical knowledge and may have limitations compared to the original ChatGPT model.

Get ChatGPT for Free with Google You can now access ChatGPT, a powerful language model, for free with Google. Here's how: Method 1: Google Colab * Open Google Colab ([colab.research.google.com](http://colab.research.google.com)) * Create a new notebook * Install the `transformers` library by running `!pip install transformers` * Import the `transformers` library and load the ChatGPT model using `from transformers import AutoModelForCausalLM, AutoTokenizer; model = AutoModelForCausalLM.from_pretrained('chatgpt'); tokenizer = AutoTokenizer.from_pretrained('chatgpt')` * Use the model to generate text using `input_text = "Your input here"; inputs = tokenizer.encode_plus(input_text, return_tensors='pt', max_length=1024, padding='max_length', truncation=True); output = model(inputs['input_ids'], attention_mask=inputs['attention_mask']); print(tokenizer.decode(output.logits[0], skip_special_tokens=True))` Method 2: Google Apps Script * Open Google Apps Script ([script.google.com](http://script.google.com)) * Create a new project * Install the `transformers` library by running `npm install transformers` * Import the `transformers` library and load the ChatGPT model using `const { AutoModelForCausalLM, AutoTokenizer } = require('transformers'); const model = new AutoModelForCausalLM('chatgpt'); const tokenizer = new AutoTokenizer('chatgpt');` * Use the model to generate text using `const inputText = "Your input here"; const inputs = tokenizer.encodePlus(inputText, { return_tensors: 'pt', max_length: 1024, padding: 'max_length', truncation: true }); const output = model(inputs.inputIds, inputs.attentionMask); console.log(tokenizer.decode(output.logits[0], { skipSpecialTokens: true }));` Note: These methods require some technical knowledge and may have limitations compared to the original ChatGPT model.

How to Add ChatGPT to All Google Searches ===================================================== Step 1: Create a Custom Search Engine -------------------------------------- * Go to the [Google Custom Search Engine](https://cse.google.com/) website and sign in with your Google account. * Click on the "New Search Engine" button. * Fill in the required information, such as the name and description of your search engine. * Click on the "Create" button. Step 2: Add ChatGPT to the Search Engine ----------------------------------------- * In the "Setup" tab, click on the "Add" button next to "Sites to search". * Enter the following URL: `https://chat.openai.com/` * Click on the "Add" button. Step 3: Configure the Search Engine -------------------------------------- * In the "Setup" tab, click on the "Edit" button next to "Search engine keywords". * Add the following keywords: `ChatGPT` * Click on the "Save" button. Step 4: Get the Search Engine Code ------------------------------------- * In the "Setup" tab, click on the "Get code" button. * Copy the HTML code provided. Step 5: Add the Search Engine to Your Browser ------------------------------------------------ * Open your browser and go to the "Settings" or "Options" page. * Look for the "Search engine" or "Default search engine" option. * Click on the "Add" or "Manage search engines" button. * Paste the HTML code you copied earlier. * Click on the "Add" or "Save" button. You're Done! =============== Now, whenever you search on Google, ChatGPT will be included in the search results. You can also use the custom search engine URL provided by Google to search directly.

193.90 M
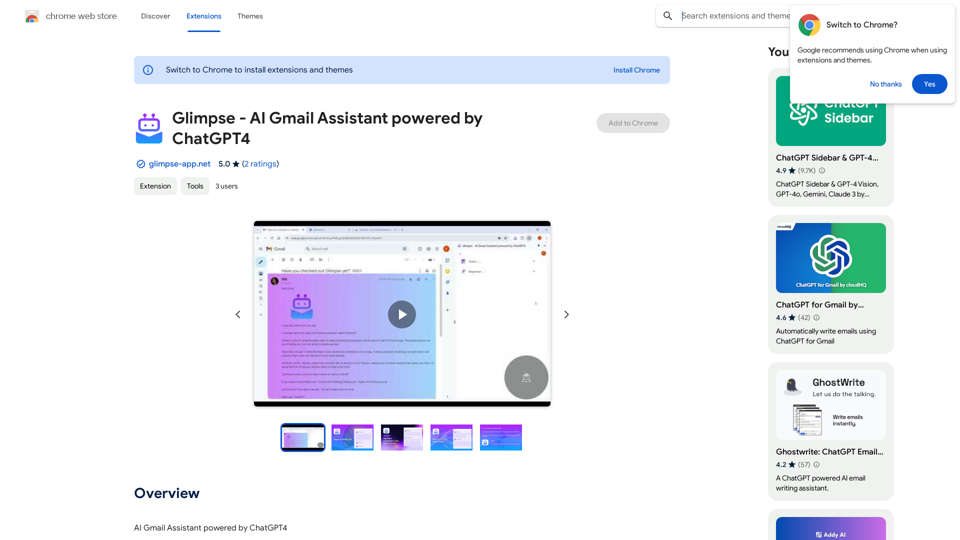
aireply: Your Personalized Email Writing Assistant
View Detail

aireply: Your Personalized Email Writing Assistant

aireply: Your Personalized Email Writing Assistant

AI Email Reply and Writing Assistant

193.90 M
Simple TODOs from Customer Feedback 

- Improve search functionality: Customers are having trouble finding specific products.
- Add more product filters:  Allow users to narrow down search results by category, price, etc.
- Implement a wishlist feature: Let customers save items they are interested in for later.
- Enhance mobile responsiveness:  The website is not displaying correctly on all mobile devices.
- Provide clearer product descriptions:  Some descriptions are too vague or lack important details.
- Offer more payment options:  Expand the list of accepted payment methods.
- Simplify the checkout process:  Reduce the number of steps required to complete a purchase.
- Improve customer support:  Make it easier for customers to contact support and get timely responses.
View Detail

Simple TODOs from Customer Feedback - Improve search functionality: Customers are having trouble finding specific products. - Add more product filters: Allow users to narrow down search results by category, price, etc. - Implement a wishlist feature: Let customers save items they are interested in for later. - Enhance mobile responsiveness: The website is not displaying correctly on all mobile devices. - Provide clearer product descriptions: Some descriptions are too vague or lack important details. - Offer more payment options: Expand the list of accepted payment methods. - Simplify the checkout process: Reduce the number of steps required to complete a purchase. - Improve customer support: Make it easier for customers to contact support and get timely responses.

Simple TODOs from Customer Feedback - Improve search functionality: Customers are having trouble finding specific products. - Add more product filters: Allow users to narrow down search results by category, price, etc. - Implement a wishlist feature: Let customers save items they are interested in for later. - Enhance mobile responsiveness: The website is not displaying correctly on all mobile devices. - Provide clearer product descriptions: Some descriptions are too vague or lack important details. - Offer more payment options: Expand the list of accepted payment methods. - Simplify the checkout process: Reduce the number of steps required to complete a purchase. - Improve customer support: Make it easier for customers to contact support and get timely responses.

FeedMonky.com creates simple to-do lists from lengthy customer reviews. It uses a state-of-the-art language model that has been specially trained.

0