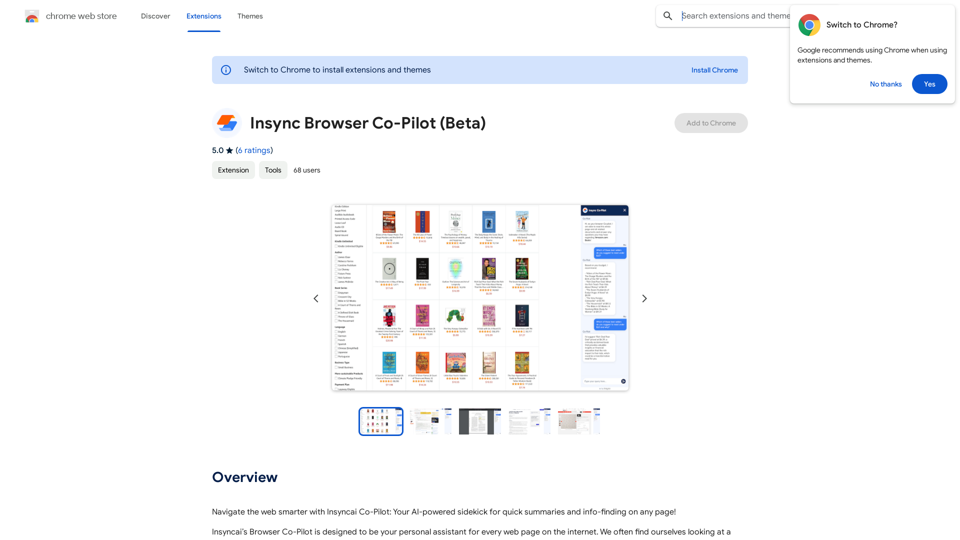
Insyncai Browser Co-Pilot is an AI-powered browser extension designed to enhance web browsing experience. It provides quick summaries and information-finding capabilities on any webpage, utilizing advanced AI to comprehend page contents and linked documents. This tool offers immediate answers to user queries, saving time and aiding in better decision-making.
Insync Browser Co-Pilot (Beta)
Navigate the web smarter with Insyncai Co-Pilot: Your AI-powered assistant for quick summaries and finding information on any webpage!
Introduction
Feature
AI-Powered Web Assistant
Insyncai Browser Co-Pilot acts as an intelligent sidekick, offering quick summaries and information retrieval on any webpage. Its advanced AI technology reads and understands page contents, including linked documents, to provide immediate answers.
Time-Saving Functionality
The Co-Pilot saves users time by quickly processing lengthy web pages and extracting relevant information. This feature is particularly useful for research, product comparisons, or general information gathering.
Easy Installation and Use
Users can simply install the extension and start using it immediately. The Co-Pilot responds to questions related to the current page, such as product properties, reviews, or educational information.
Free of Charge
Insyncai Browser Co-Pilot is completely free to install and use. There are no subscription fees or hidden costs associated with the extension.
Enhanced Browsing Experience
By providing a personalized assistant for web navigation, the Co-Pilot significantly improves the overall browsing experience. It helps users make better decisions by offering accurate and relevant information quickly.
FAQ
What is Insyncai Browser Co-Pilot?
Insyncai Browser Co-Pilot is an AI-powered browser extension that acts as a sidekick to help users navigate the web more efficiently. It provides quick summaries and information-finding capabilities on any webpage.
How do I use Insyncai Browser Co-Pilot?
To use Insyncai Browser Co-Pilot, simply install the extension and start browsing. Ask questions related to the page you're on, and the Co-Pilot will provide immediate answers and summaries.
Is Insyncai Browser Co-Pilot free?
Yes, Insyncai Browser Co-Pilot is completely free to install and use. There are no subscription fees or costs associated with using the Co-Pilot.
What are the limitations of Insyncai Browser Co-Pilot?
The Co-Pilot can only answer questions based on information contained on the current page or linked documents. It may struggle with complex or open-ended questions and cannot provide information that isn't publicly available.
Related Websites
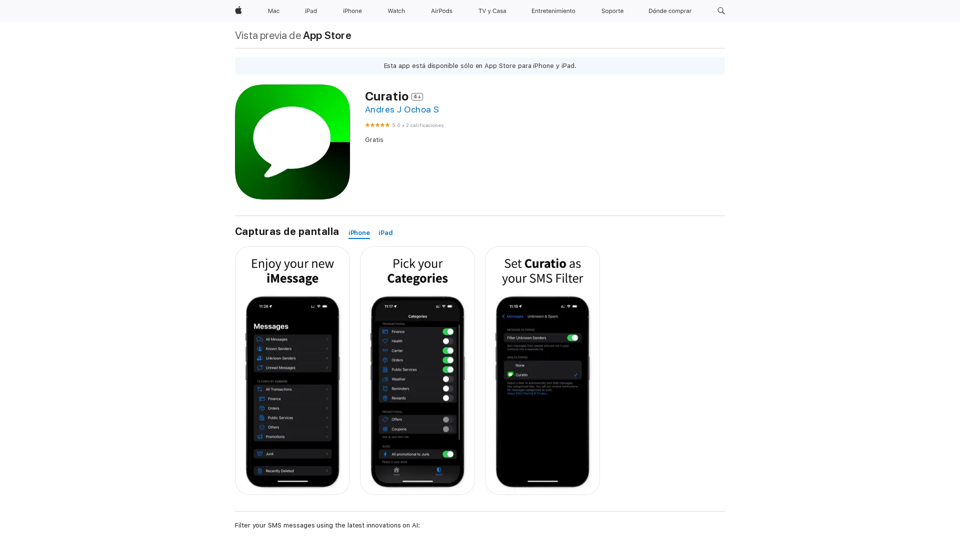
Filter your SMS messages using the latest innovations on AI: - Curatio categorizes every new SMS message without any previous instructions. - Curatio filters every unwanted SMS, such as spam or promotional messages, to keep your inbox clean and organized.
124.77 M
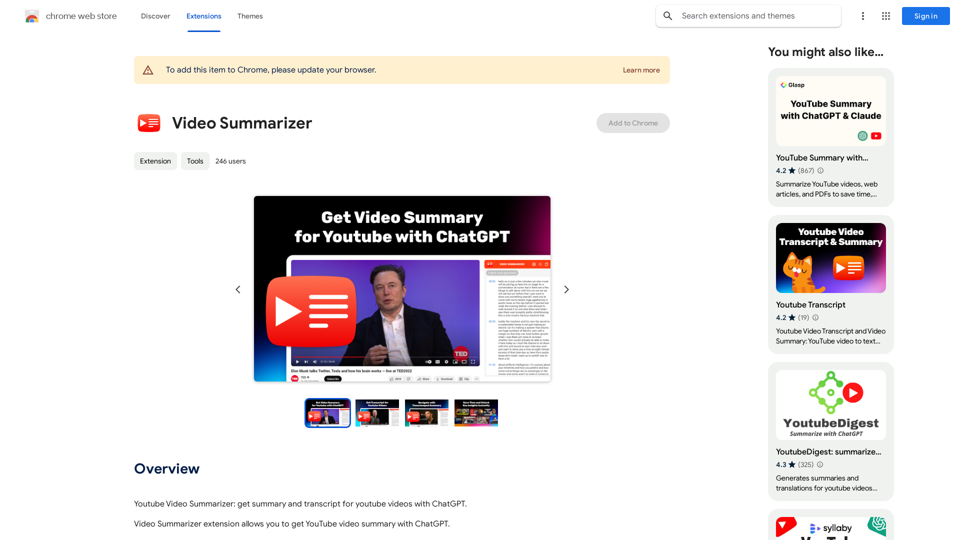
Youtube Video Summarizer: Get Summaries and Transcripts for YouTube Videos with ChatGPT This tool helps you quickly understand YouTube videos by providing: * Summaries: Concise overviews of the video's main points. * Transcripts: Full text versions of what is spoken in the video. Both summaries and transcripts are powered by ChatGPT, allowing for accurate and insightful analysis.
193.90 M
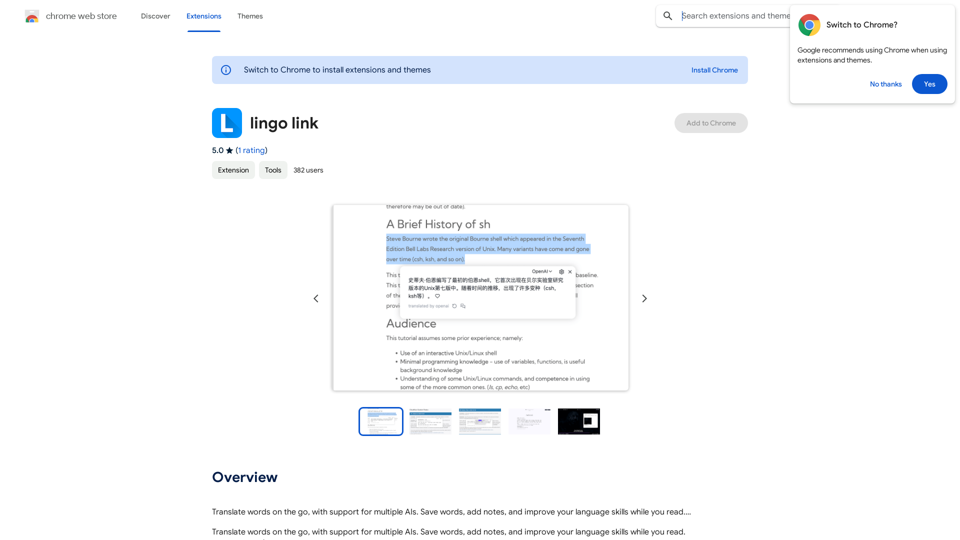
Translate words as you read, with support for multiple AI assistants. Save words, add notes, and improve your language skills while you read.
193.90 M
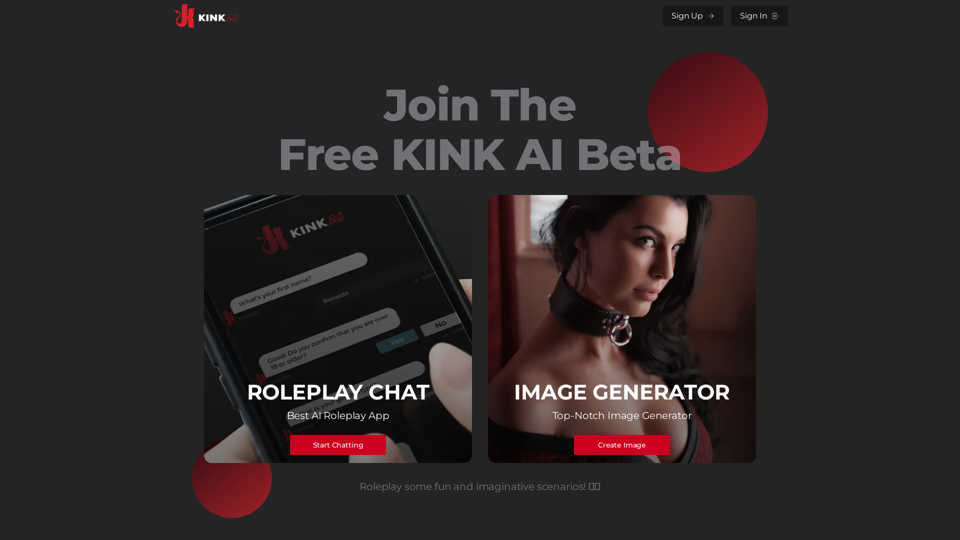
Sign up for Kinky Chat's early access! Be the first to meet the world's most intense chatbot. Don't miss out!
17.07 K
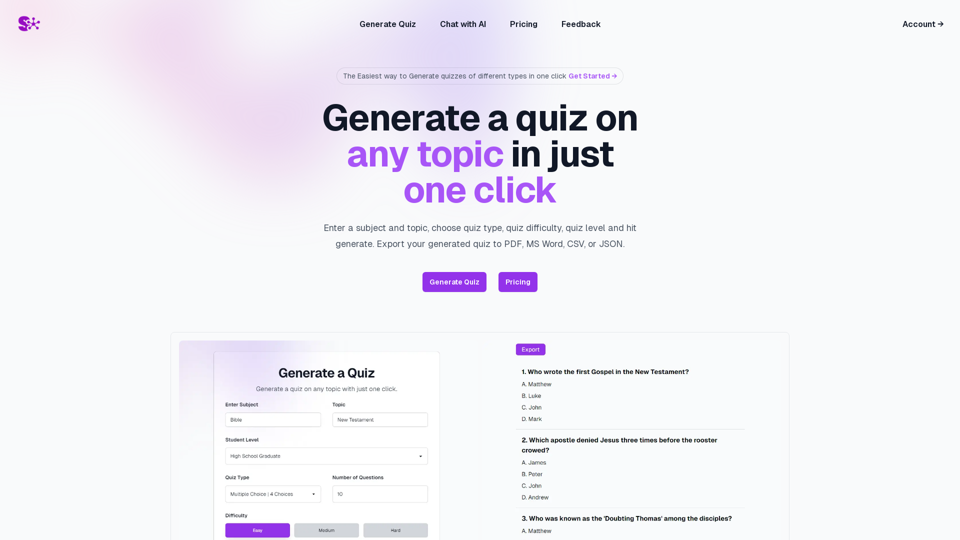
Quiz Generation Made Easy! ============================= With just one click, you can generate a quiz on any topic you want! Whether you're a teacher, student, or just a curious learner, this feature is perfect for you. How it Works --------------- 1. Choose Your Topic: Select the topic you want to generate a quiz on. It can be anything from history to science, literature to music, or even pop culture! 2. Click the Button: Simply click the "Generate Quiz" button, and our AI-powered algorithm will do the rest. 3. Get Your Quiz: In an instant, you'll receive a comprehensive quiz with multiple-choice questions, true/false questions, and short-answer questions. Features ------------ * Customizable: You can adjust the difficulty level, question type, and even add your own questions to make the quiz more personalized. * Instant Feedback: Get instant feedback on your answers, so you can track your progress and identify areas for improvement. * Shareable: Share your quiz with friends, classmates, or even on social media to spark a fun competition! Try it Out! -------------- Click the "Generate Quiz" button below to get started! [Generate Quiz Button] Happy quizzing!
0
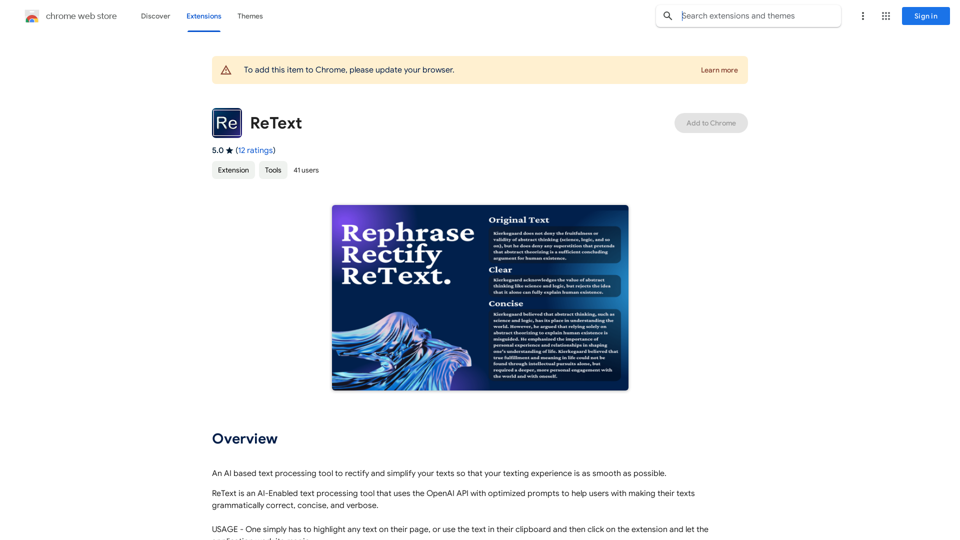
An AI-powered text processing tool to fix and simplify your text, making your texting experience as easy as possible.
193.90 M
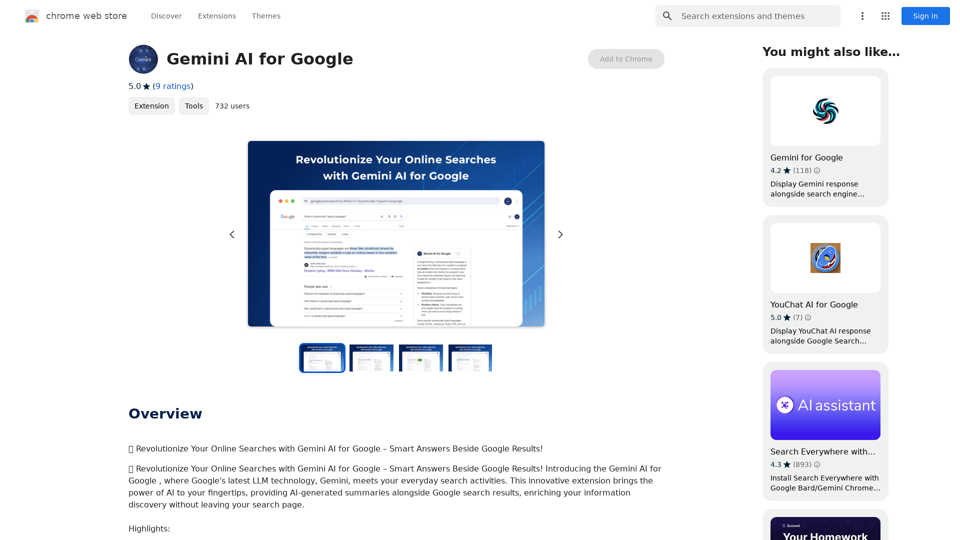
Gemini AI for Google Gemini AI is an innovative artificial intelligence (AI) model designed to revolutionize the way Google interacts with its users. This cutting-edge technology is capable of understanding and responding to natural language inputs, making it an ideal solution for enhancing user experience on Google's platforms. Key Features: * Conversational Interface: Gemini AI enables users to interact with Google using conversational language, making it easier to find information and perform tasks. * Contextual Understanding: The AI model can understand the context of a user's query, providing more accurate and relevant results. * Personalized Experience: Gemini AI can learn a user's preferences and tailor the search results and recommendations to their individual needs. * Multitasking Capability: The AI model can handle multiple tasks simultaneously, allowing users to perform complex queries and tasks with ease. Benefits: * Enhanced User Experience: Gemini AI provides a more intuitive and user-friendly experience, making it easier for users to find what they're looking for on Google. * Improved Accuracy: The AI model's ability to understand context and nuances of language reduces the likelihood of irrelevant search results. * Increased Productivity: Gemini AI's multitasking capability and personalized experience enable users to accomplish more in less time. Potential Applications: * Google Assistant: Gemini AI can be integrated into Google Assistant, enabling users to have more natural and conversational interactions with the virtual assistant. * Google Search: The AI model can be used to improve the search engine's ability to understand complex queries and provide more accurate results. * Google Workspace: Gemini AI can be applied to Google Workspace (formerly G Suite) to enhance the productivity and collaboration capabilities of the platform.
Gemini AI for Google Gemini AI is an innovative artificial intelligence (AI) model designed to revolutionize the way Google interacts with its users. This cutting-edge technology is capable of understanding and responding to natural language inputs, making it an ideal solution for enhancing user experience on Google's platforms. Key Features: * Conversational Interface: Gemini AI enables users to interact with Google using conversational language, making it easier to find information and perform tasks. * Contextual Understanding: The AI model can understand the context of a user's query, providing more accurate and relevant results. * Personalized Experience: Gemini AI can learn a user's preferences and tailor the search results and recommendations to their individual needs. * Multitasking Capability: The AI model can handle multiple tasks simultaneously, allowing users to perform complex queries and tasks with ease. Benefits: * Enhanced User Experience: Gemini AI provides a more intuitive and user-friendly experience, making it easier for users to find what they're looking for on Google. * Improved Accuracy: The AI model's ability to understand context and nuances of language reduces the likelihood of irrelevant search results. * Increased Productivity: Gemini AI's multitasking capability and personalized experience enable users to accomplish more in less time. Potential Applications: * Google Assistant: Gemini AI can be integrated into Google Assistant, enabling users to have more natural and conversational interactions with the virtual assistant. * Google Search: The AI model can be used to improve the search engine's ability to understand complex queries and provide more accurate results. * Google Workspace: Gemini AI can be applied to Google Workspace (formerly G Suite) to enhance the productivity and collaboration capabilities of the platform.🗨️ Revolutionize Your Online Searches with Gemini AI for Google – Get Smart Answers Right Beside Google Results!
193.90 M
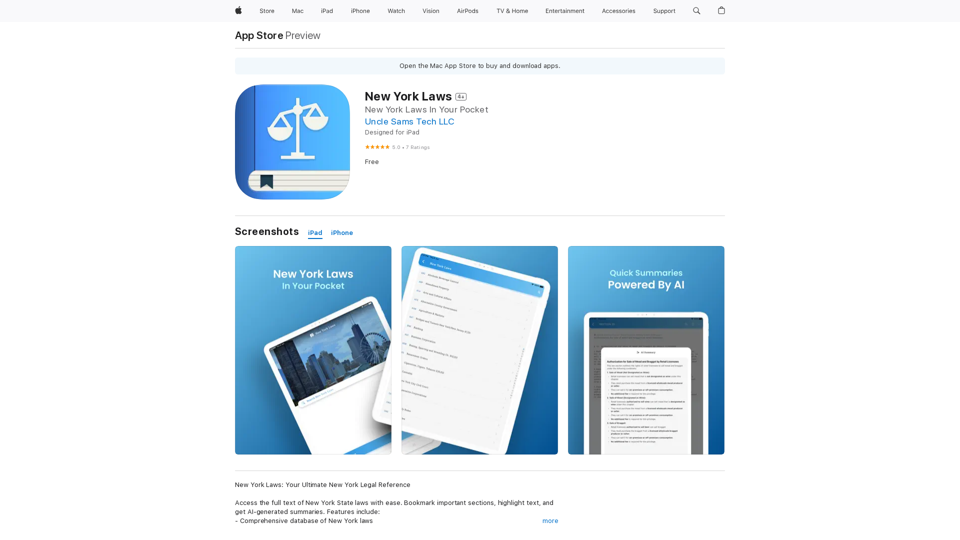
Access the full text of New York State laws with ease. Bookmark important sections, highlight text, and get AI-generated summaries. Features include: - Comprehensive search functionality to quickly find specific laws and regulations - Customizable bookmarks to mark important sections for future reference - Highlighting tool to emphasize key points and phrases - AI-powered summaries to provide a concise overview of complex laws
124.77 M