Describe.pictures is an AI-powered tool designed to generate detailed descriptions of images. It offers users the ability to quickly obtain comprehensive or brief descriptions of uploaded pictures, making it useful for various applications such as content creation, accessibility, and image analysis.
AI Describe Picture & Image | Free AI-generated image description
AI picture & image description generator, helping you quickly generate image descriptions.
Introduction
Feature
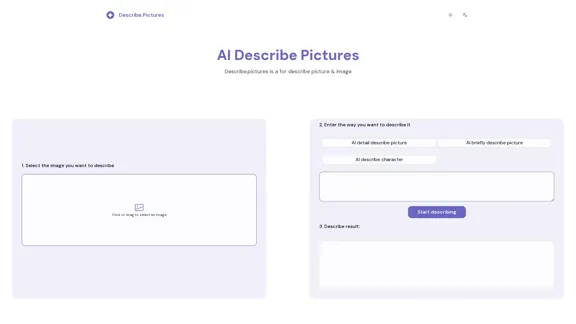
Image Upload
Users can easily upload images by clicking or dragging and dropping files onto the platform.
Multiple Description Options
The tool provides various description modes:
- AI detail describe picture
- AI briefly describe picture
- AI describe character
- Customizable description methods
Instant Results
After selecting an image and choosing a description method, users can quickly obtain AI-generated descriptions.
Versatile Applications
Describe.pictures can be used for:
- Enhancing accessibility for visually impaired users
- Generating content for social media posts
- Analyzing images for research or creative purposes
- Assisting in SEO by providing detailed image descriptions
User-Friendly Interface
The platform offers a simple three-step process:
- Select an image
- Choose a description method
- View the generated description
Examples Provided
The website showcases example descriptions, including a detailed analysis of an F1 racing scene and a brief description of a moon landing photograph.
FAQ
What is Describe.pictures?
Describe.pictures is an AI-powered tool that generates detailed or brief descriptions of uploaded images, helping users quickly obtain comprehensive information about visual content.
How does Describe.pictures work?
The tool uses AI large models to analyze uploaded images and generate descriptions based on the user's chosen method (detailed, brief, or character-focused).
Can I customize the description method?
Yes, Describe.pictures allows users to choose from predefined description methods or customize their own approach for more specific results.
Is Describe.pictures free to use?
While the website mentions it's a "Free ai generate image description" tool, it's best to check their terms of service or pricing page for the most up-to-date information on any potential costs or usage limits.
What types of images can I describe using this tool?
The tool appears to be versatile, capable of describing various types of images, from complex scenes like F1 races to historic photographs like the moon landing. It's likely suitable for a wide range of image types and subjects.
Latest Traffic Insights
Monthly Visits
7.04 K
Bounce Rate
44.79%
Pages Per Visit
1.37
Time on Site(s)
4.91
Global Rank
3069707
Country Rank
United States 2046422
Recent Visits
Traffic Sources
- Social Media:13.34%
- Paid Referrals:0.86%
- Email:0.19%
- Referrals:5.64%
- Search Engines:47.98%
- Direct:31.90%
Related Websites
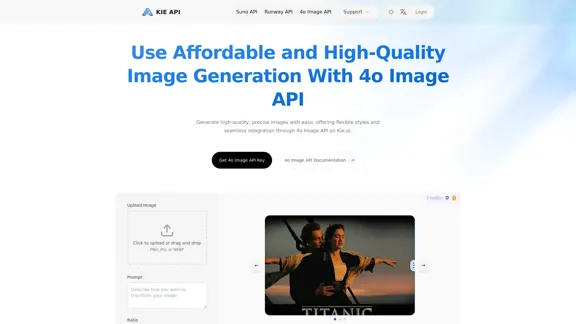
Kie.ai's 4o Image API: Cost-effective, Reliable, and Very Accurate AI Image Creation
Kie.ai's 4o Image API: Cost-effective, Reliable, and Very Accurate AI Image CreationKie.ai’s 4o Image API offers affordable, stable, and highly accurate AI image generation, enabling creators to easily produce high-quality visuals. It provides reliable and efficient solutions for various creative projects, including text-to-image and image-to-image transformations, as well as a range of visual styles.
356.51 K

Kolors Virtual Try On AI: Free Tool for Stunning Virtual
Kolors Virtual Try On AI: Free Tool for Stunning VirtualExperience Kolors Virtual Try On AI: effortlessly try various makeup looks and hairstyles in real-time, ensuring the perfect style for you
0
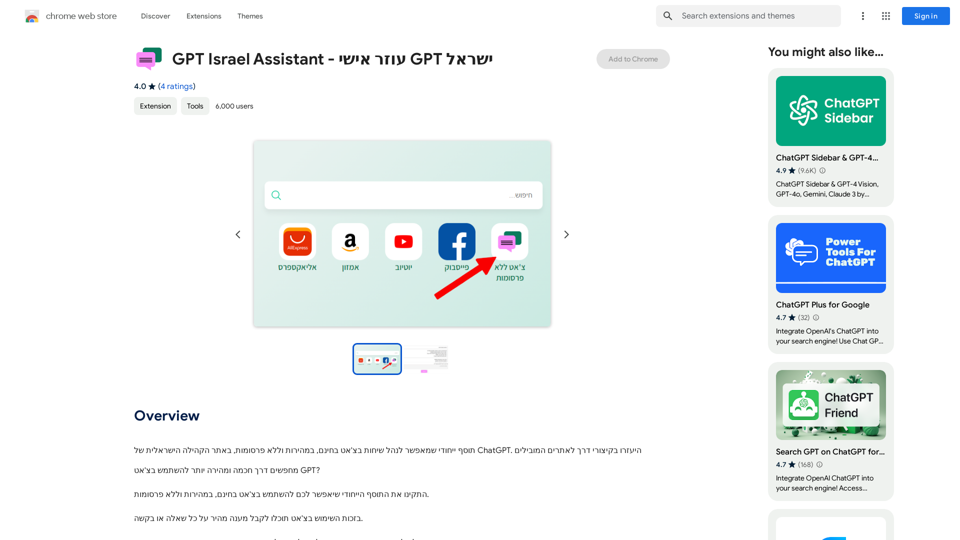
GPT Israel Assistant - Personal GPT Assistant Israel
GPT Israel Assistant - Personal GPT Assistant IsraelUnique add-on that enables managing conversations in chat for free, quickly, and without ads, on the Israeli community website of ChatGPT. Take advantage of shortcuts to leading websites.
193.90 M
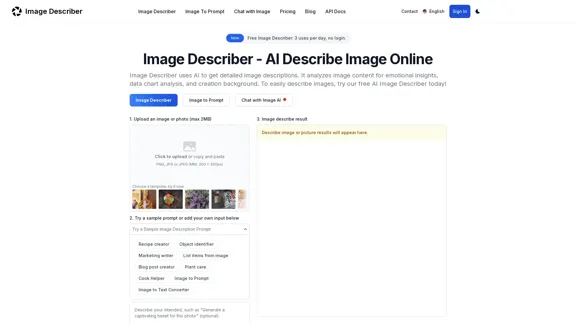
Image Describer - Free AI to Describe Images Online (No Login Required)
Image Describer - Free AI to Describe Images Online (No Login Required)Discover AI-Powered Image Descriptions with Image Describer. Gain Instant Insights and Unlock New Perspectives and Efficiency for Your Work and Creations. Join Us Today!
25.53 K
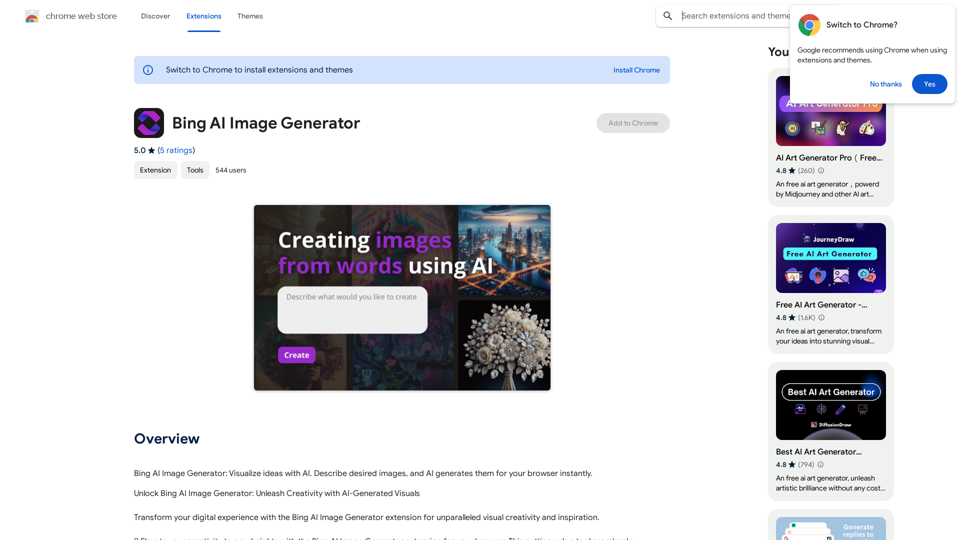
Bing AI Image Generator: See your ideas come to life with AI. Tell the AI what you want to see, and it will create the image in your browser right away.
193.90 M

FluxAI Pro: Superior Flux Image Generator with exceptional text rendering. Powered by FLUX.1 Pro, Dev, Schnell and Realism models.
171.41 K
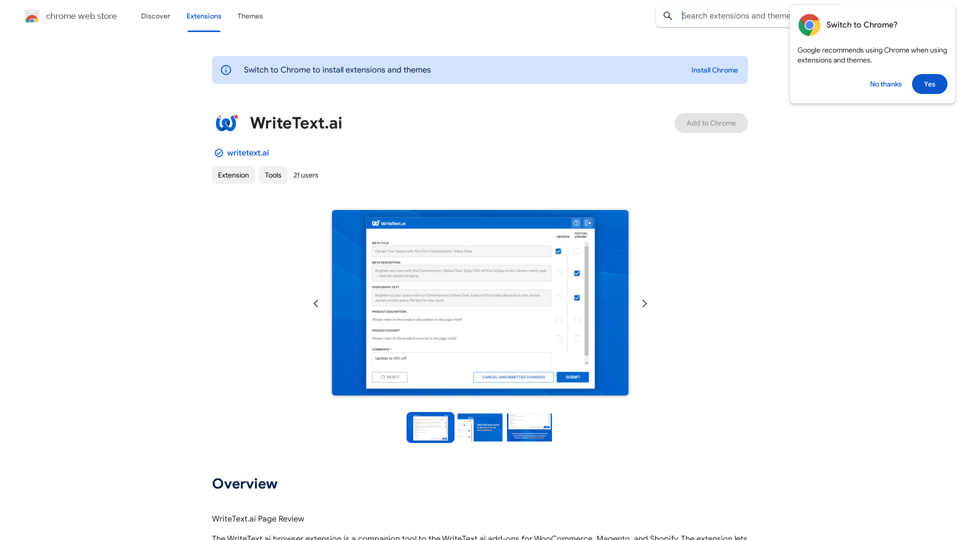
WriteText.ai Page Review WriteText.ai is an AI-powered writing assistant that helps you generate different creative text formats, like poems, code, scripts, musical pieces, email, letters, etc. It's designed to be user-friendly and accessible to everyone, regardless of their writing experience. Here's a breakdown of its key features and benefits: * Multiple Text Formats: WriteText.ai can generate a variety of text formats, including poems, code, scripts, musical pieces, emails, letters, and more. This versatility makes it a valuable tool for writers, developers, and anyone who needs to create different types of content. * User-Friendly Interface: The platform boasts a clean and intuitive interface that is easy to navigate, even for beginners. * AI-Powered Generation: WriteText.ai leverages the power of artificial intelligence to generate high-quality text. The AI model is trained on a massive dataset of text and code, allowing it to produce creative and coherent outputs. * Customization Options: Users can customize their text generation by providing specific instructions, keywords, or examples. This level of control ensures that the generated text meets their exact needs. * Fast and Efficient: WriteText.ai is designed to be fast and efficient, generating text quickly and accurately. This saves users time and effort, allowing them to focus on other aspects of their work. Overall, WriteText.ai is a powerful and versatile AI writing assistant that can be a valuable tool for a wide range of users. Its user-friendly interface, multiple text format options, and AI-powered generation make it a compelling choice for anyone looking to enhance their writing process.
193.90 M
