Open-source RightAI Tools Directory
  • Discover AI
  • Submit
  • Startup
  • Blog
Open-source RightAI Tools Directory
Discover the best AI tools of 2025 with the RightAI Tools Directory!

Friend Links

AI Anime GeneratorToolsApp AI

Support

Tap4
Privacy policyTerms & ConditionsContact Us
Loading...
loading...

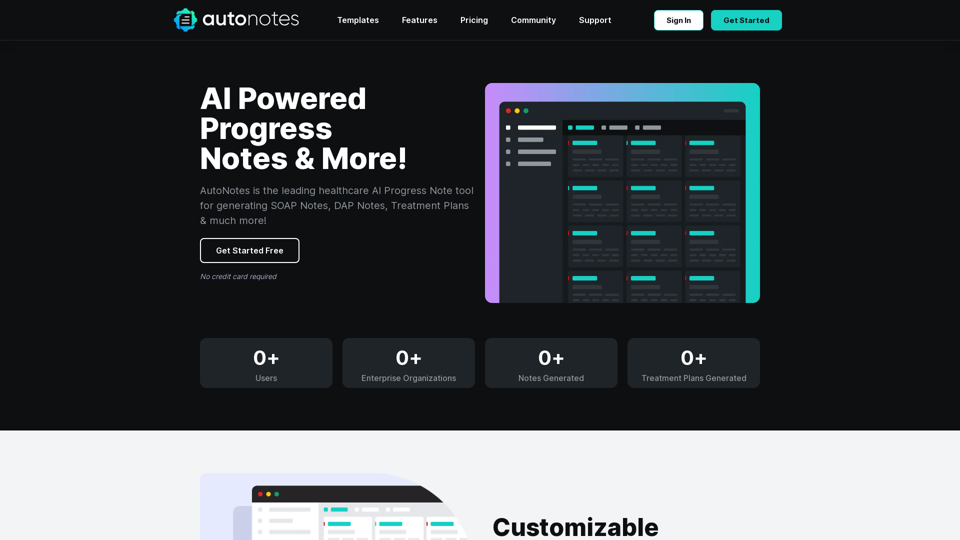
EasyRead.AI - Reading Assistant

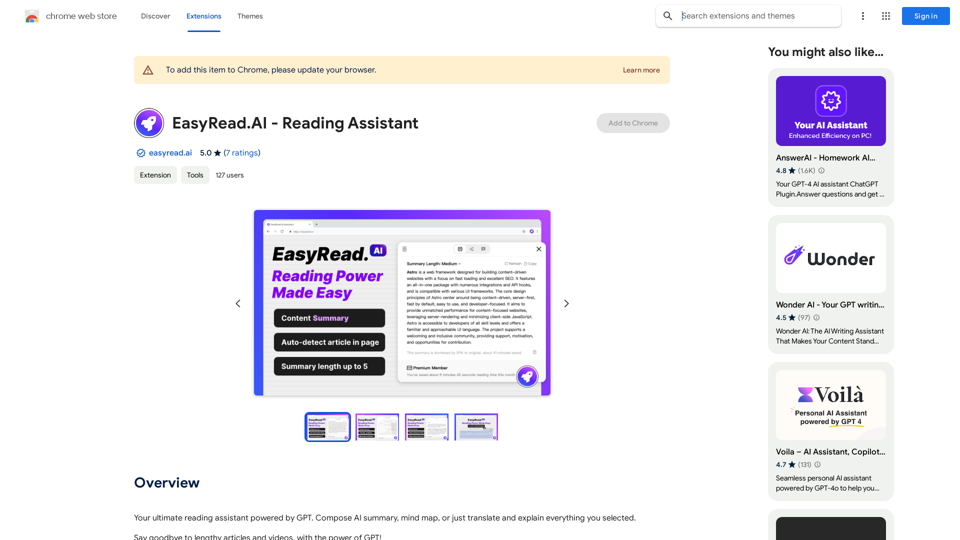
Your ultimate reading assistant powered by GPT. Compose AI summaries, mind maps, or just translate and explain everything you select.
Visit Website
EasyRead.AI - Reading Assistant
Visit Website

Introduction

EasyRead.AI is an innovative AI-powered reading assistant that leverages advanced GPT technology to enhance reading efficiency. This tool excels at generating high-quality summaries and mind maps, enabling users to quickly grasp core information from extensive articles and videos. With features like one-click article summarization, YouTube support, and translation capabilities, EasyRead.AI aims to revolutionize the way we consume and understand content.

Feature

One-Click Article Summary and Mind Map Generation

EasyRead.AI offers instant summarization and mind map creation for lengthy texts, allowing users to quickly grasp essential information and save significant reading time.

Zero Learning Curve

The tool is designed for immediate use, requiring no prior AI knowledge or technical expertise, making it accessible to all users.

YouTube Support

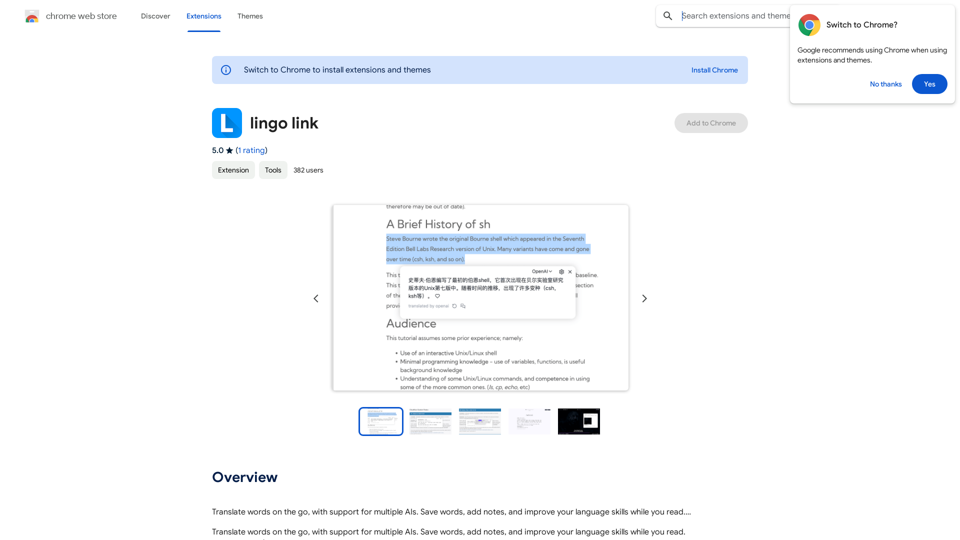
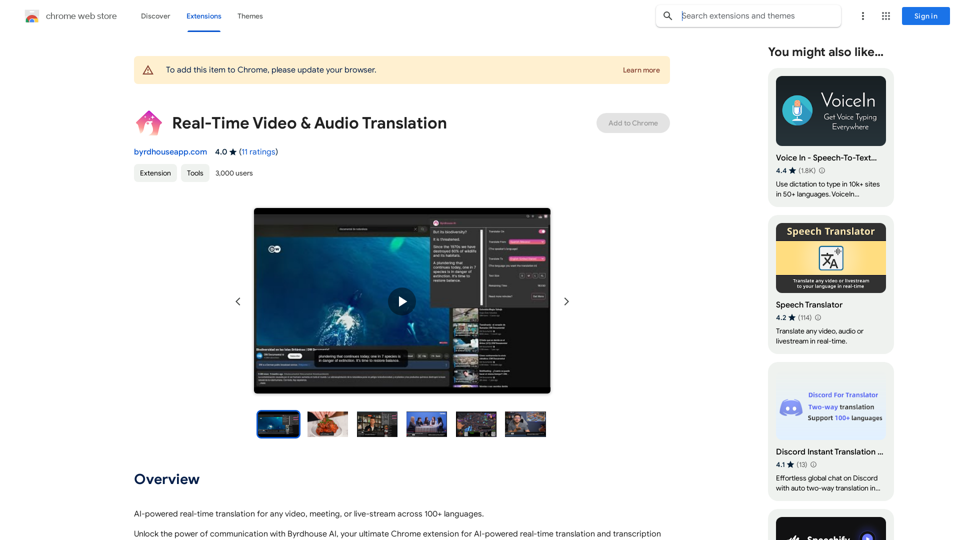
EasyRead.AI extends its capabilities to YouTube videos, enabling users to translate and browse video transcripts effortlessly.

Multilingual Support

With article and block translation features, EasyRead.AI breaks down language barriers, facilitating understanding of content in various languages.

Simple Installation Process

Users can easily install EasyRead.AI by logging in through the pop-up page after extension installation, currently supporting Google account authentication.

Advanced GPT Technology

Utilizing cutting-edge GPT technology, EasyRead.AI ensures high-quality, accurate summaries and mind maps for various types of content.

FAQ

How does EasyRead.AI work?

EasyRead.AI employs advanced GPT technology to swiftly generate high-quality abstracts and mind maps from extensive articles and videos, significantly enhancing reading efficiency.

Is EasyRead.AI suitable for non-technical users?

Absolutely. EasyRead.AI boasts a zero learning curve, allowing users to start using the tool immediately without any prior knowledge of AI or technical expertise.

Can EasyRead.AI handle video content?

Yes, EasyRead.AI supports YouTube videos, enabling users to translate and browse video transcripts, extending its functionality beyond text-based content.

What languages does EasyRead.AI support?

While specific language details aren't provided, EasyRead.AI offers article and block translation features, suggesting support for multiple languages to facilitate understanding of content across different linguistic backgrounds.

Latest Traffic Insights

  • Monthly Visits

    193.90 M

  • Bounce Rate

    56.27%

  • Pages Per Visit

    2.71

  • Time on Site(s)

    115.91

  • Global Rank

    -

  • Country Rank

    -

Recent Visits

Traffic Sources

  • Social Media:
    0.48%
  • Paid Referrals:
    0.55%
  • Email:
    0.15%
  • Referrals:
    12.81%
  • Search Engines:
    16.21%
  • Direct:
    69.81%
More Data

Related Websites

Potis.AI | Your Hiring Copilot
View Detail

Potis.AI | Your Hiring Copilot

Potis.AI | Your Hiring Copilot

Hiring Copilot for Clean and Fast Bulk Candidates Screening with Behavioral Interview and Real Cases

6.63 K
TabCrunch - AI Tab Manager
View Detail

TabCrunch - AI Tab Manager

TabCrunch - AI Tab Manager

AI-Powered Tab Manager for Researchers

193.90 M
ChatGPT Everywhere
View Detail

ChatGPT Everywhere

ChatGPT Everywhere

ChatGPT-based Chrome extension

193.90 M
super memory
View Detail

super memory

super memory

An extension for https://supermemory.ai - an AI hub for all your bookmarks.

193.90 M
Automatically Apply to Jobs on LinkedIn, Indeed, Monster, and Auto-Fill on All Websites
View Detail

Automatically Apply to Jobs on LinkedIn, Indeed, Monster, and Auto-Fill on All Websites

Automatically Apply to Jobs on LinkedIn, Indeed, Monster, and Auto-Fill on All Websites

Save time applying for jobs! Auto-applies job bot. Auto-fills in forms on all websites. Get hired faster! - Apply smarter, not harder.

260
Get ChatGPT for Free with Google

You can now access ChatGPT, a powerful language model, for free with Google. Here's how:

Method 1: Google Colab

* Open Google Colab ([colab.research.google.com](http://colab.research.google.com))
* Create a new notebook
* Install the `transformers` library by running `!pip install transformers`
* Import the `transformers` library and load the ChatGPT model using `from transformers import AutoModelForCausalLM, AutoTokenizer; model = AutoModelForCausalLM.from_pretrained('chatgpt'); tokenizer = AutoTokenizer.from_pretrained('chatgpt')`
* Use the model to generate text using `input_text = "Your input here"; inputs = tokenizer.encode_plus(input_text, return_tensors='pt', max_length=1024, padding='max_length', truncation=True); output = model(inputs['input_ids'], attention_mask=inputs['attention_mask']); print(tokenizer.decode(output.logits[0], skip_special_tokens=True))`

Method 2: Google Apps Script

* Open Google Apps Script ([script.google.com](http://script.google.com))
* Create a new project
* Install the `transformers` library by running `npm install transformers`
* Import the `transformers` library and load the ChatGPT model using `const { AutoModelForCausalLM, AutoTokenizer } = require('transformers'); const model = new AutoModelForCausalLM('chatgpt'); const tokenizer = new AutoTokenizer('chatgpt');`
* Use the model to generate text using `const inputText = "Your input here"; const inputs = tokenizer.encodePlus(inputText, { return_tensors: 'pt', max_length: 1024, padding: 'max_length', truncation: true }); const output = model(inputs.inputIds, inputs.attentionMask); console.log(tokenizer.decode(output.logits[0], { skipSpecialTokens: true }));`

Note: These methods require some technical knowledge and may have limitations compared to the original ChatGPT model.
View Detail

Get ChatGPT for Free with Google You can now access ChatGPT, a powerful language model, for free with Google. Here's how: Method 1: Google Colab * Open Google Colab ([colab.research.google.com](http://colab.research.google.com)) * Create a new notebook * Install the `transformers` library by running `!pip install transformers` * Import the `transformers` library and load the ChatGPT model using `from transformers import AutoModelForCausalLM, AutoTokenizer; model = AutoModelForCausalLM.from_pretrained('chatgpt'); tokenizer = AutoTokenizer.from_pretrained('chatgpt')` * Use the model to generate text using `input_text = "Your input here"; inputs = tokenizer.encode_plus(input_text, return_tensors='pt', max_length=1024, padding='max_length', truncation=True); output = model(inputs['input_ids'], attention_mask=inputs['attention_mask']); print(tokenizer.decode(output.logits[0], skip_special_tokens=True))` Method 2: Google Apps Script * Open Google Apps Script ([script.google.com](http://script.google.com)) * Create a new project * Install the `transformers` library by running `npm install transformers` * Import the `transformers` library and load the ChatGPT model using `const { AutoModelForCausalLM, AutoTokenizer } = require('transformers'); const model = new AutoModelForCausalLM('chatgpt'); const tokenizer = new AutoTokenizer('chatgpt');` * Use the model to generate text using `const inputText = "Your input here"; const inputs = tokenizer.encodePlus(inputText, { return_tensors: 'pt', max_length: 1024, padding: 'max_length', truncation: true }); const output = model(inputs.inputIds, inputs.attentionMask); console.log(tokenizer.decode(output.logits[0], { skipSpecialTokens: true }));` Note: These methods require some technical knowledge and may have limitations compared to the original ChatGPT model.

Get ChatGPT for Free with Google You can now access ChatGPT, a powerful language model, for free with Google. Here's how: Method 1: Google Colab * Open Google Colab ([colab.research.google.com](http://colab.research.google.com)) * Create a new notebook * Install the `transformers` library by running `!pip install transformers` * Import the `transformers` library and load the ChatGPT model using `from transformers import AutoModelForCausalLM, AutoTokenizer; model = AutoModelForCausalLM.from_pretrained('chatgpt'); tokenizer = AutoTokenizer.from_pretrained('chatgpt')` * Use the model to generate text using `input_text = "Your input here"; inputs = tokenizer.encode_plus(input_text, return_tensors='pt', max_length=1024, padding='max_length', truncation=True); output = model(inputs['input_ids'], attention_mask=inputs['attention_mask']); print(tokenizer.decode(output.logits[0], skip_special_tokens=True))` Method 2: Google Apps Script * Open Google Apps Script ([script.google.com](http://script.google.com)) * Create a new project * Install the `transformers` library by running `npm install transformers` * Import the `transformers` library and load the ChatGPT model using `const { AutoModelForCausalLM, AutoTokenizer } = require('transformers'); const model = new AutoModelForCausalLM('chatgpt'); const tokenizer = new AutoTokenizer('chatgpt');` * Use the model to generate text using `const inputText = "Your input here"; const inputs = tokenizer.encodePlus(inputText, { return_tensors: 'pt', max_length: 1024, padding: 'max_length', truncation: true }); const output = model(inputs.inputIds, inputs.attentionMask); console.log(tokenizer.decode(output.logits[0], { skipSpecialTokens: true }));` Note: These methods require some technical knowledge and may have limitations compared to the original ChatGPT model.

How to Add ChatGPT to All Google Searches ===================================================== Step 1: Create a Custom Search Engine -------------------------------------- * Go to the [Google Custom Search Engine](https://cse.google.com/) website and sign in with your Google account. * Click on the "New Search Engine" button. * Fill in the required information, such as the name and description of your search engine. * Click on the "Create" button. Step 2: Add ChatGPT to the Search Engine ----------------------------------------- * In the "Setup" tab, click on the "Add" button next to "Sites to search". * Enter the following URL: `https://chat.openai.com/` * Click on the "Add" button. Step 3: Configure the Search Engine -------------------------------------- * In the "Setup" tab, click on the "Edit" button next to "Search engine keywords". * Add the following keywords: `ChatGPT` * Click on the "Save" button. Step 4: Get the Search Engine Code ------------------------------------- * In the "Setup" tab, click on the "Get code" button. * Copy the HTML code provided. Step 5: Add the Search Engine to Your Browser ------------------------------------------------ * Open your browser and go to the "Settings" or "Options" page. * Look for the "Search engine" or "Default search engine" option. * Click on the "Add" or "Manage search engines" button. * Paste the HTML code you copied earlier. * Click on the "Add" or "Save" button. You're Done! =============== Now, whenever you search on Google, ChatGPT will be included in the search results. You can also use the custom search engine URL provided by Google to search directly.

193.90 M
Wispy-1 - Personal AI Agent for Chrome
View Detail

Wispy-1 - Personal AI Agent for Chrome

Wispy-1 - Personal AI Agent for Chrome

Discover, Use, and Share AI Abilities for the Web, right from your Chrome browser.

193.90 M
SF Explorer
View Detail

SF Explorer

SF Explorer

Productivity tool for Salesforce admins and developers

193.90 M