Open-source RightAI Tools Directory
  • Discover AI
  • Submit
  • Startup
  • Blog
Open-source RightAI Tools Directory
Discover the best AI tools of 2025 with the RightAI Tools Directory!

Friend Links

AI Anime GeneratorToolsApp AI

Support

Tap4
Privacy policyTerms & ConditionsContact Us
Loading...
loading...

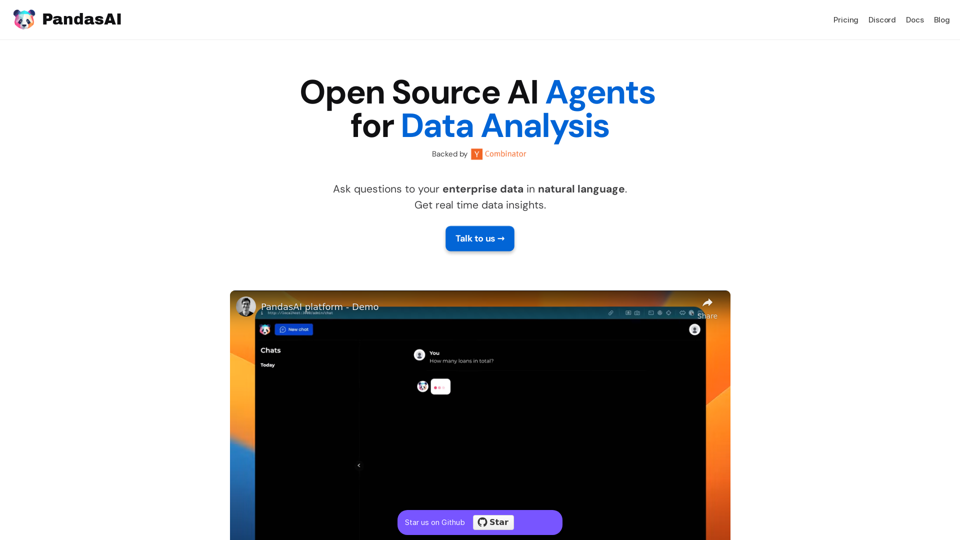
PandasAI - Conversational Data Analysis

PandasAI is a Python library that integrates generative artificial intelligence capabilities into pandas, making dataframes conversational.
Visit Website
PandasAI - Conversational Data Analysis
Visit Website

Introduction

PandasAI is an open-source AI-powered platform that revolutionizes enterprise data analysis. It allows users to interact with their data using natural language, providing real-time insights and actionable information. This innovative tool seamlessly integrates with various data sources, offers enhanced analytics, and creates visual representations of data, making it an invaluable asset for data-driven decision-making across organizations.

Feature

Open Source and Accessible

PandasAI is an open-source library, democratizing data analysis and making it accessible to a wide range of users. This feature promotes transparency and community-driven improvements.

Seamless Data Integration

The platform easily connects to multiple data sources, including:

  • SQL databases
  • NoSQL databases
  • CSV files
  • Excel spreadsheets (xls)

This versatility ensures smooth integration with existing data infrastructure.

Natural Language Processing

Users can interact with their data using natural language queries, simplifying the data analysis process and making it more intuitive.

Enhanced Analytics

PandasAI provides comprehensive analytics by:

  • Combining data from multiple sources
  • Transforming raw data into actionable insights
  • Enabling data-driven strategy implementation

Visual Data Representation

The platform creates intuitive charts and visualizations, making it easier to:

  • Interpret complex business data
  • Identify trends and patterns
  • Communicate insights effectively

Real-time Insights

PandasAI delivers instant data insights, allowing users to make timely decisions based on the most current information available.

Detailed Reporting

Generate comprehensive reports to:

  • Keep teams aligned and informed
  • Track progress and performance
  • Support data-driven decision-making processes

FAQ

Is PandasAI suitable for users without technical expertise?

Yes, PandasAI is designed to be user-friendly. Its natural language processing capabilities allow users to ask questions in plain language, making it accessible to both technical and non-technical users.

How does PandasAI handle data security and privacy?

As an open-source platform, PandasAI's code is transparent and can be audited for security. However, users should implement appropriate security measures when integrating it with their data infrastructure to ensure data privacy and protection.

Can PandasAI handle large volumes of data?

PandasAI is built to work with various data sources and can handle large datasets. However, the performance may depend on the underlying hardware and infrastructure. It's recommended to test with your specific data volume to ensure optimal performance.

Is there a community or support system for PandasAI users?

Yes, PandasAI has a community on Discord where users can seek support, share experiences, and contribute to the platform's development. Additionally, users can reach out through the official website for more formal support options.

Latest Traffic Insights

  • Monthly Visits

    44.27 K

  • Bounce Rate

    39.36%

  • Pages Per Visit

    1.79

  • Time on Site(s)

    15.63

  • Global Rank

    717361

  • Country Rank

    Russia 130084

Recent Visits

Traffic Sources

  • Social Media:
    3.76%
  • Paid Referrals:
    0.72%
  • Email:
    0.15%
  • Referrals:
    10.78%
  • Search Engines:
    50.98%
  • Direct:
    33.40%
More Data

Related Websites

Orchid: AI Clinical Notes
View Detail

Orchid: AI Clinical Notes

Orchid: AI Clinical Notes

Automatically create clinical notes and generate AI-powered progress notes in any electronic health record (EHR) system.

193.90 M
JobSyncAi
View Detail

JobSyncAi

JobSyncAi

Generates new versions of resumes to match keywords and important skills in a job description using AI

193.90 M
Octopuses VAX (Virtual Assistant Experience)
View Detail

Octopuses VAX (Virtual Assistant Experience)

Octopuses VAX (Virtual Assistant Experience)

Octopi.health: Revolutionizing healthcare with computer vision, language processing, and Motion Assessment.

193.90 M
ChatGPT Spotlight
View Detail

ChatGPT Spotlight

ChatGPT Spotlight

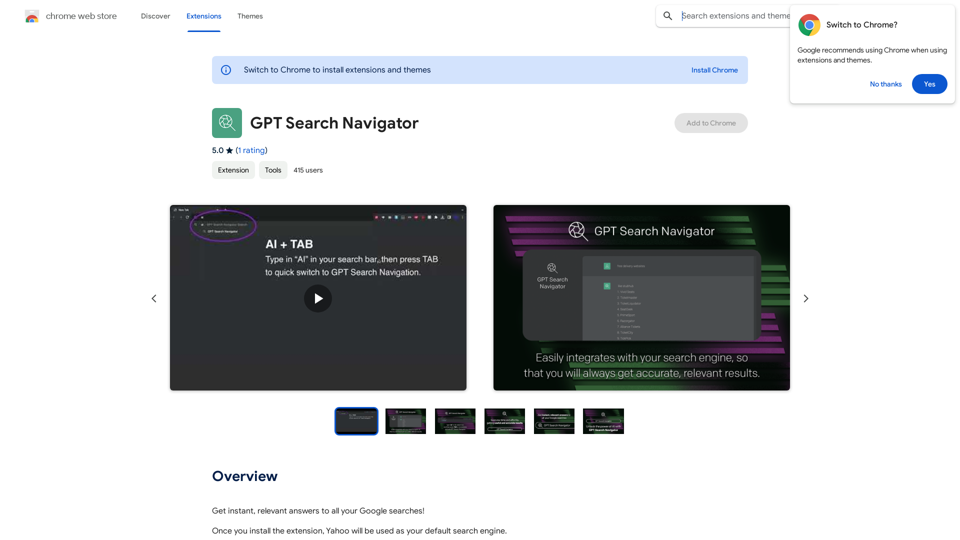
Search Conversations and GPTs inside ChatGPT, Simple & Safe

193.90 M
Linkster.ai
View Detail

Linkster.ai

Linkster.ai

Transform your video experience: AI summaries, mood insights, & trending highlights in one plugin!

193.90 M
scale.jobs - AI Copilot
View Detail

scale.jobs - AI Copilot

scale.jobs - AI Copilot

Delegate applying to jobs to your assistants or use AI Copilot Applying to jobs can be a tedious and time-consuming task. Delegate this task to your assistants and let them handle the initial application process, including resume submission and cover letter writing. Alternatively, utilize AI Copilot, an innovative tool that can automate the job application process, saving you time and energy. By delegating or automating this task, you can focus on more important things, such as preparing for interviews, networking, and building meaningful connections in your industry. This approach can also increase your chances of getting hired, as your assistants or AI Copilot can help you apply to more job openings, thereby increasing your visibility and reach. Remember, time is valuable, and by delegating or automating the job application process, you can make the most of your time and achieve your career goals more efficiently.

193.90 M
Help me read | GPT Reading Assistant
View Detail

Help me read | GPT Reading Assistant

Help me read | GPT Reading Assistant

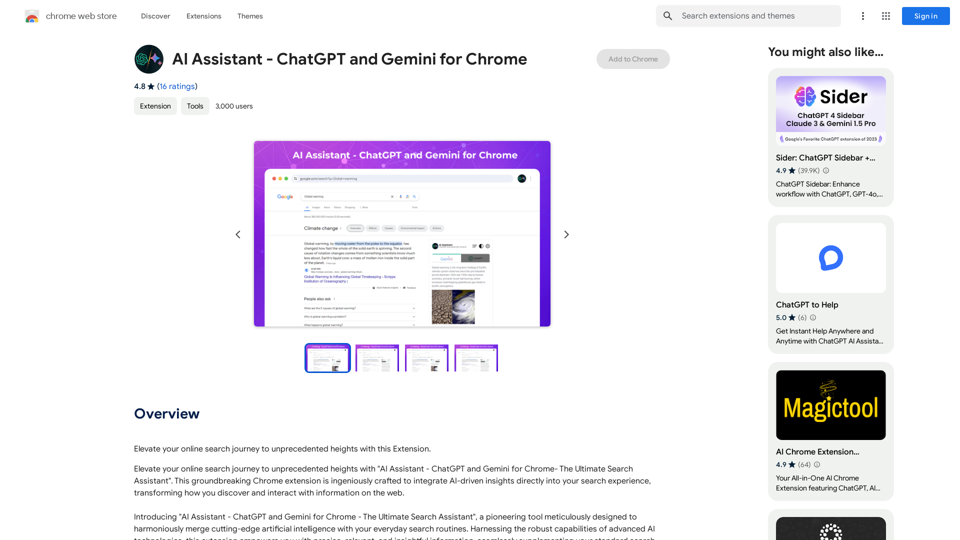
Help me read | GPT Reading Assistant, a free Chrome browser extension, summarizes any webpage using ChatGPT, supporting the use of GPT-3.5 or GPT-4 models. ...

193.90 M
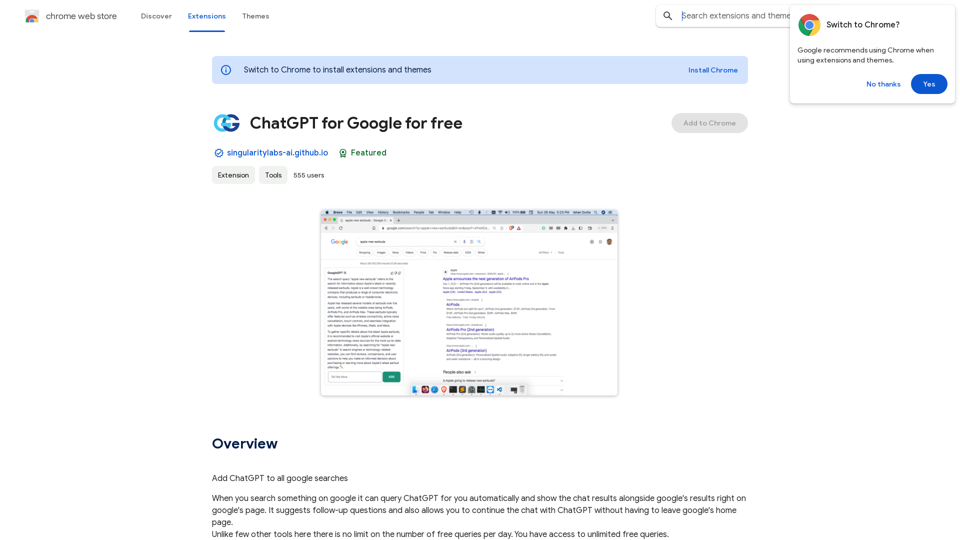
Get ChatGPT for Free with Google

You can now access ChatGPT, a powerful language model, for free with Google. Here's how:

Method 1: Google Colab

* Open Google Colab ([colab.research.google.com](http://colab.research.google.com))
* Create a new notebook
* Install the `transformers` library by running `!pip install transformers`
* Import the `transformers` library and load the ChatGPT model using `from transformers import AutoModelForCausalLM, AutoTokenizer; model = AutoModelForCausalLM.from_pretrained('chatgpt'); tokenizer = AutoTokenizer.from_pretrained('chatgpt')`
* Use the model to generate text using `input_text = "Your input here"; inputs = tokenizer.encode_plus(input_text, return_tensors='pt', max_length=1024, padding='max_length', truncation=True); output = model(inputs['input_ids'], attention_mask=inputs['attention_mask']); print(tokenizer.decode(output.logits[0], skip_special_tokens=True))`

Method 2: Google Apps Script

* Open Google Apps Script ([script.google.com](http://script.google.com))
* Create a new project
* Install the `transformers` library by running `npm install transformers`
* Import the `transformers` library and load the ChatGPT model using `const { AutoModelForCausalLM, AutoTokenizer } = require('transformers'); const model = new AutoModelForCausalLM('chatgpt'); const tokenizer = new AutoTokenizer('chatgpt');`
* Use the model to generate text using `const inputText = "Your input here"; const inputs = tokenizer.encodePlus(inputText, { return_tensors: 'pt', max_length: 1024, padding: 'max_length', truncation: true }); const output = model(inputs.inputIds, inputs.attentionMask); console.log(tokenizer.decode(output.logits[0], { skipSpecialTokens: true }));`

Note: These methods require some technical knowledge and may have limitations compared to the original ChatGPT model.
View Detail

Get ChatGPT for Free with Google You can now access ChatGPT, a powerful language model, for free with Google. Here's how: Method 1: Google Colab * Open Google Colab ([colab.research.google.com](http://colab.research.google.com)) * Create a new notebook * Install the `transformers` library by running `!pip install transformers` * Import the `transformers` library and load the ChatGPT model using `from transformers import AutoModelForCausalLM, AutoTokenizer; model = AutoModelForCausalLM.from_pretrained('chatgpt'); tokenizer = AutoTokenizer.from_pretrained('chatgpt')` * Use the model to generate text using `input_text = "Your input here"; inputs = tokenizer.encode_plus(input_text, return_tensors='pt', max_length=1024, padding='max_length', truncation=True); output = model(inputs['input_ids'], attention_mask=inputs['attention_mask']); print(tokenizer.decode(output.logits[0], skip_special_tokens=True))` Method 2: Google Apps Script * Open Google Apps Script ([script.google.com](http://script.google.com)) * Create a new project * Install the `transformers` library by running `npm install transformers` * Import the `transformers` library and load the ChatGPT model using `const { AutoModelForCausalLM, AutoTokenizer } = require('transformers'); const model = new AutoModelForCausalLM('chatgpt'); const tokenizer = new AutoTokenizer('chatgpt');` * Use the model to generate text using `const inputText = "Your input here"; const inputs = tokenizer.encodePlus(inputText, { return_tensors: 'pt', max_length: 1024, padding: 'max_length', truncation: true }); const output = model(inputs.inputIds, inputs.attentionMask); console.log(tokenizer.decode(output.logits[0], { skipSpecialTokens: true }));` Note: These methods require some technical knowledge and may have limitations compared to the original ChatGPT model.

Get ChatGPT for Free with Google You can now access ChatGPT, a powerful language model, for free with Google. Here's how: Method 1: Google Colab * Open Google Colab ([colab.research.google.com](http://colab.research.google.com)) * Create a new notebook * Install the `transformers` library by running `!pip install transformers` * Import the `transformers` library and load the ChatGPT model using `from transformers import AutoModelForCausalLM, AutoTokenizer; model = AutoModelForCausalLM.from_pretrained('chatgpt'); tokenizer = AutoTokenizer.from_pretrained('chatgpt')` * Use the model to generate text using `input_text = "Your input here"; inputs = tokenizer.encode_plus(input_text, return_tensors='pt', max_length=1024, padding='max_length', truncation=True); output = model(inputs['input_ids'], attention_mask=inputs['attention_mask']); print(tokenizer.decode(output.logits[0], skip_special_tokens=True))` Method 2: Google Apps Script * Open Google Apps Script ([script.google.com](http://script.google.com)) * Create a new project * Install the `transformers` library by running `npm install transformers` * Import the `transformers` library and load the ChatGPT model using `const { AutoModelForCausalLM, AutoTokenizer } = require('transformers'); const model = new AutoModelForCausalLM('chatgpt'); const tokenizer = new AutoTokenizer('chatgpt');` * Use the model to generate text using `const inputText = "Your input here"; const inputs = tokenizer.encodePlus(inputText, { return_tensors: 'pt', max_length: 1024, padding: 'max_length', truncation: true }); const output = model(inputs.inputIds, inputs.attentionMask); console.log(tokenizer.decode(output.logits[0], { skipSpecialTokens: true }));` Note: These methods require some technical knowledge and may have limitations compared to the original ChatGPT model.

How to Add ChatGPT to All Google Searches ===================================================== Step 1: Create a Custom Search Engine -------------------------------------- * Go to the [Google Custom Search Engine](https://cse.google.com/) website and sign in with your Google account. * Click on the "New Search Engine" button. * Fill in the required information, such as the name and description of your search engine. * Click on the "Create" button. Step 2: Add ChatGPT to the Search Engine ----------------------------------------- * In the "Setup" tab, click on the "Add" button next to "Sites to search". * Enter the following URL: `https://chat.openai.com/` * Click on the "Add" button. Step 3: Configure the Search Engine -------------------------------------- * In the "Setup" tab, click on the "Edit" button next to "Search engine keywords". * Add the following keywords: `ChatGPT` * Click on the "Save" button. Step 4: Get the Search Engine Code ------------------------------------- * In the "Setup" tab, click on the "Get code" button. * Copy the HTML code provided. Step 5: Add the Search Engine to Your Browser ------------------------------------------------ * Open your browser and go to the "Settings" or "Options" page. * Look for the "Search engine" or "Default search engine" option. * Click on the "Add" or "Manage search engines" button. * Paste the HTML code you copied earlier. * Click on the "Add" or "Save" button. You're Done! =============== Now, whenever you search on Google, ChatGPT will be included in the search results. You can also use the custom search engine URL provided by Google to search directly.

193.90 M